CTP logo Tech

InTheGarageMedia.com

aesthetic blasphemy?
Converting Our ’69 C10 to a Stepside With LMC!
BY Rob FortierIMAGES BY THE AUTHOR
I

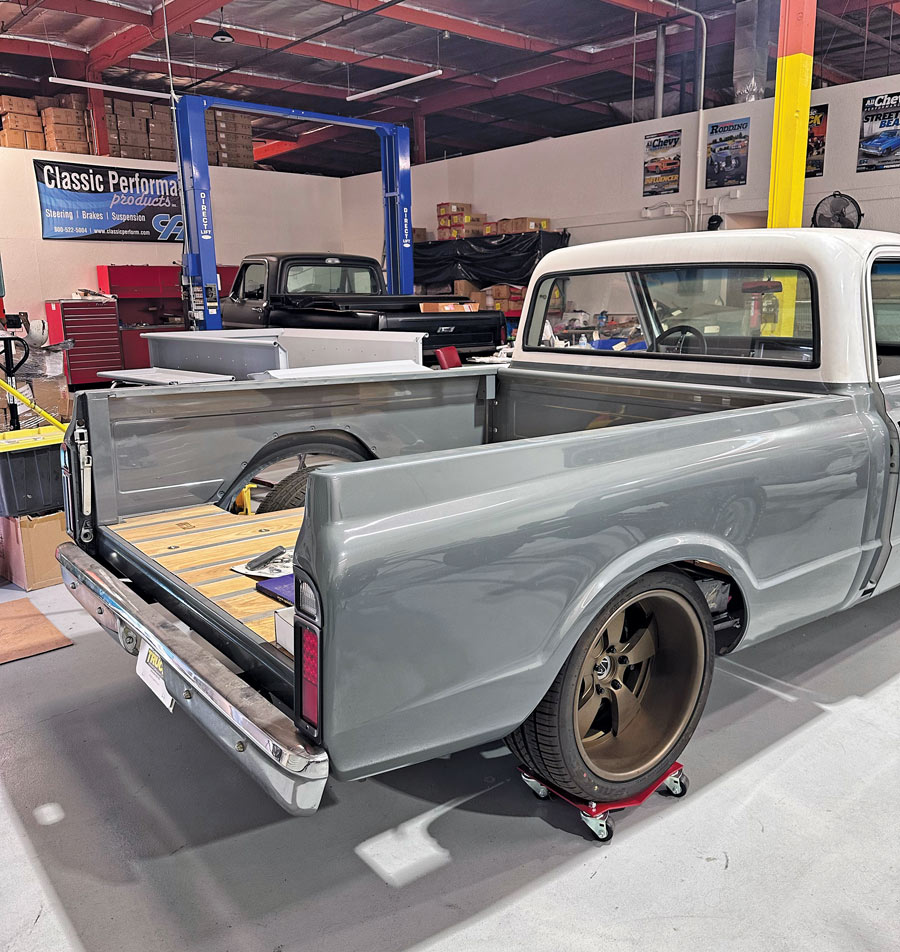
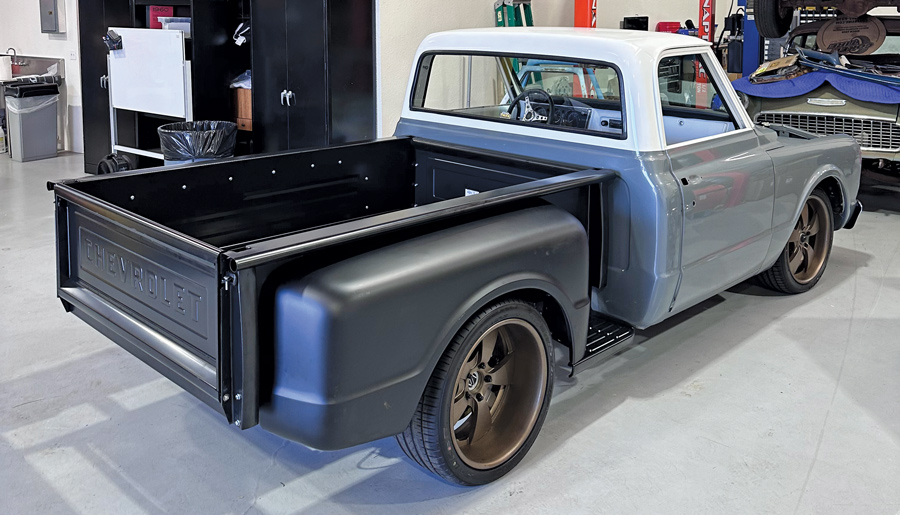
would safely say that 7 out of 10 people were dumfounded when I told them of my intentions to convert my ’69 Chevy from a factory (SWB) Fleetside to a Stepside—that ratio only increased (or decreased, depending on how you look at it) when people saw that I was not only serious but actually went ahead and did the conversion! OK … it’s my truck (and Old Anvil Speed Shop now has a decent/complete Fleetside box in which to use for their ’67-72 All Access bed floor kits!) and I’m standing behind my so-called aesthetic blasphemy!

All kidding aside, I used to be a devout Fleetside fan—but have always had an attraction to Squarebody ’73-80 Chevy/GMC Stepsides, though I never made the backward transition with my ’75 Cheyenne before (regretfully) selling it. With the ’67-72s, however, it wasn’t until quite recently—more specifically, when featuring James King’s Delmo-built ’71 on the cover of our June ’22 issue—that I became more fascinated with the early Steps. (To be fair, Classic Truck Co.’s Spot Thomas’ ’67 Stepside has also been a major inspiration!)

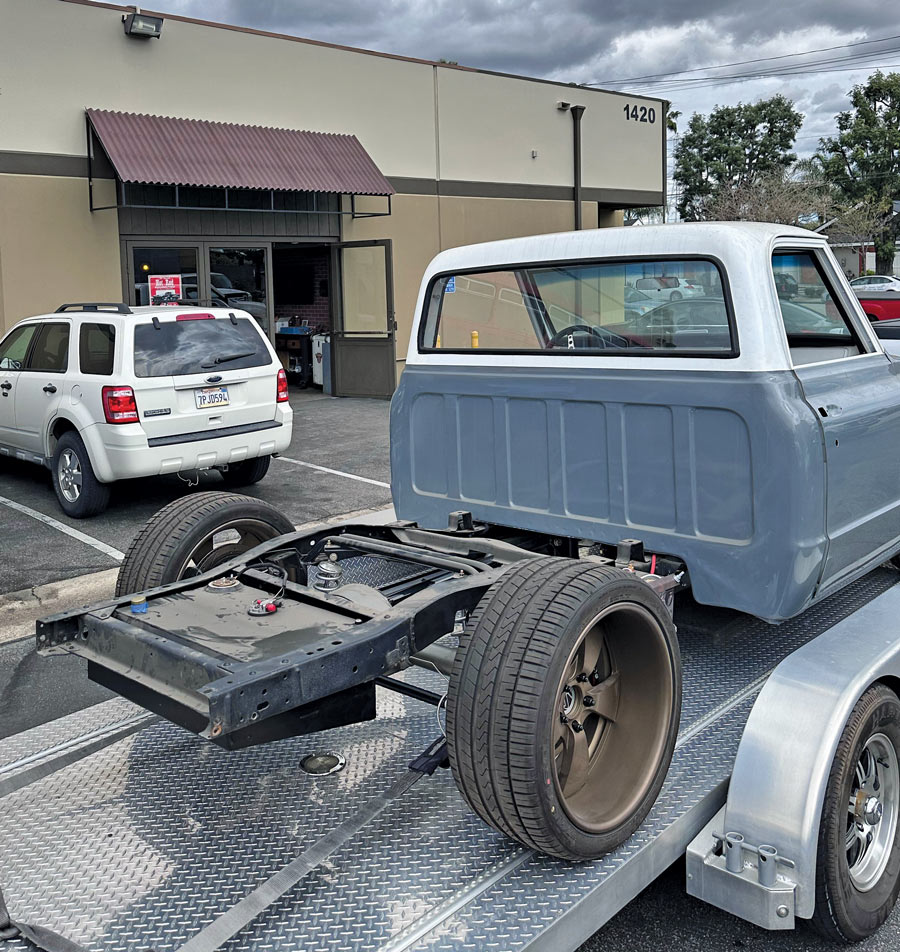
You may be wondering why I would do such a thing. Well, for a couple reasons. The obvious one being the personal preference aspect, but also because (assumedly) the truck’s already painted. Well, the first reason is null and void as far as I was concerned, but to address the paint, let’s just say the camera does wonders—and on top of that, due to the Slosh Tubz being very poorly molded to butchered-up front fenders, I’ll also be swapping out the front sheetmetal! So …

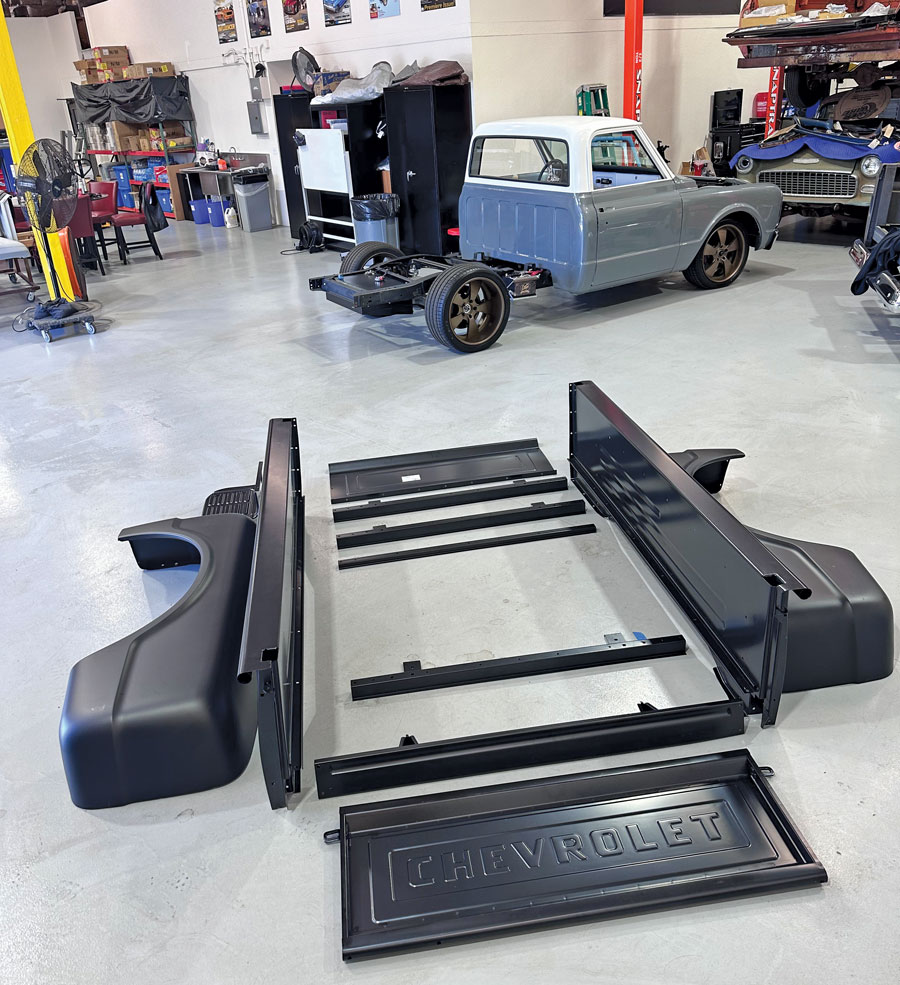
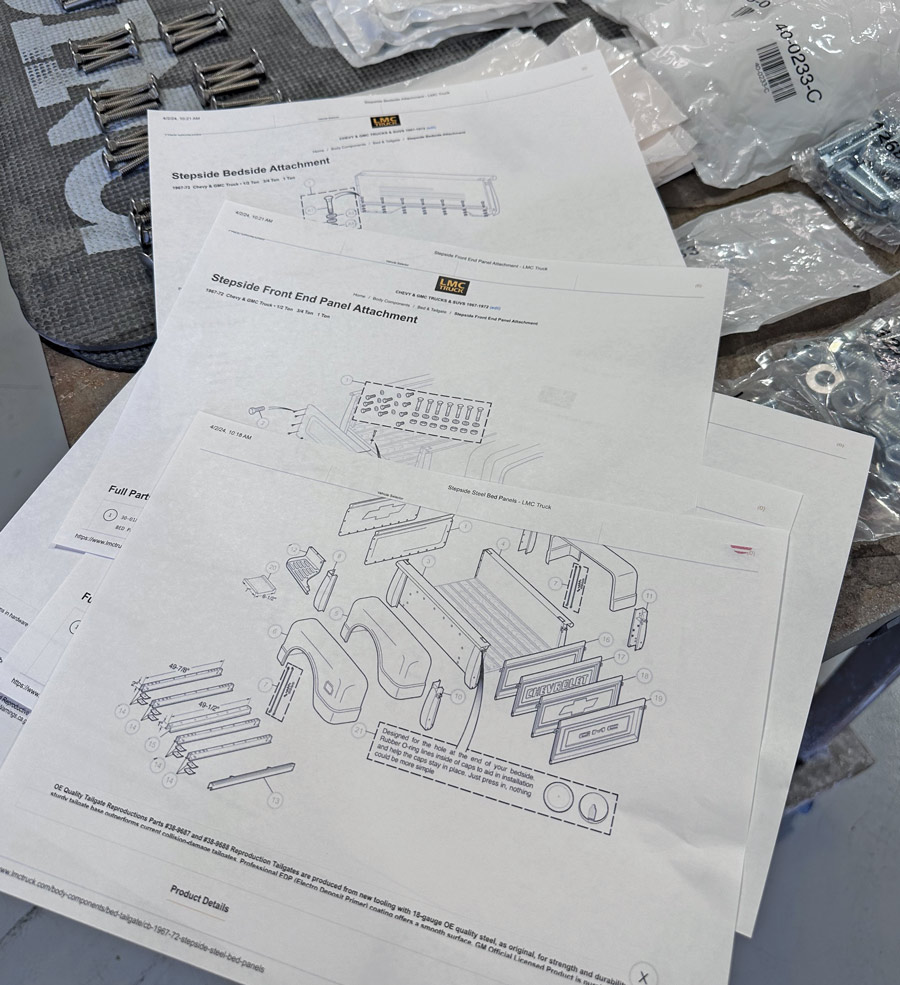
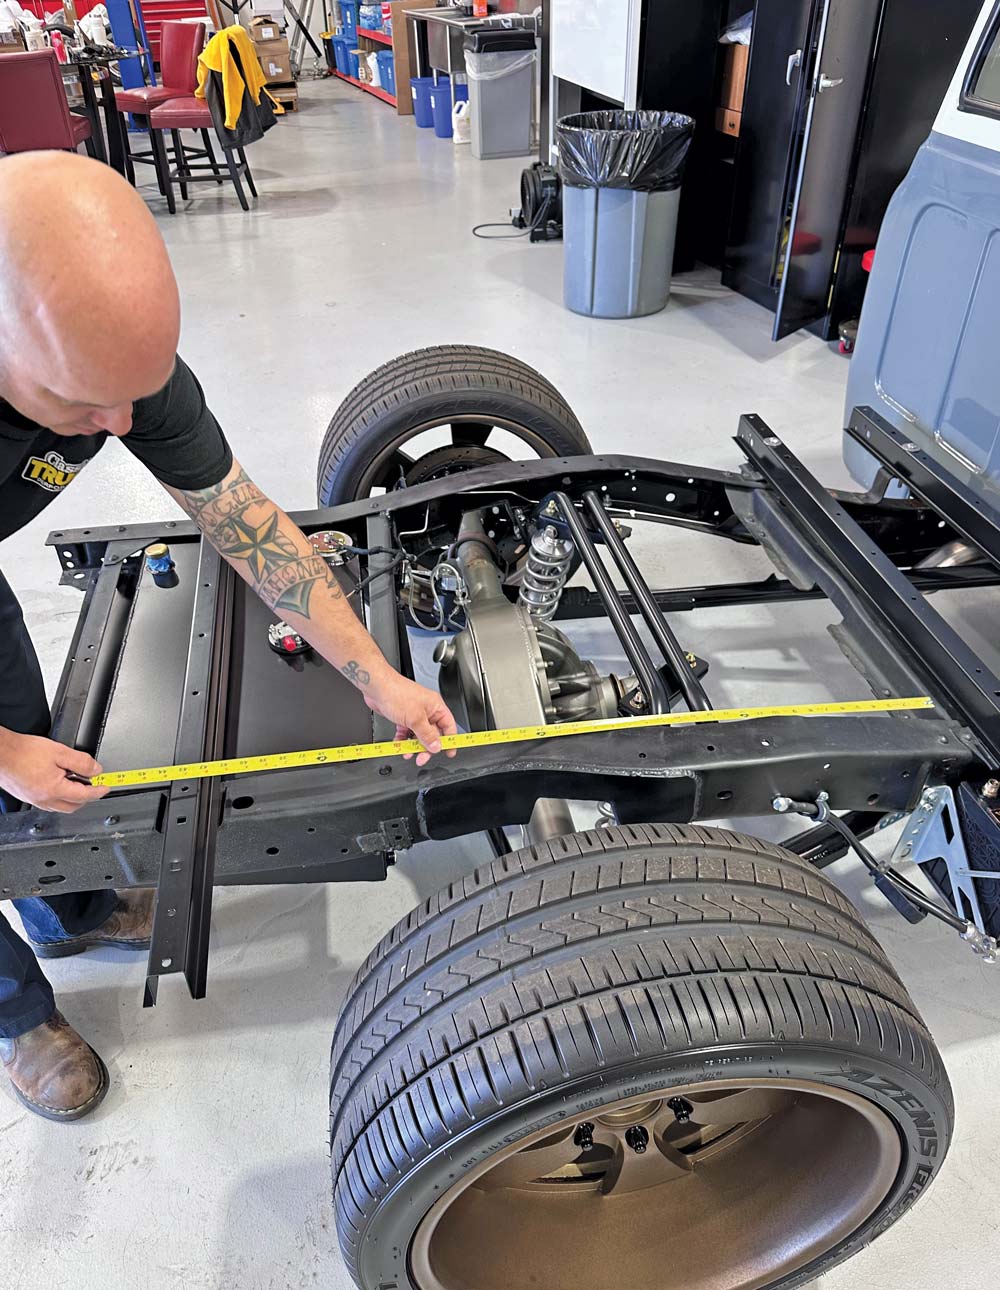
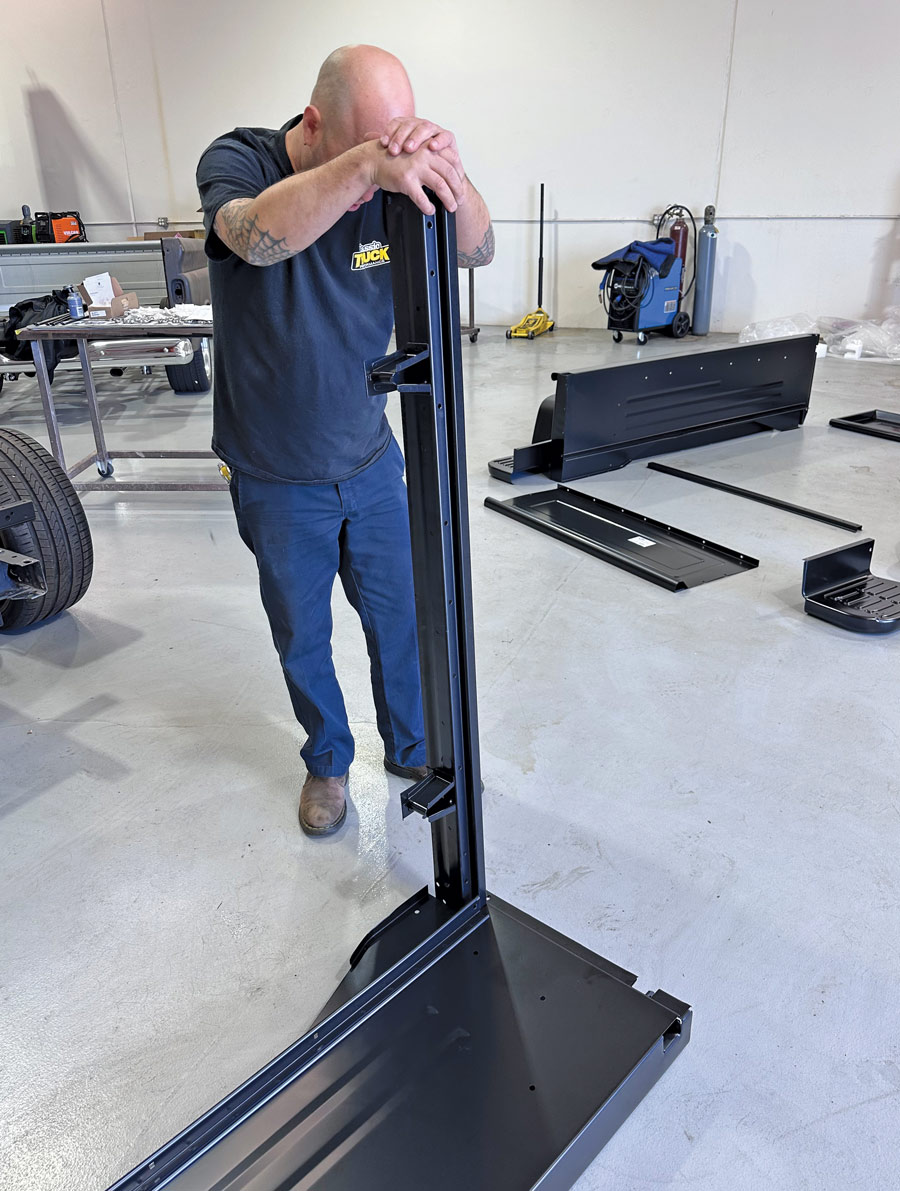
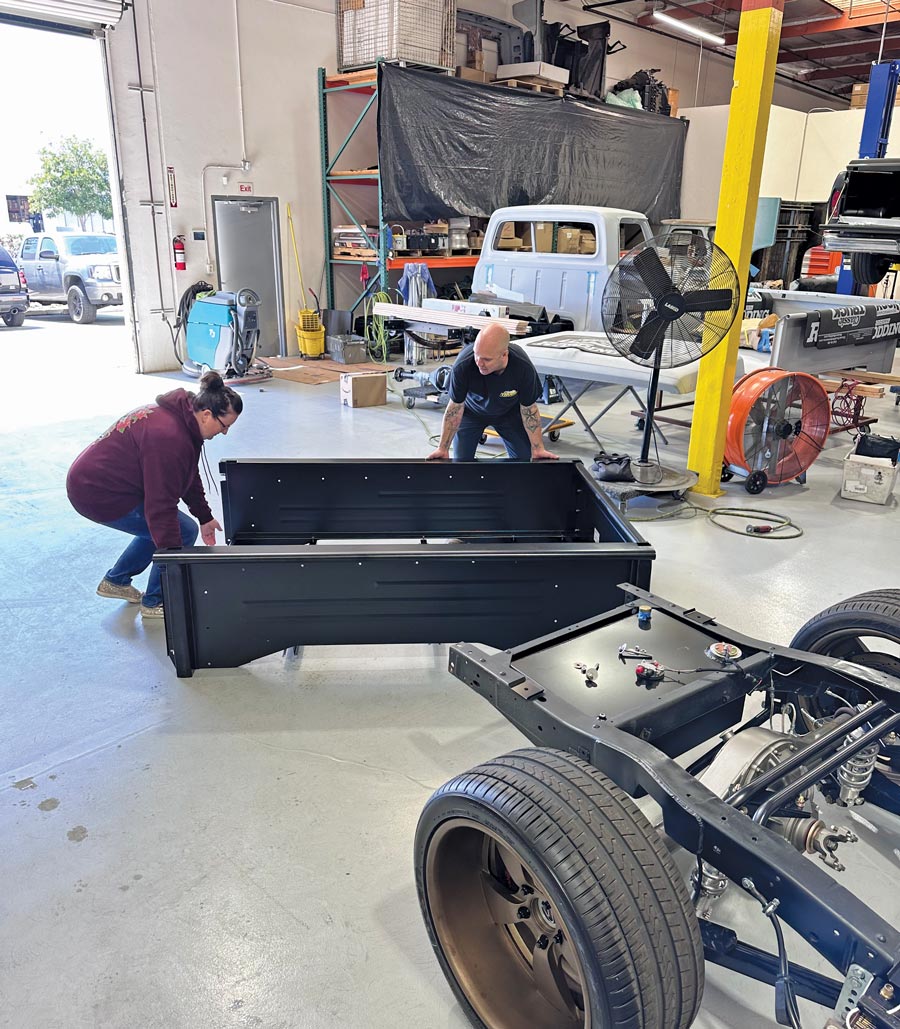
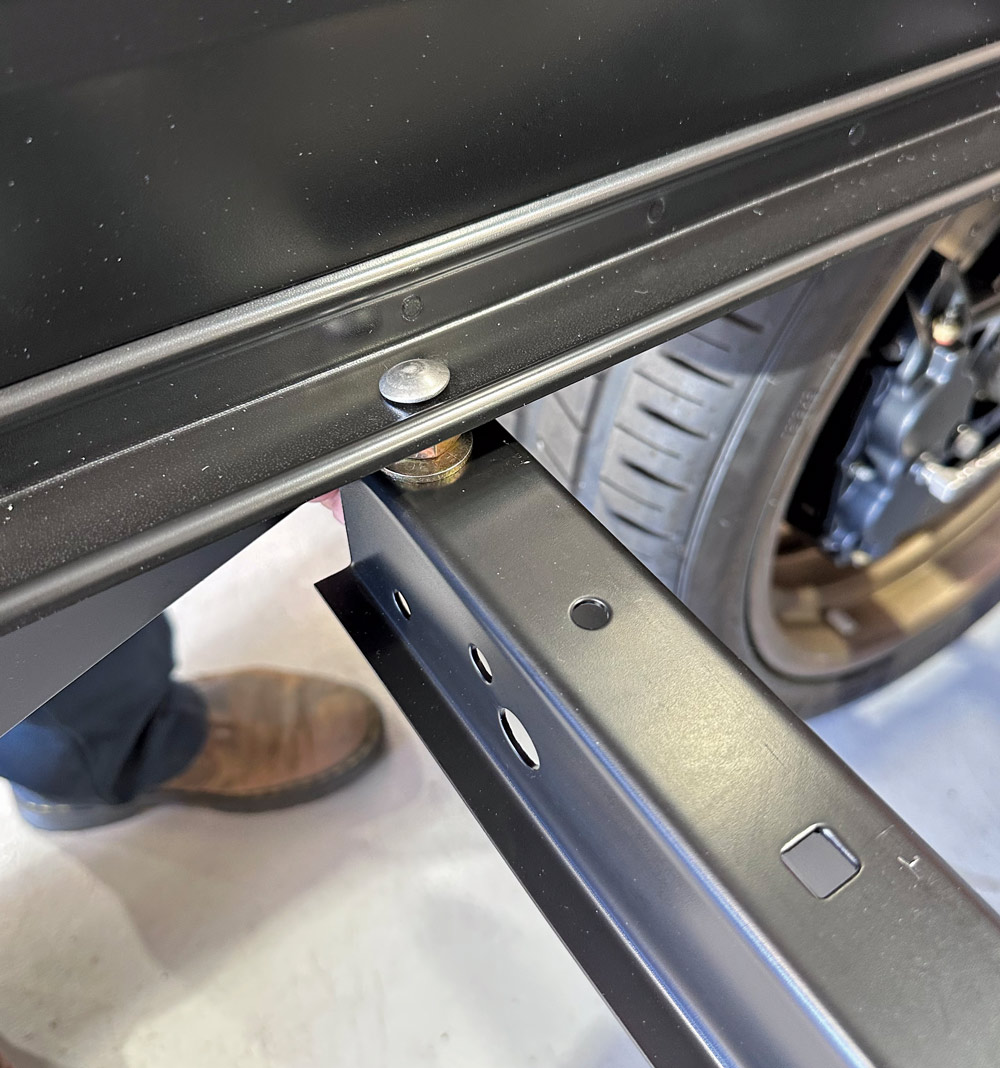
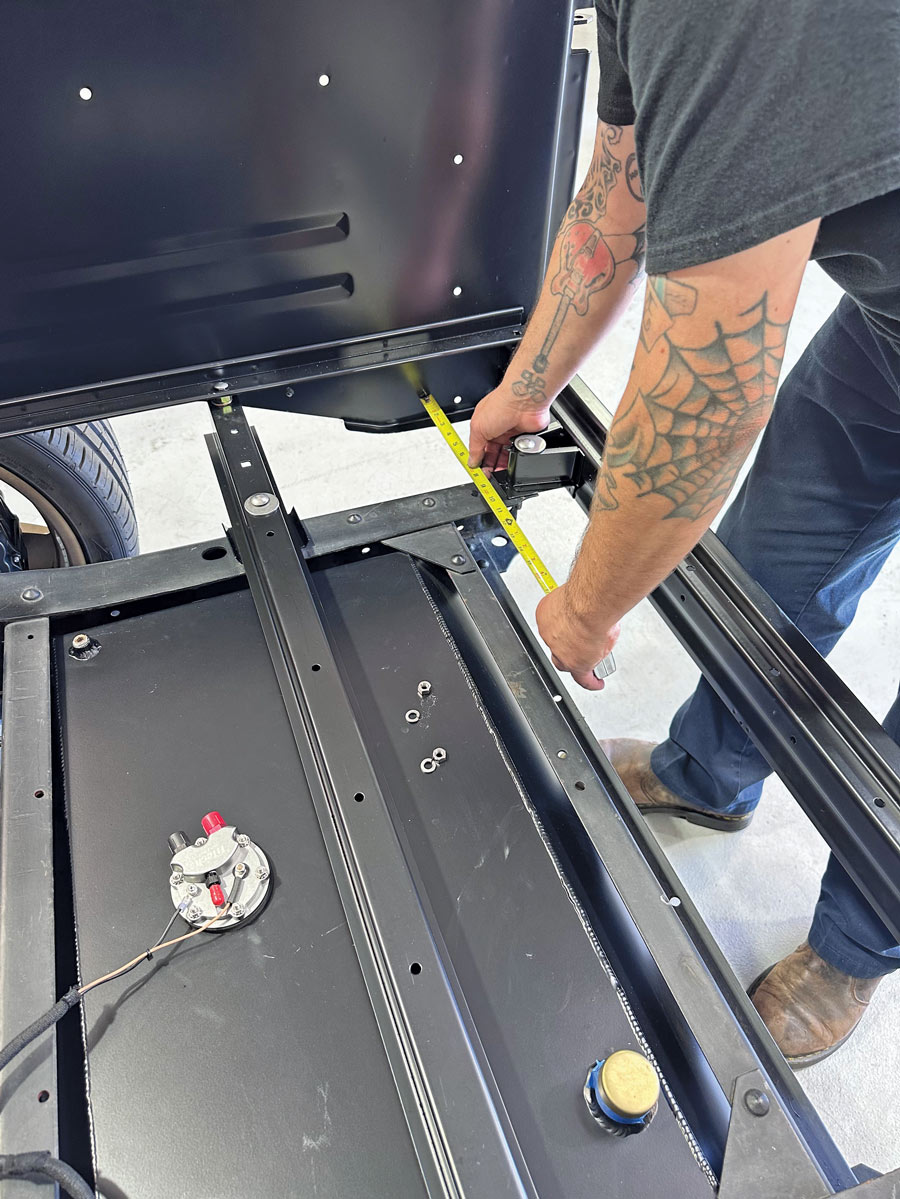
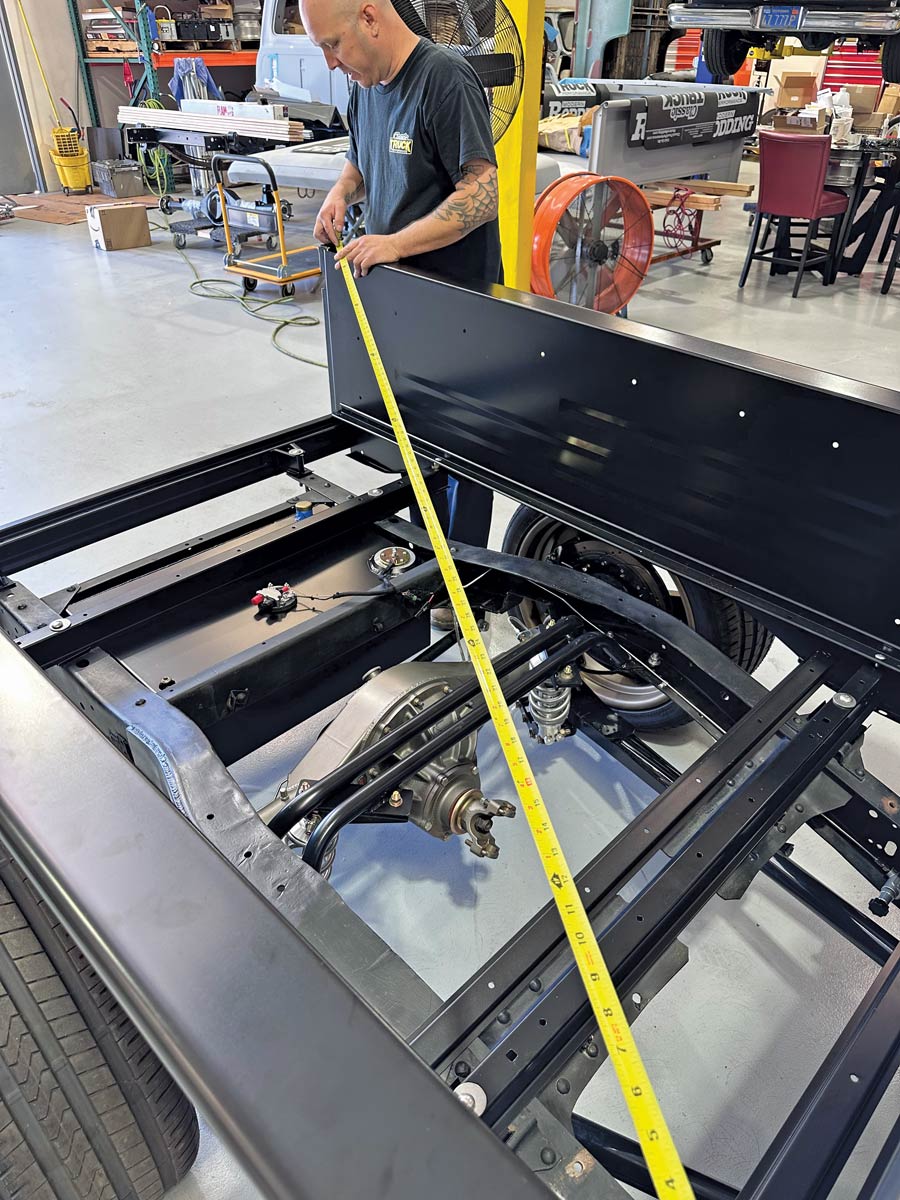
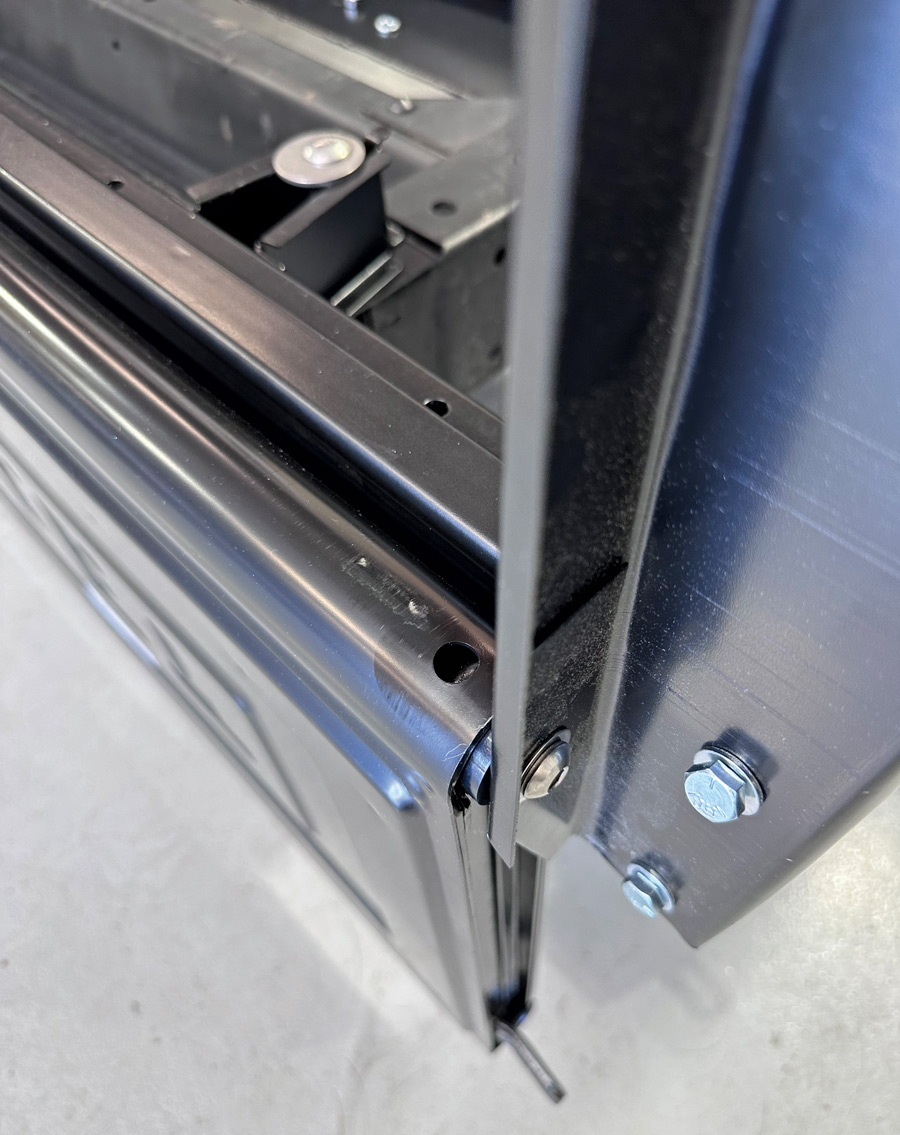
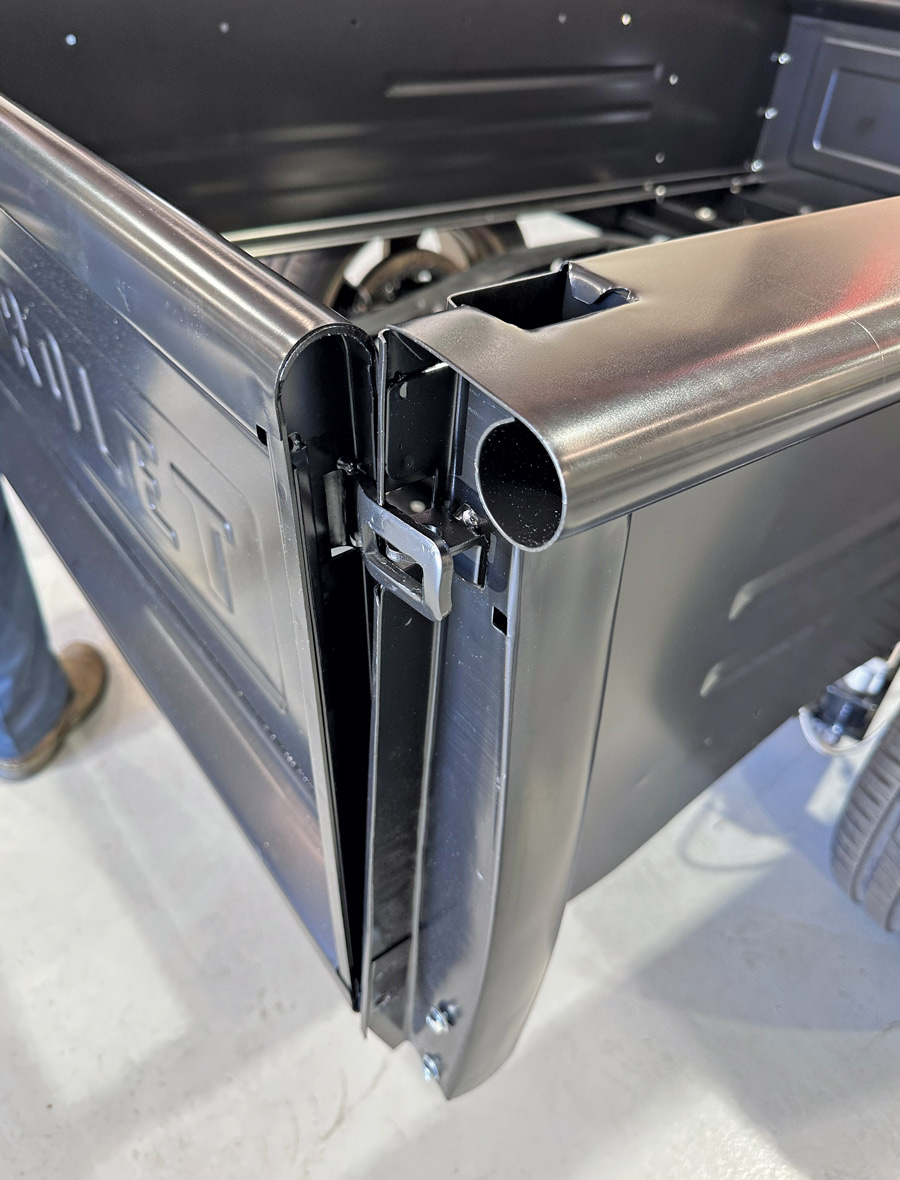
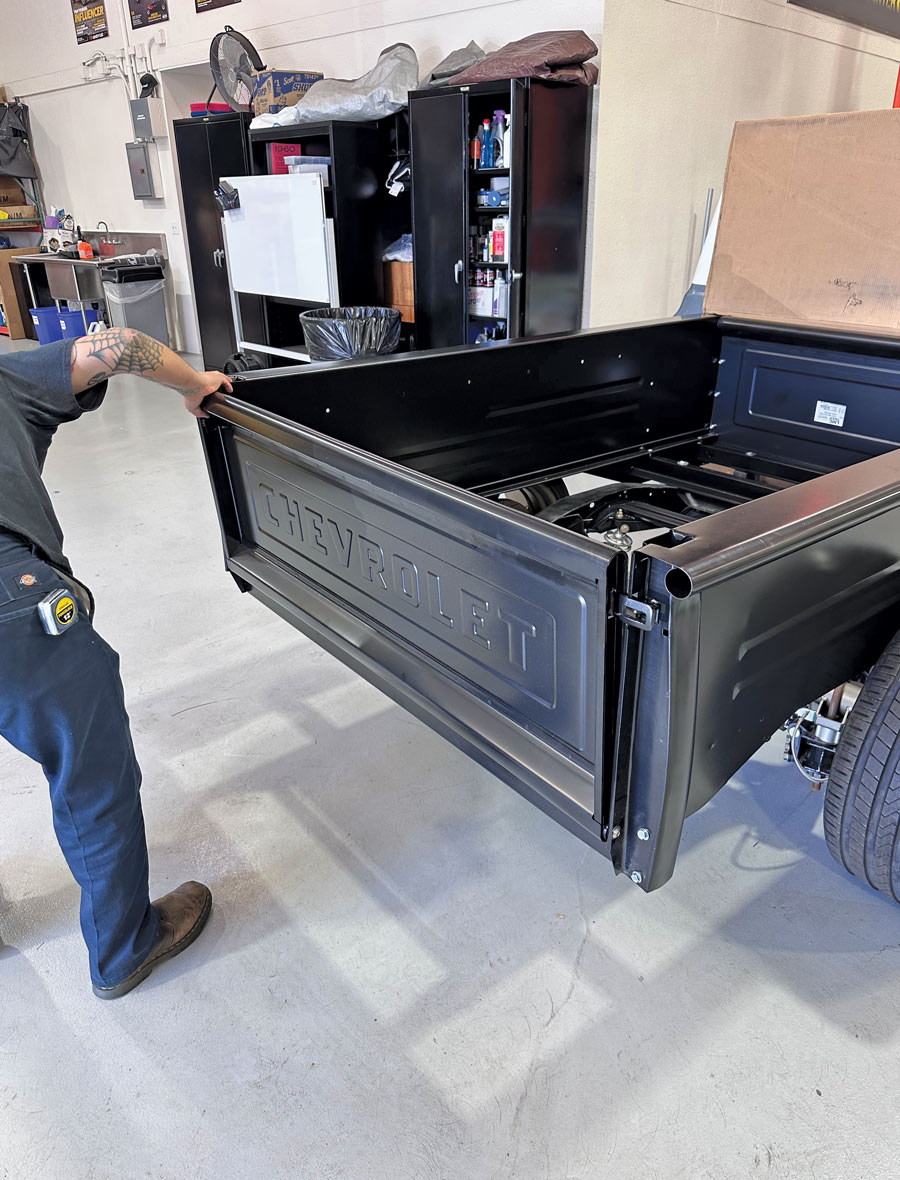
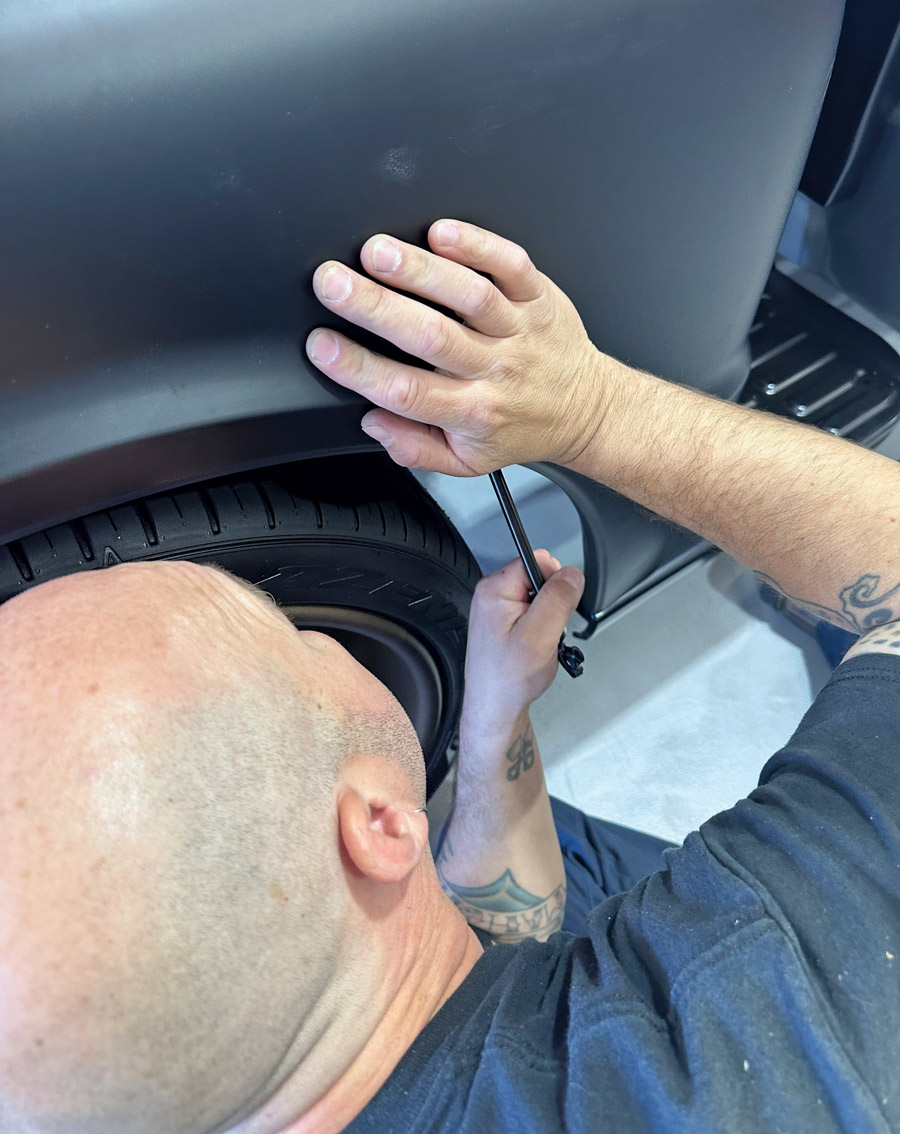
We started off by hauling the ’69 down to Old Anvil one Wednesday morning where they quickly removed the existing Fleetside bed and all its associated components. After I’d spent some time on the web/socials looking at “pre-owned” Stepside bed options (missed a cherry complete bed with fenders and all in Cherry Valley for $500 by a few hours!), I decided to look at my aftermarket options. When all was said and done, an order was submitted with LMC Truck that very day, and the following week Ryan Manson and I were ready to start the assembly/installation process! (I will note that, in order to properly align and fit and fully mount a Stepside box, you will need the accompanying bed floor as well. Since I will be ordering a new wood base from BedWood in the near future, Manson simply made spacers the thickness of the planks to accommodate for the time being.)

Once the truck comes back from getting some new threads at TMI then finally—FINALLY—up and running at FiTech, she’ll come back to our tech center for the new BedWood floor and retro front sheetmetal install!

rear of silver pickup truck
1. Here’s the beginning of my blasphemous transformation. I’d been dreaming of a Stepside swap for some time so when Paul at Old Anvil Speed Shop said he was looking for a decent ’67-72 C10 Fleetside bed for his new articulating (All Access) bed floor kit …
pickup truck without truck bed
2. … I obliged and donated the old (complete) bed for the cause!
stepside bed kit
paper instructions
3-4. Back at home base and after a good cleaning by our friendly mobile detailer, Orozco’s Auto Detailing, Clampdown Competition’s Ryan Manson and myself laid out the puzzle I obtained from LMC Truck: an entirely new Stepside bed kit (everything minus the flooring, which will be coming from BedWood & Parts).
man measuring truck bed
5. While we’ll be building the bed box “off” the truck, we first plotted out the placement of the cross sills (three mains, one support, one rear crossmember) just for reference/spacing sake.
man standing up while holding a truck bed piece in place
man bending down to build truck bed
man kneeling to install truck bed piece
6-8. Pretty basic steps for assembling the box—we’d already separated and categorized all the various hardware, so it was just a matter of putting and bolting all the pieces together, as shown (leaving things loose, but not so loose as to allow the box to flop around during installation).
man and woman moving truck bed together
newly mounted truck bed with cardboard marking where to place it
9-10. When we say In The Garage Media is a “family affair,” we mean just that. Our fearless managing editor, Sarah Gonzales, came out to observe our progress and immediately got put to work (of course I jumped in and grabbed the passenger side soon as I was done taking the pic!). Saving a large chunk of the cardboard that the LMC fenders were packaged in sure helped in adding a “bumpstop” for the cab while we positioned and mounted the new bed.
closeup of spacers
11. As mentioned, the bed floor will be installed at a later date—so, to semi-compensate for the lack of wood planks, Manson fashioned up spacers the same thickness as the boards.
man measuring chassis with yellow tape
man measuring chassis with a yellow tape measurer
12-13. With all the subrail/crossmember hardware installed finger-tight, the platform of the box was squared up on the chassis.
man measuring width of truck bed
man holding yellow tape measurer diagonally to measure perimeter of truck bed
14-15. Next, the same was performed on the perimeter of the box as well. Keep in mind, without a bed floor installed, you cannot fully square the bed up, as wood plays an important role in that process, not to mention providing the means in which to completely mount the bed to the truck’s frame.
closeup of hands installing screw to truck bed
closeup of mounted stepside tailgate
16-17. Unlike newer GM trucks, the ’67-72 Stepside tailgate actually “mounts” to the bed—so no need to worry about thieves doing a quick grab (unless they’re carrying an Allen key set!).
closeup of rudimentary bolts installed on tailgate
man checking tailgate and bed box alignment
18-19. The final stage of preliminary aligning/squaring up is done with the tailgate prior to completely tightening down the bed box. I opted not to order a set of replacement chains, as I’ll be installing a hidden cable-type kit in the near future—so for now, rudimentary bolts will do!
man sitting on ground next to rear truck tire holding step panel
two men working together to lift and install truck fender
20-21. We started out by installing the driver side rear fender first, followed by the step panel—but Manson quickly realized it was easier to start with the step first then the fender.
man sitting on ground to tighten step panel hardware
22. Again, we didn’t completely tighten the fender/step panel hardware up till after everything was mounted in place, allowing a final visual check for alignment before doing so.
man adding painter's tape to bolts
23. A little tip for keeping the bolts from pushing out of the bed side panel when fingering the nuts on—use painter’s tape to keep them in place! Of course, you’ll still need someone with a wrench on the topside of the bolt at some point, so …
man using tool to install fender braces
man laying on ground slightly underneath truck to install fender braces
24-25. Last steps of the Stepside assembly: installing the new fender braces (two per fender) and the step panel support brackets. Now all that’s left is the new wood … definitely some taillights … and at some point body and paint …
finished truck bed installation
26. … but for now, the blasphemous transformation is complete. What do you say we convert the cab to a small-window next?!
SOURCE