Tech
Tech
 Photography BY Camren Beattie
his amazing ’51 Chevy is currently underway at Scott’s Hotrods ’N Customs. We left off as Kenneth Dekiserre wrapped up the “shapely” thinking how could they top that? Well, they kept going, that’s how! Welcome once again Mr. Stress Ball explaining the process of the truck’s non-stock running boards:
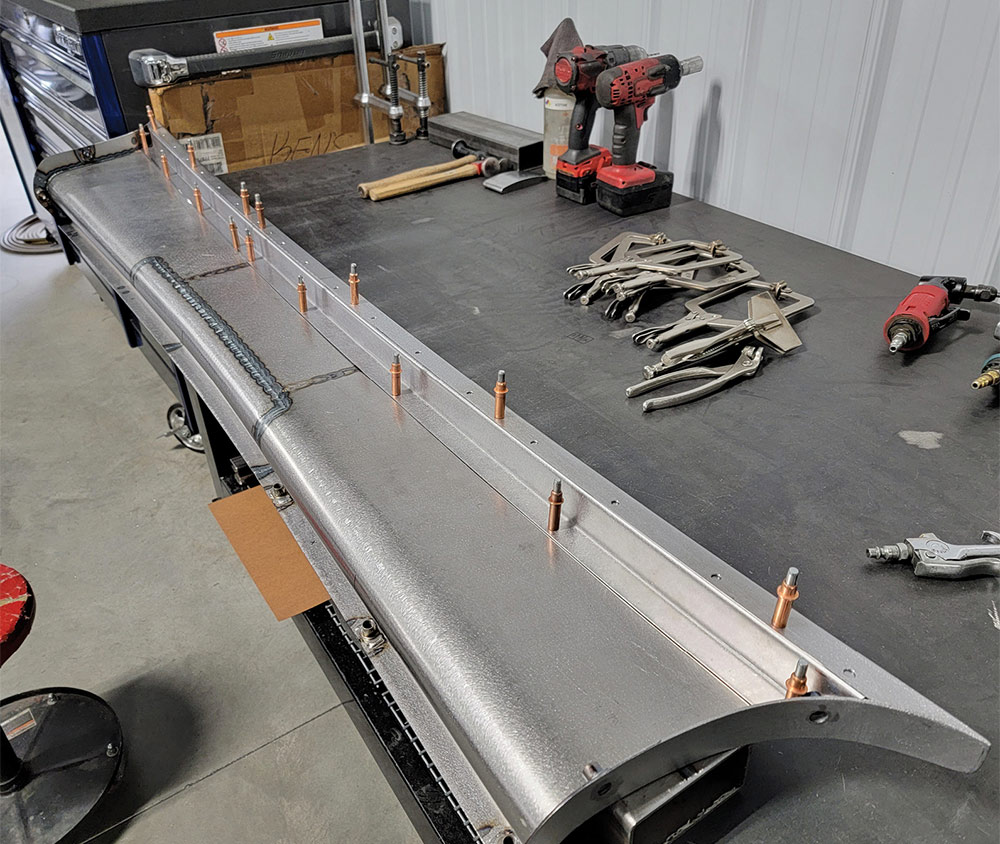
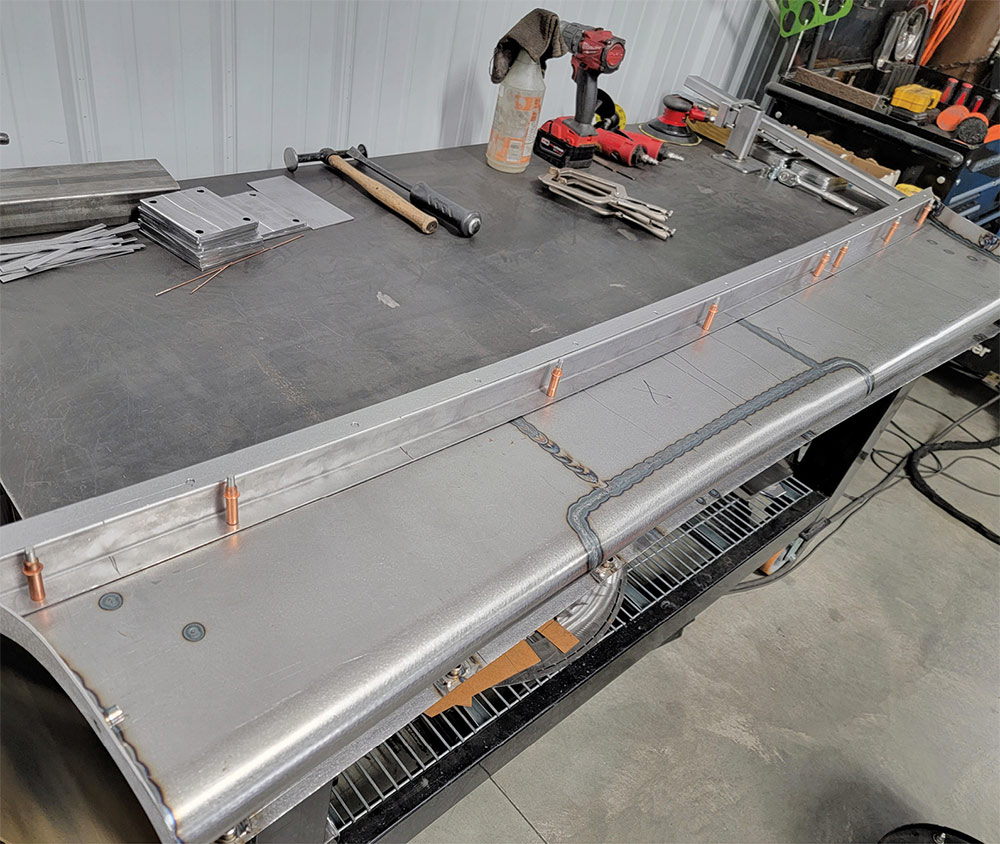
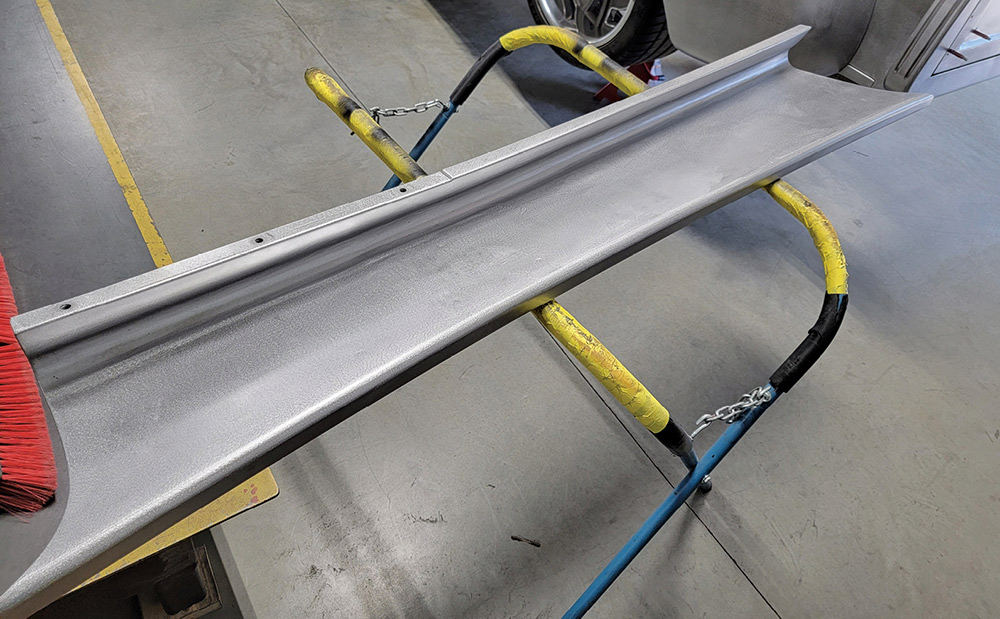
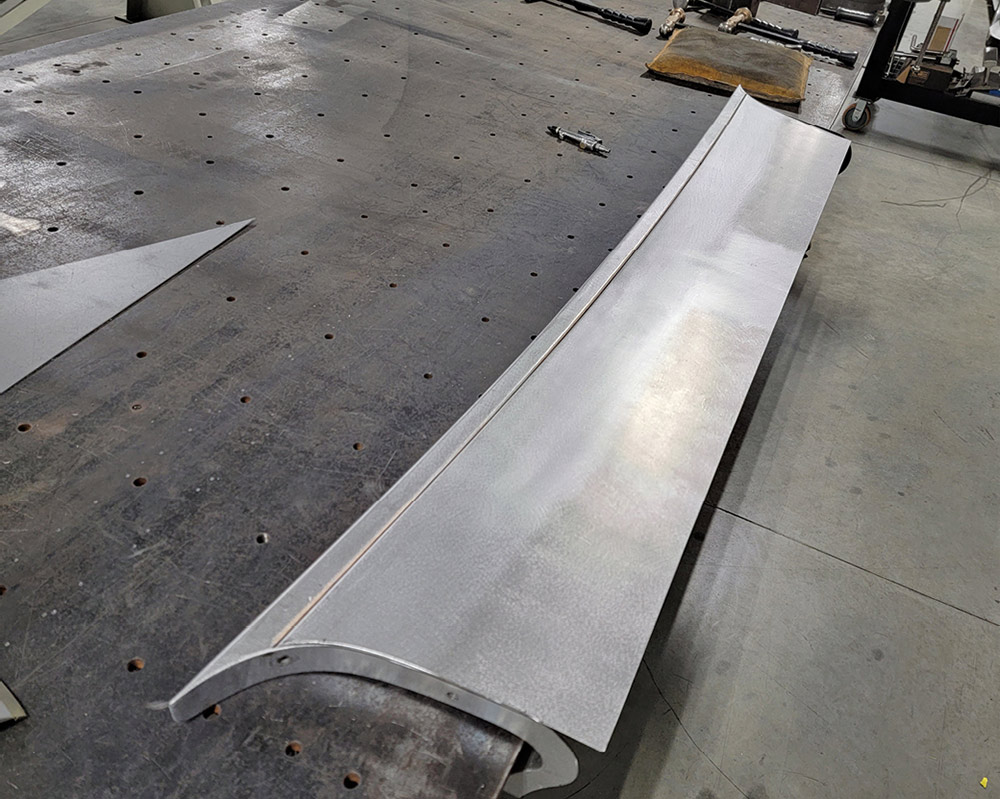
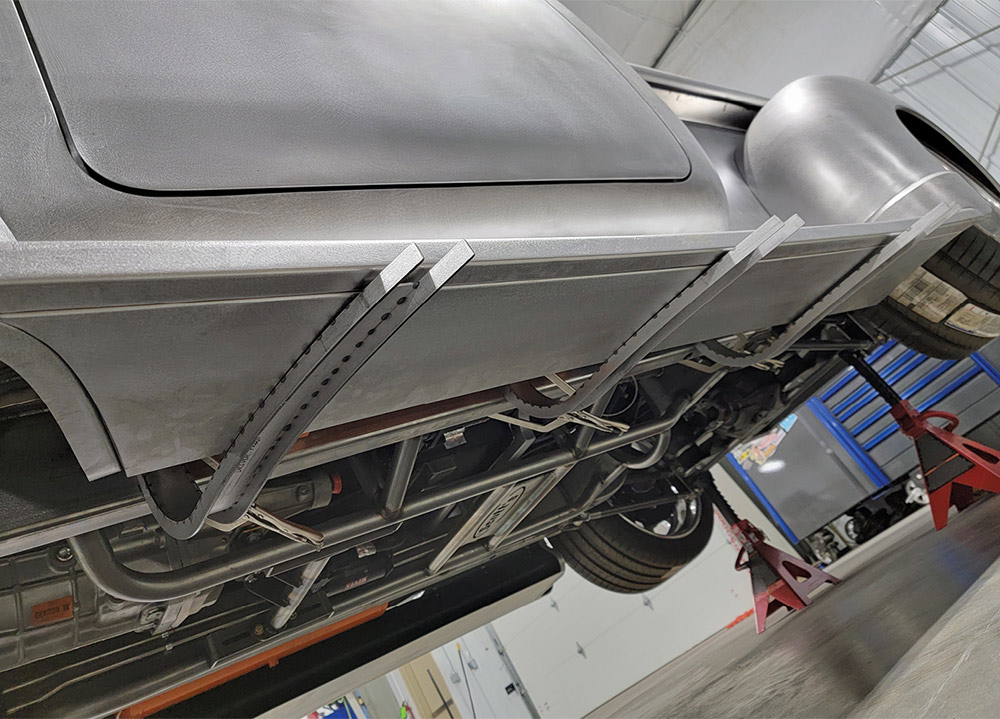
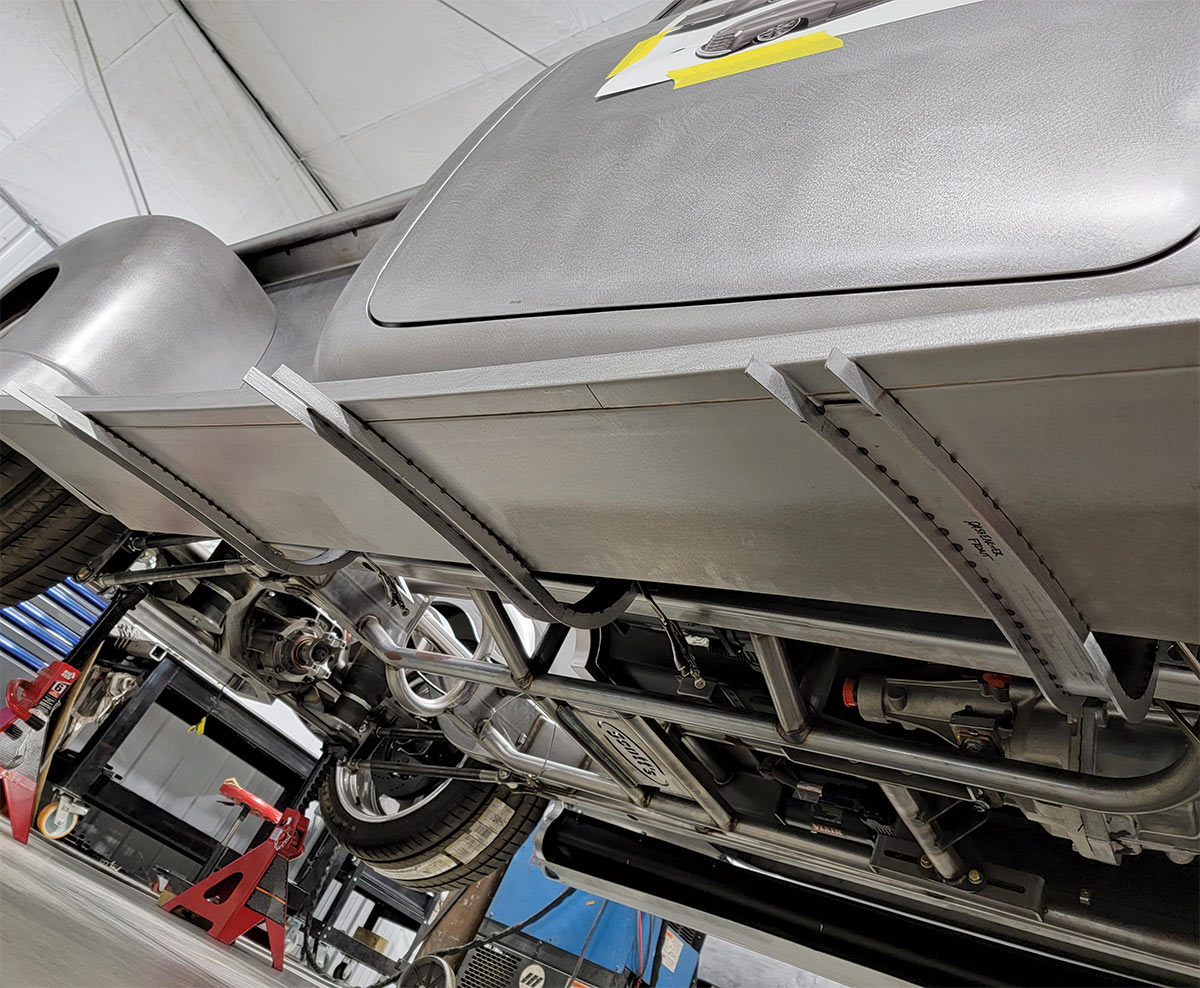
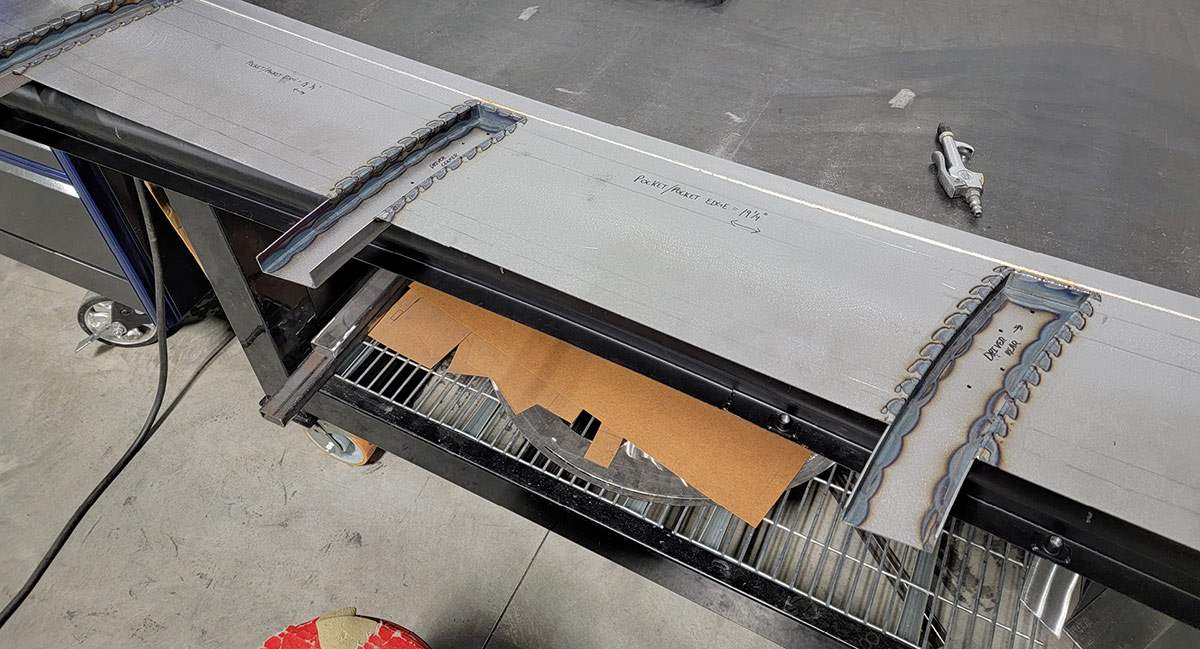
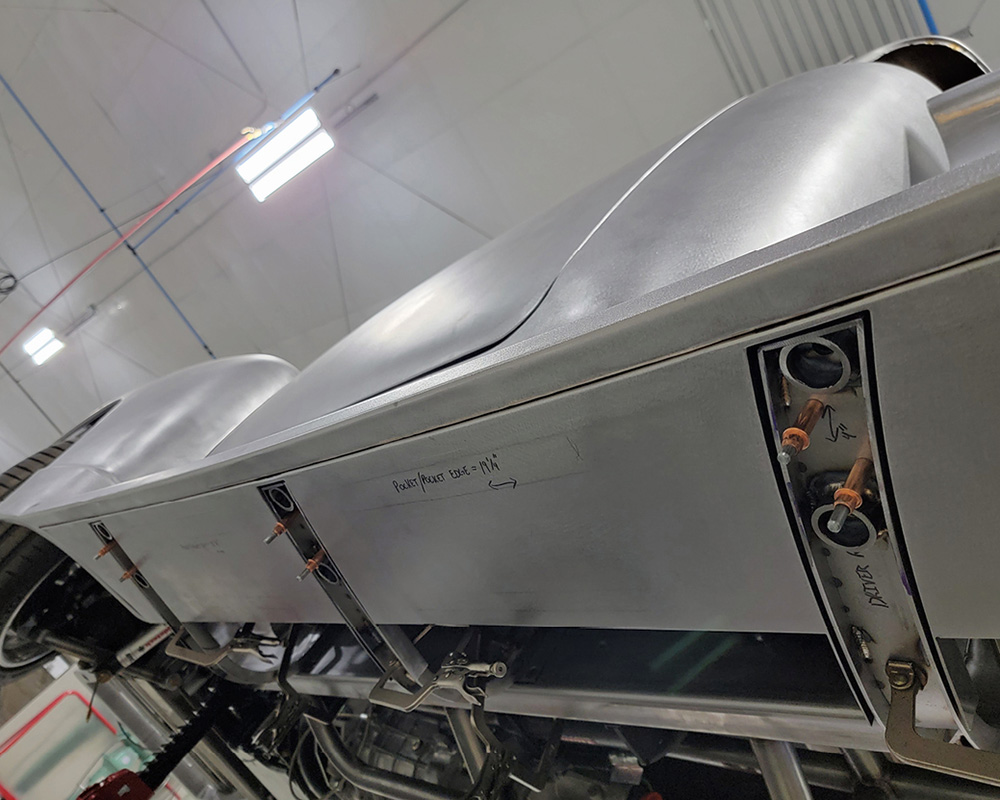
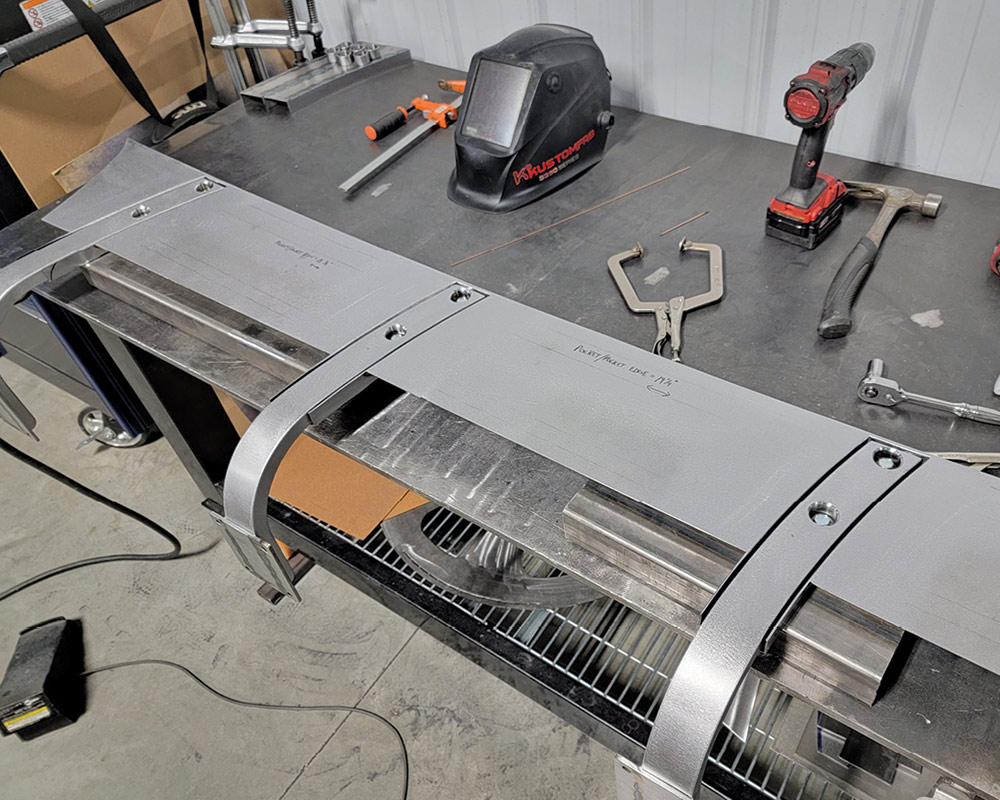
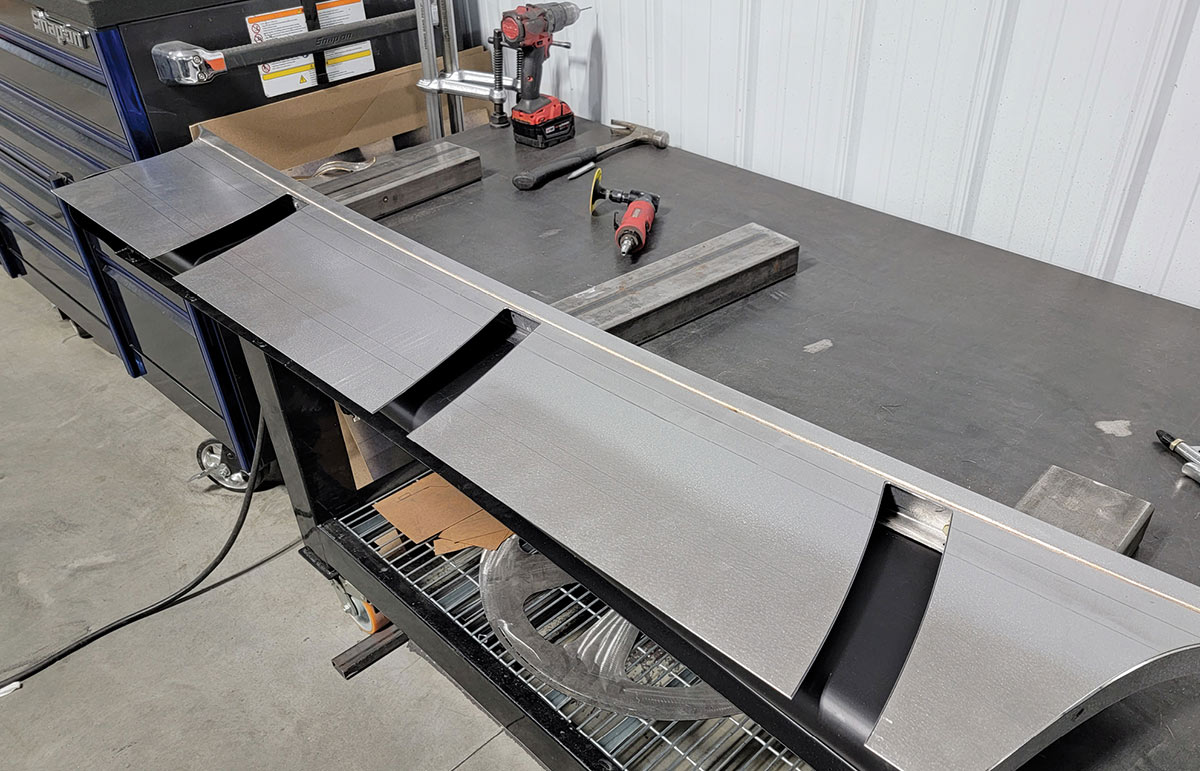
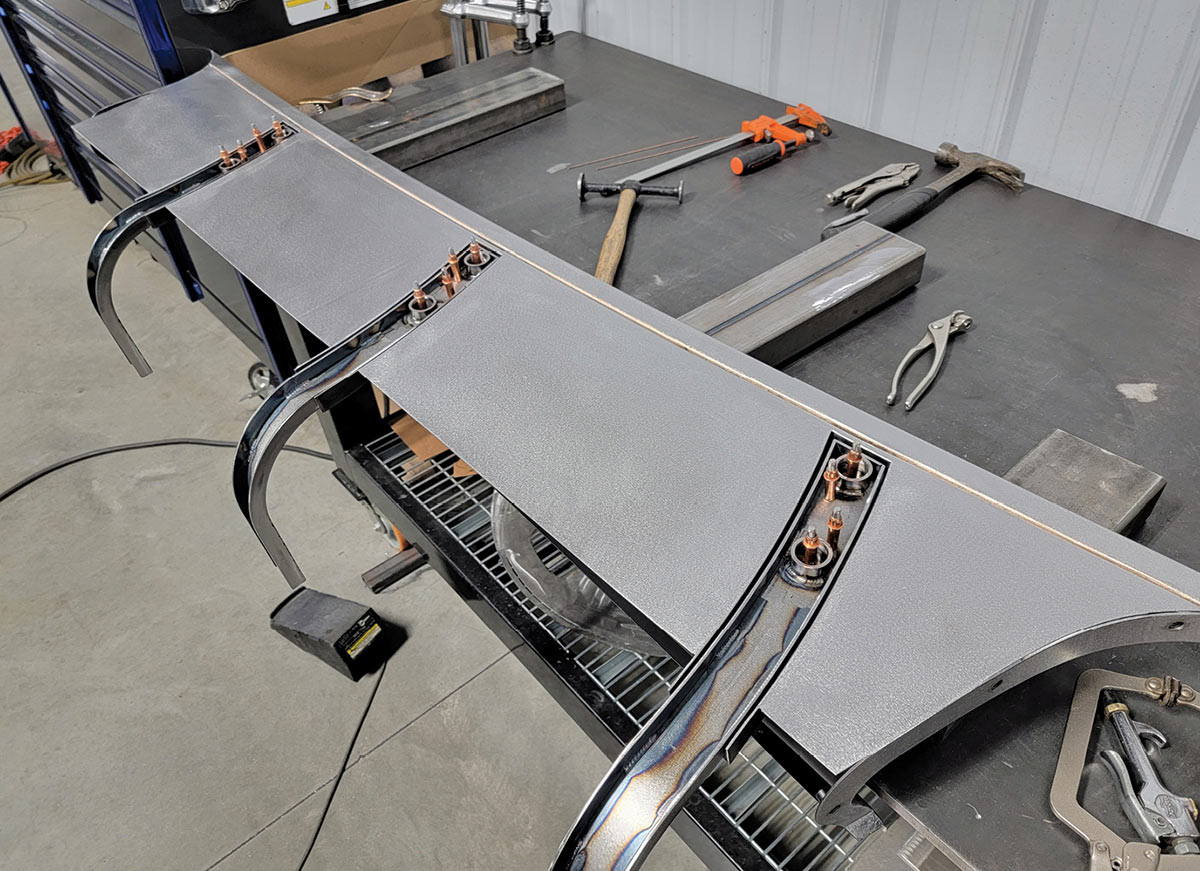
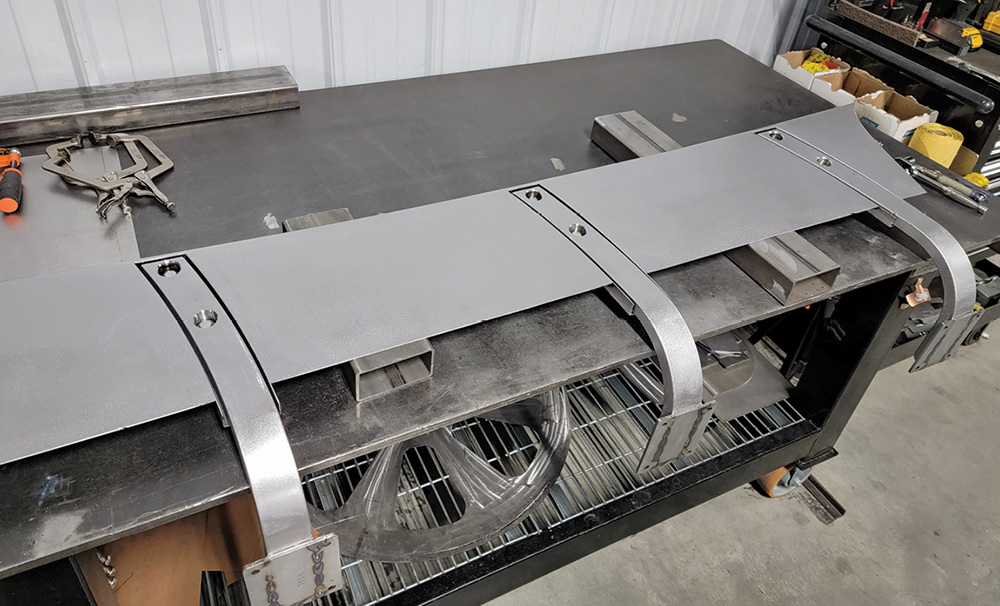
When I got to the running boards, they were, in a way, kind of self-explanatory. They had to be running boards for a ’50 Chevy pickup. Easy, right? We even had a rendering to build from, courtesy of Eric Brockmeyer, to make it easy. Well, as soon as I started, I figured out pretty quickly that the running boards that were drawn in Brockmeyer’s rendering weren’t really fitting for the truck; they seemed too stock looking. So, the first thing I did was radius and reverse curve the normally straight flatwall to give them much more character and to fit the truck a little better. These trucks have a ton of shape, and not many flat areas, so it seemed only right to add some significant shape at the very start to make them stand out. Once that was done, Justin told me that he wanted the corners of the running board to be flush to the fender so they didn’t look like they were just bolted on top of the fenders. The problem with that is, to my knowledge, there are only two ways to do that. The first is to make the entire bottom edge of the fenders as the running board, so the mounting flange and seam are horizontal along the top surface of the running board. It was certainly doable, but I had remade the bottom 8 inches of every fender on this truck so the last thing I wanted to do was cut them back off to make a running board. The second solution would be recessing them into the fenders instead. The problem with that is that the running boards typically slip between the front and rear fenders during installation. With recessed pockets, you would have to install one fender, then the running board, then the other fender, which I didn’t like. So I came up with the idea of recessing only the forward edge so you could still slip the running board out between the fenders but the front and rear edges would be recessed flush into the fenders. Another change from the rendering we have is the radiused leading edge from front to rear fender. In the rendering, the running board had a straightedge. While it looked fine in the rendering, in real life it made the running board look huge. So I put a very gradual radius from front to rear just to slim it down a little bit. Thankfully, this also added a whole lot of character to the truck without screaming ’90s street rod. We also decided to leave the top of the running boards smooth instead of making inserts in them, mainly because they had so much detail into them by this point already that any more detail would detract from the rest of the exterior of the truck being subtle and understated.
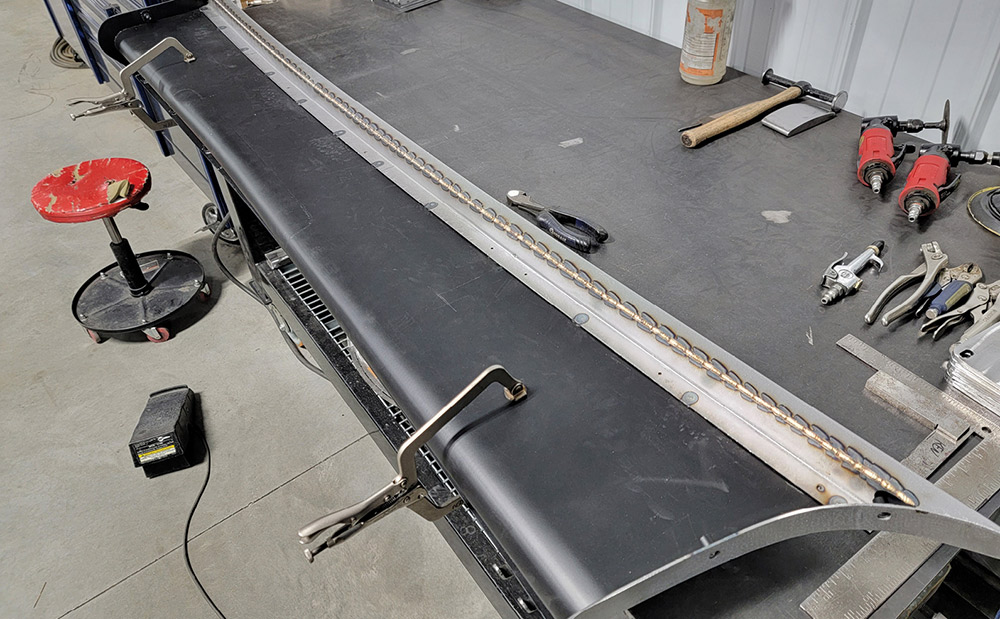
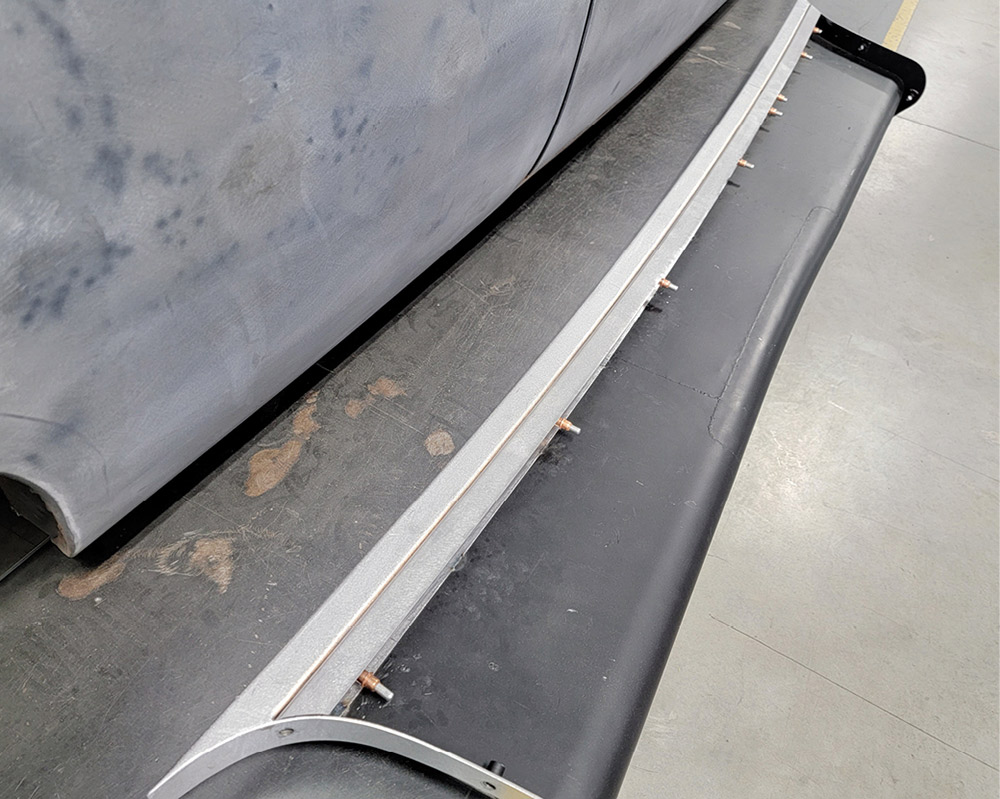
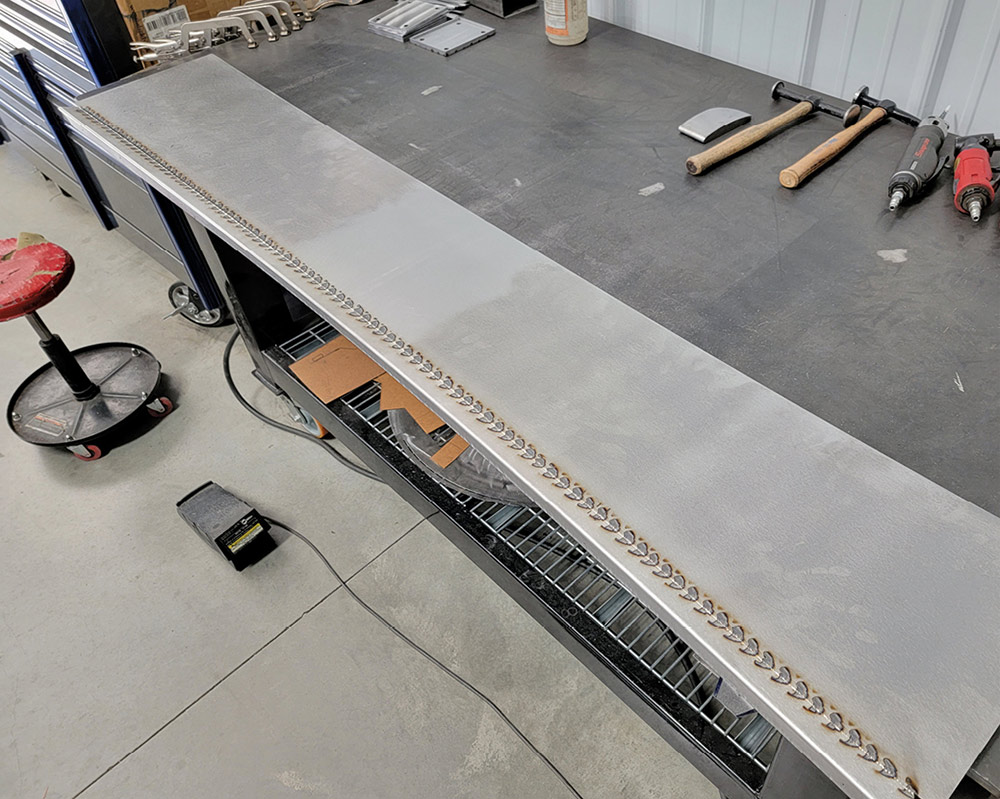
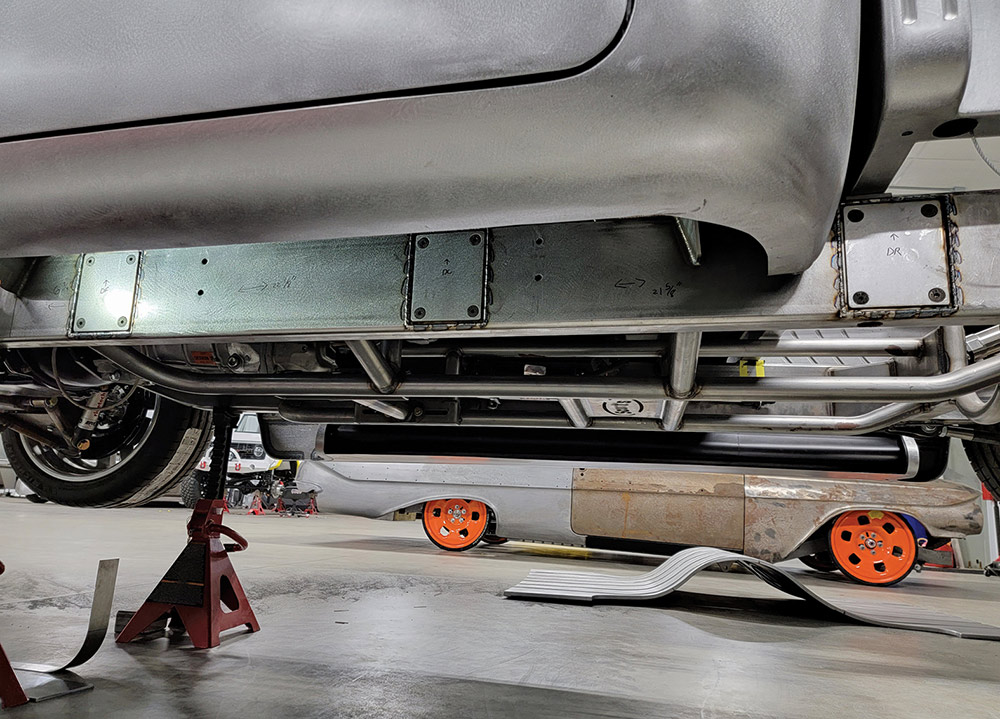
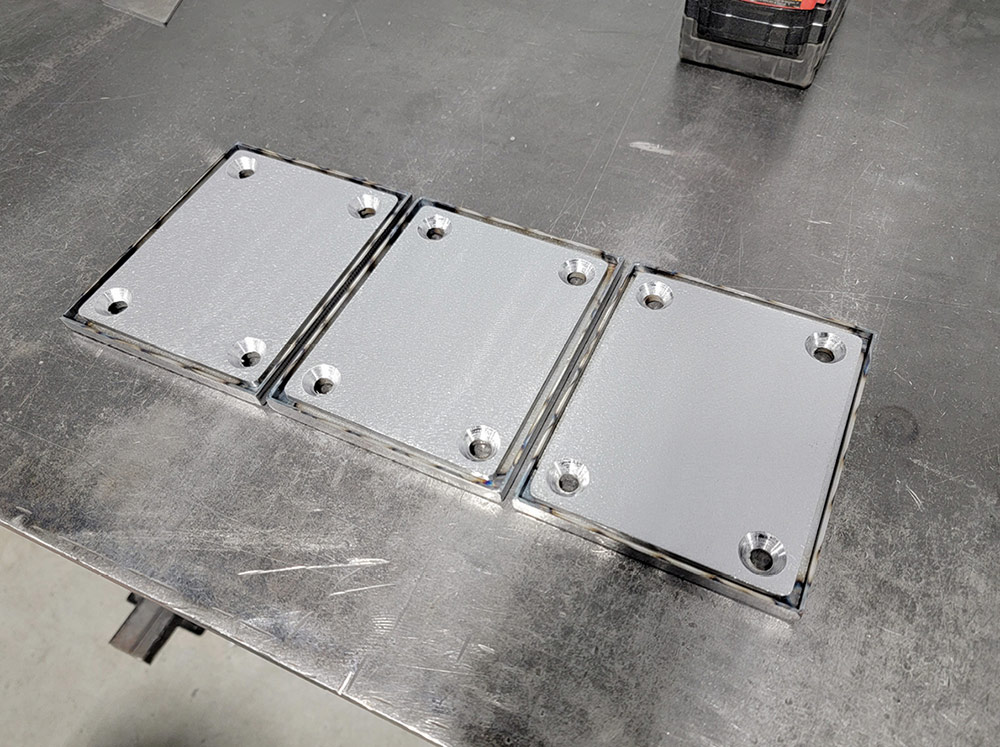
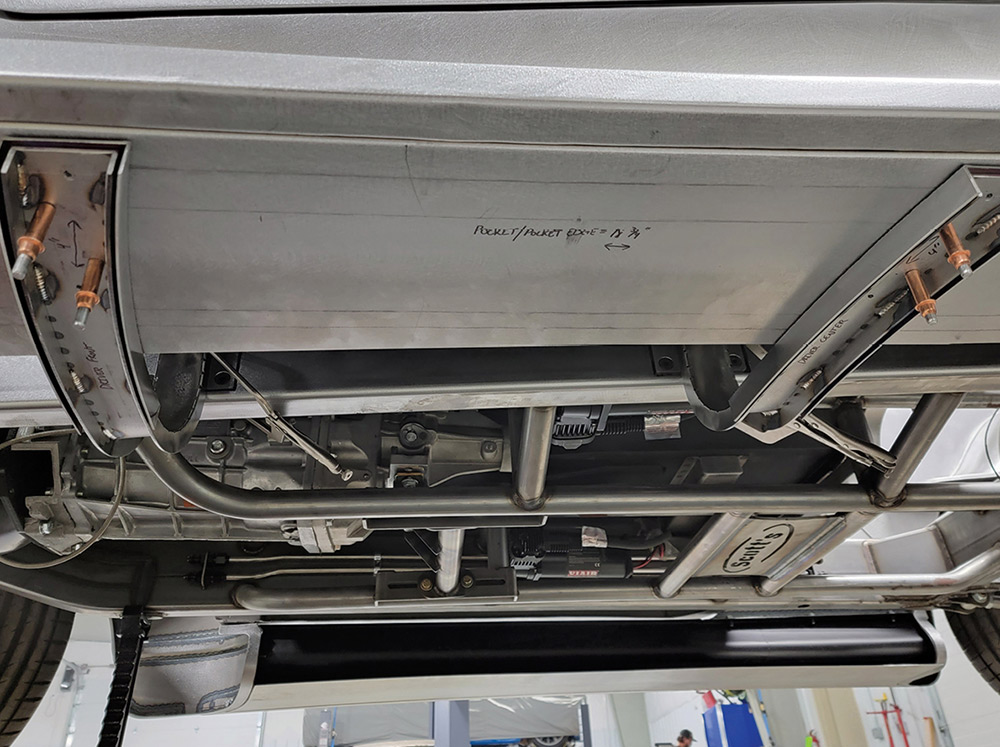
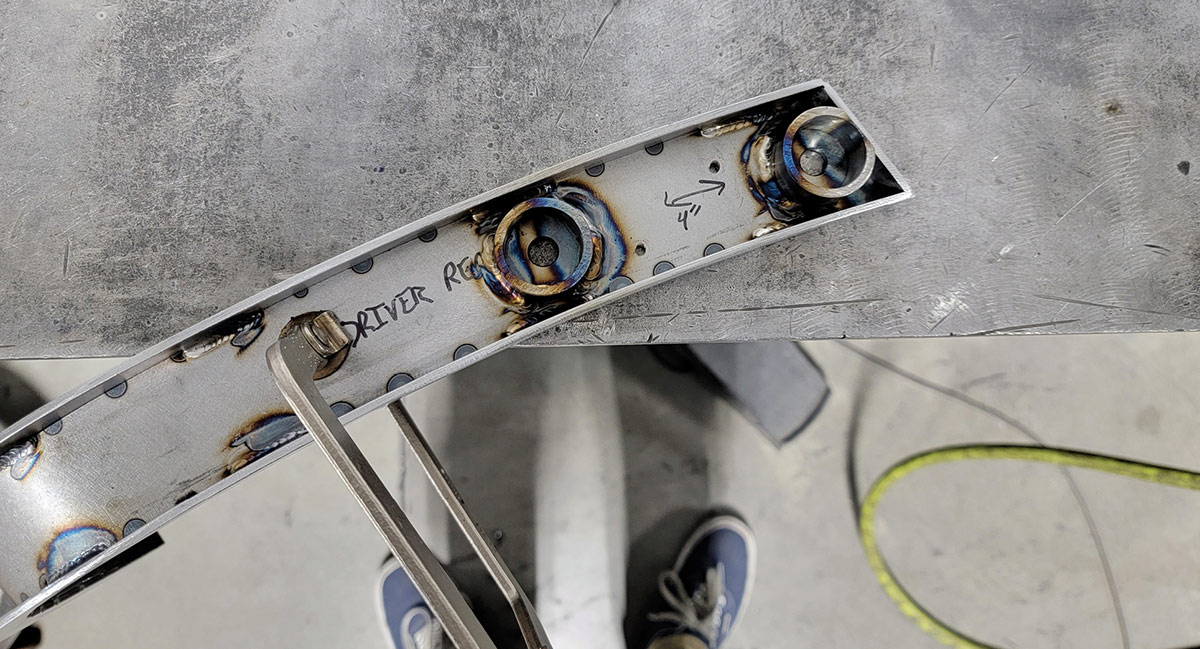
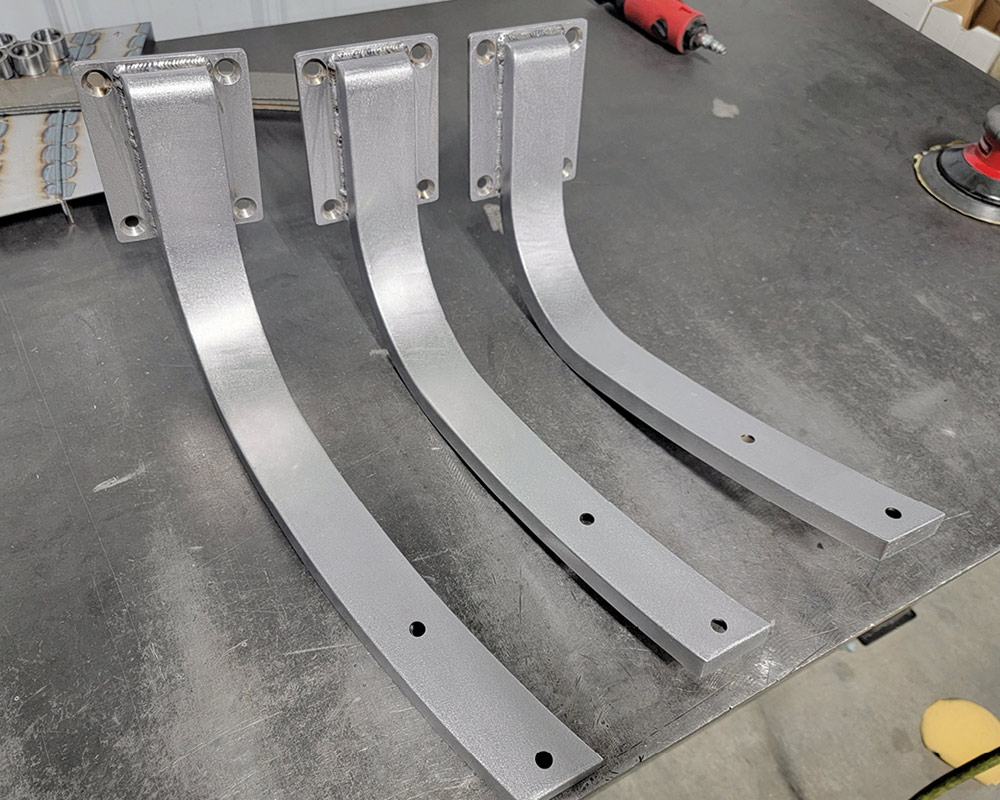
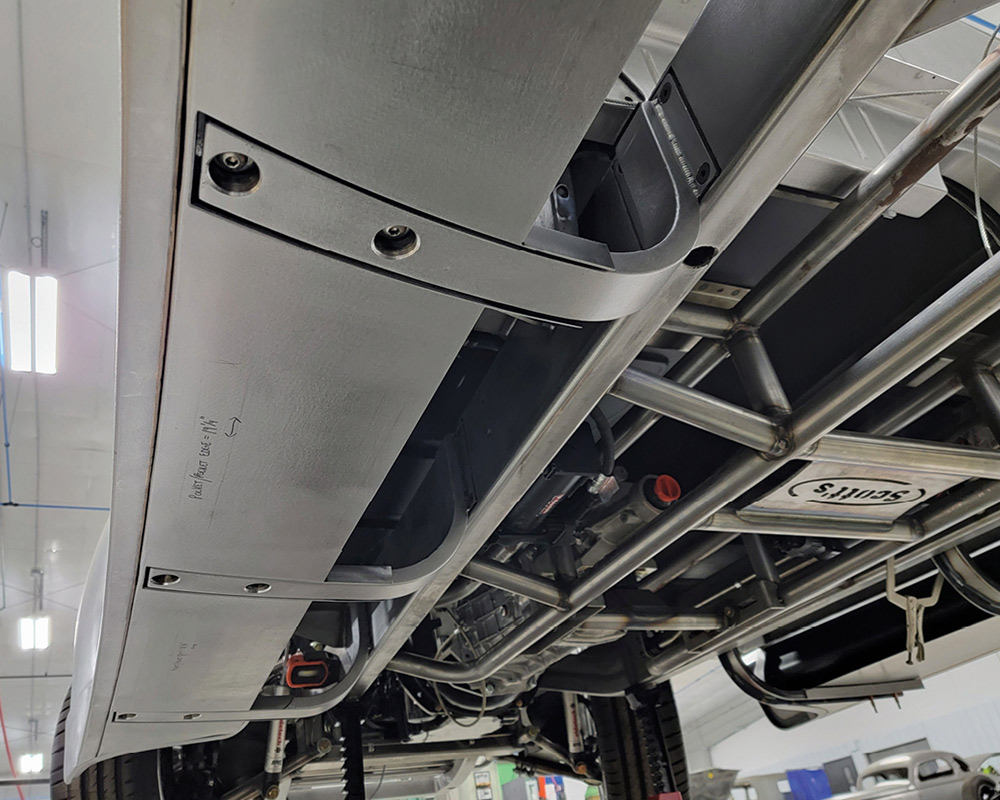
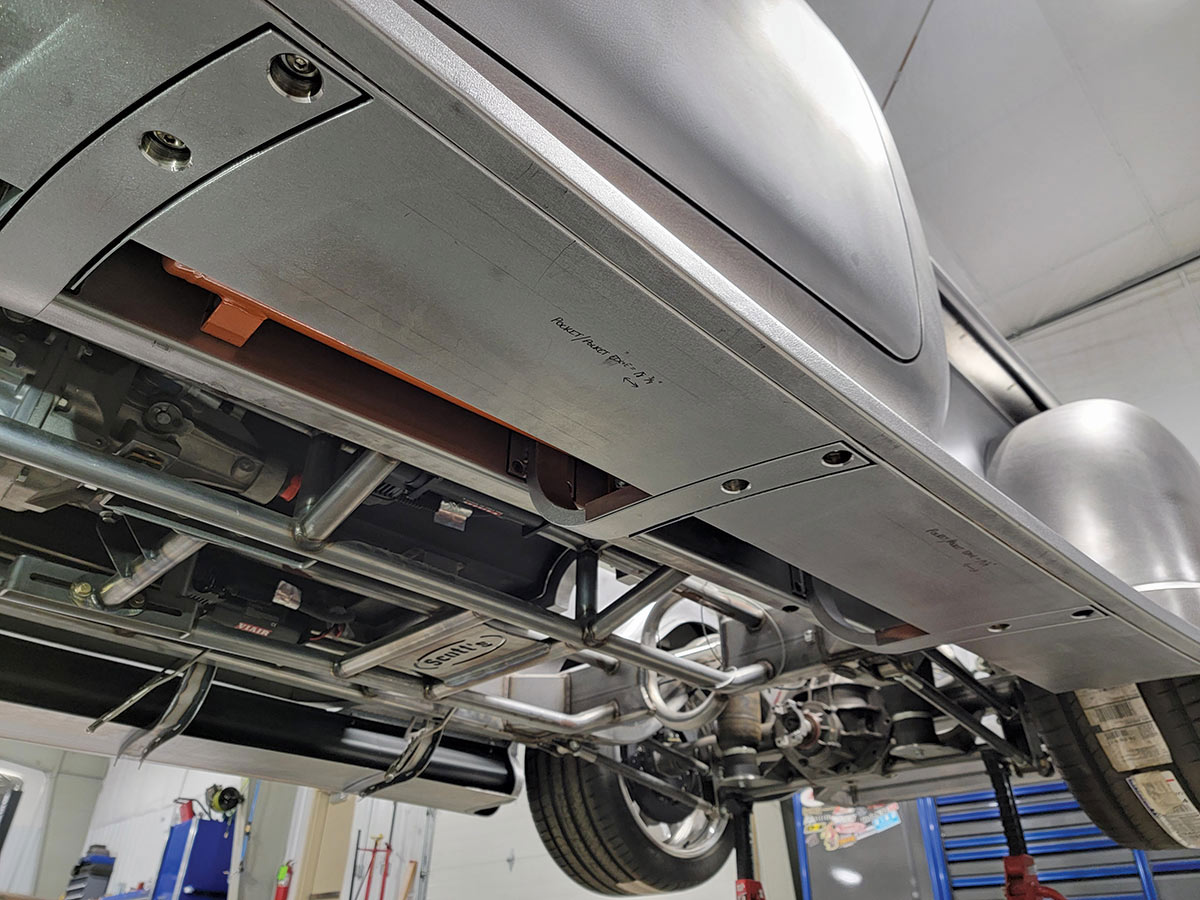
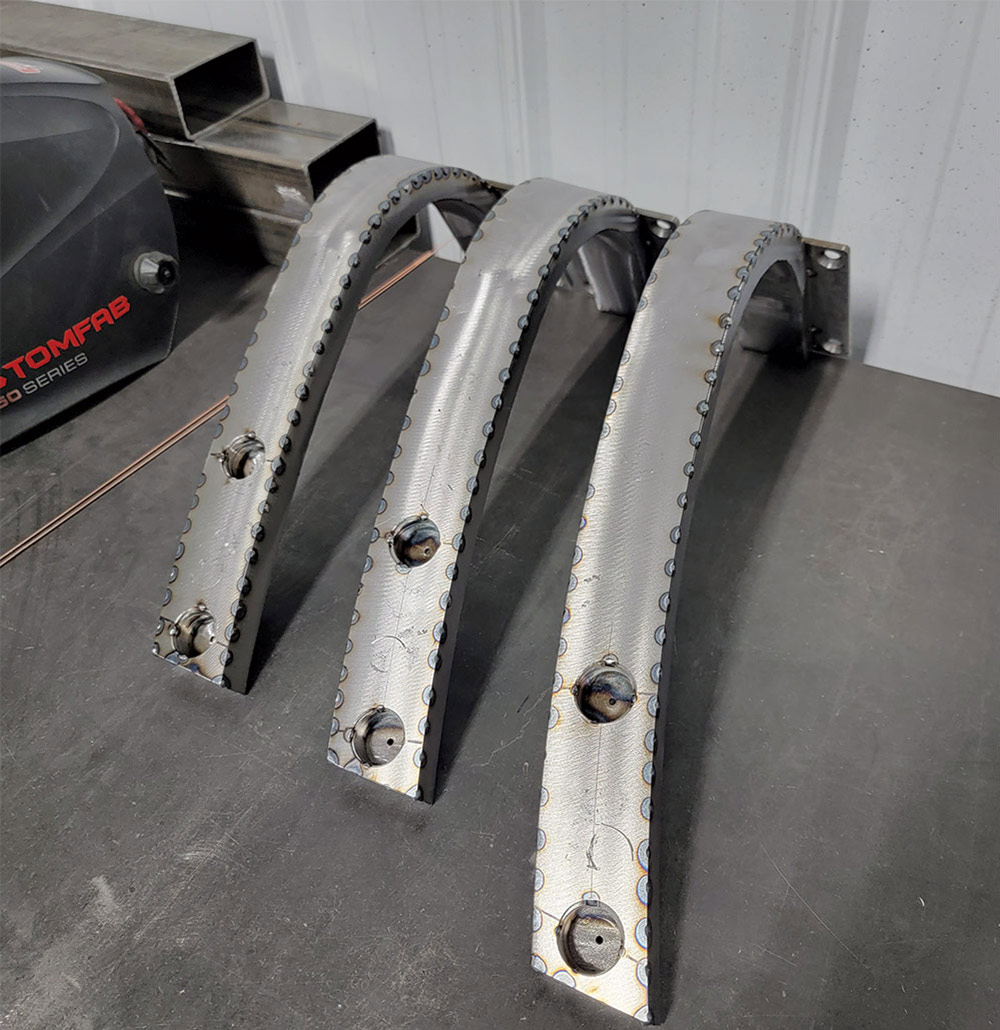
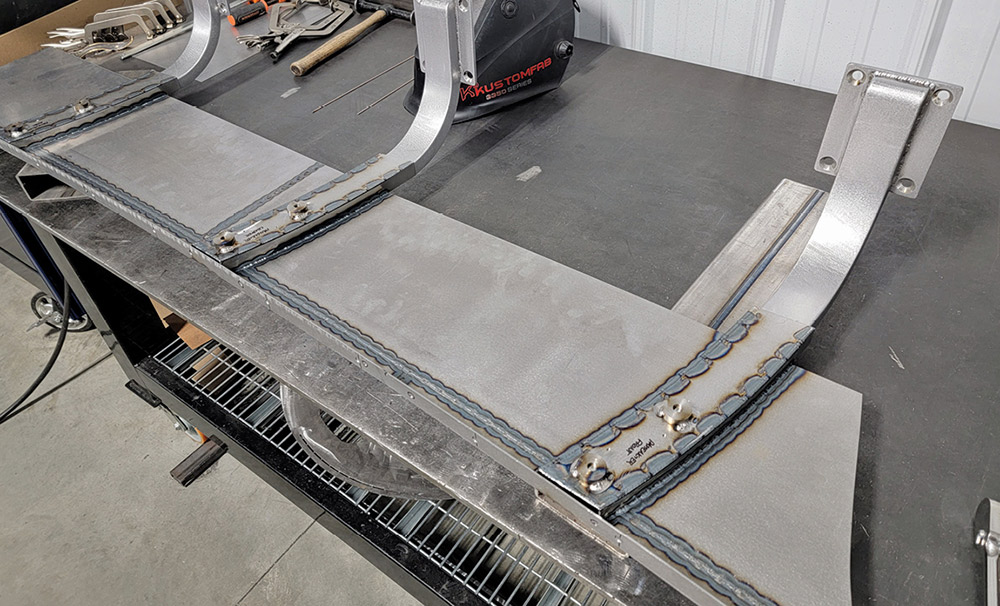
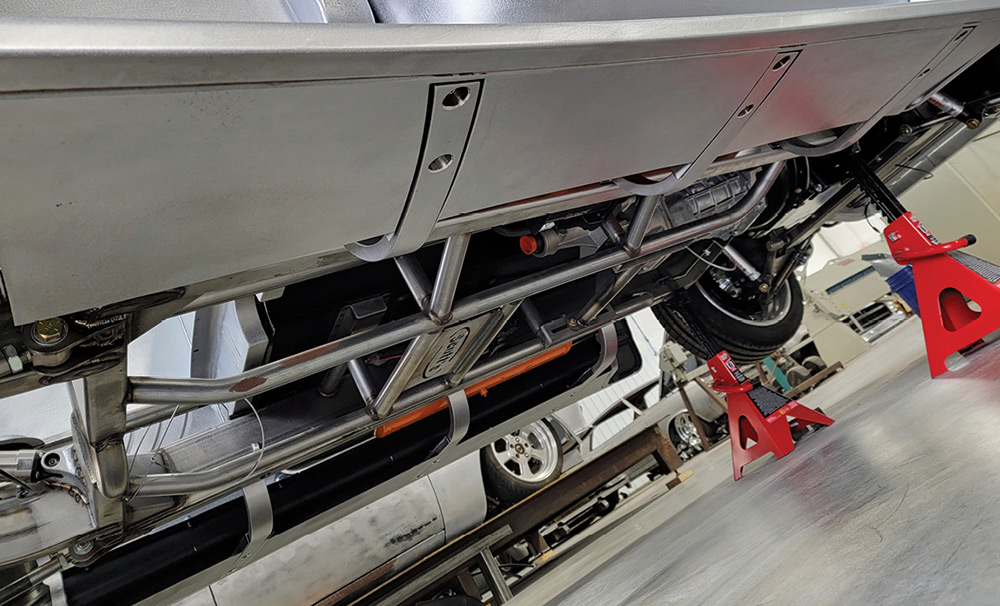
The running board mounts and underside of the running boards are a different beast entirely. I have a bad habit of drastically overdoing areas that won’t typically get seen by most of the general public. This area of the truck is no different. I had the idea of how to do the mounts before I even knew how we were going to do the running boards. I like things being recessed flush, and I took these mounts straight to that level. First, I started making the underside skin of the running board (which still isn’t finished at the time of writing this. I took a break to move onto something new) and once I had the main portion of the bottom skin in place I started making templates of the mounts. The mounts are radiused and every single one is handmade from plasma-cut/laser-cut parts and welded together/metal finished. I built these mounts three at a time, one side at a time, to keep everything consistent. They’re recessed flushed into the chassis, as well as recessed into the running board flush. When the truck is laid out on the ground, there is only a 1/2-inch gap between the bottom of the running board and the ground, so I didn’t exactly have the room to make mounts that stuck out farther than that. I still have to finish the bottom running board skin later on, and when the running boards are entirely finished, they’ll be double walled, entirely hollow, and have Boom Mat sound insulation lined inside of them for peace of mind.
Again, as with some of the other things on the truck, I didn’t have much inspiration going into building these running boards. I know what I personally think is badass, and I knew for sure that we didn’t want them to look completely stock or so custom that they didn’t fit the truck’s simplistic styling. When I got to the point of having to build the bottom skin so I could begin building the mounts, I had to reference another vehicle that we have in the shop just for a few ideas on how to get started, and how to finish. For the most part though, they were self-explanatory. One thing I will say is that it is kind of crazy how one panel can make a vehicle look so much more complete. I think it’s because it’s such a large panel that literally connects the front of the truck to the rear, but still, they make the truck look much more complete than before they were built, despite only being two panels.
In closing, I’d like to say thanks to a couple of my coworkers for helping me out along the way. Henry, for allowing me to use the vehicle that he had built running boards for as a bit of a reference to get a better idea of what to do, especially on the bottom side of the running boards. (This is the first set of running boards I’ve ever made, so having something else to look at to get any sort of idea is incredibly helpful.) Shawn, for being my second set of eyes to make sure things look right as well as giving me interesting ideas or features that I wouldn’t have thought of. Also to Justin and Scott’s Hotrods for having me, and Brian, for allowing us to take his truck to a level that, dare I say, few, if any, Advance Design trucks ever get to. I often get asked if we’re building this truck for the Ridler award (we would already be disqualified if we were) or some other prestigious award, and the answer is no. Our goal for this truck is to build a badass truck. We’re not shooting for any specific awards. Whatever we eventually get when the truck is finished is just a bonus.