Tech
Tech
InTheGarageMedia.com
 Photography & Videography BY Taylor Kempkes
t’s hard to believe just how popular the GM OBS ’88-98 trucks and ’92-99 Tahoes have become, especially since a few of us in the office recall covering these trucks when they were new! Back then it was all about stance, the right wheels, a few billet accessories, and graphics or color choices. Come to think of it, that’s not too far off from what we’re seeing these days, either!
The good news is that there are a lot more aftermarket components available to upgrade an OBS better than before, ranging from coilover suspension systems to LS swap kits and new instrument panels. Since there were so many of these trucks and their SUV counterparts built, there are also plenty of replacement mechanical parts to help keep your OBS rolling, or in our case, stopping!
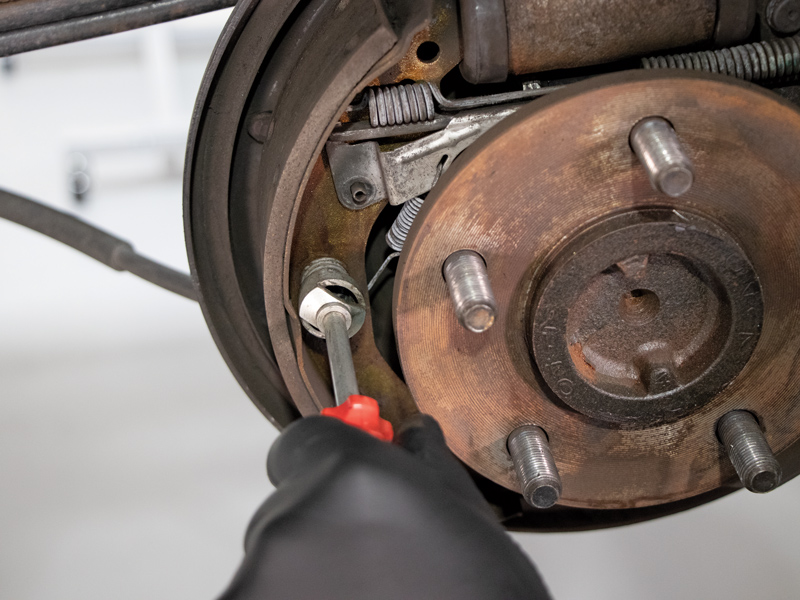
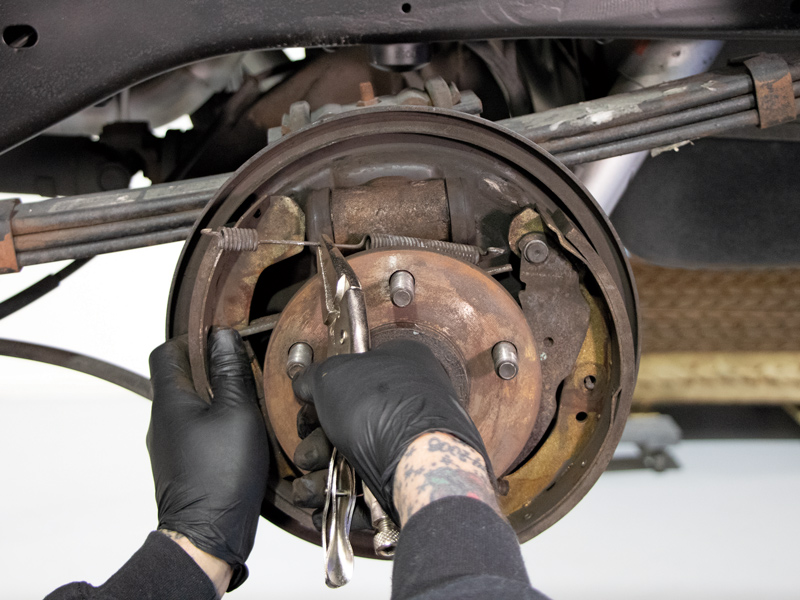
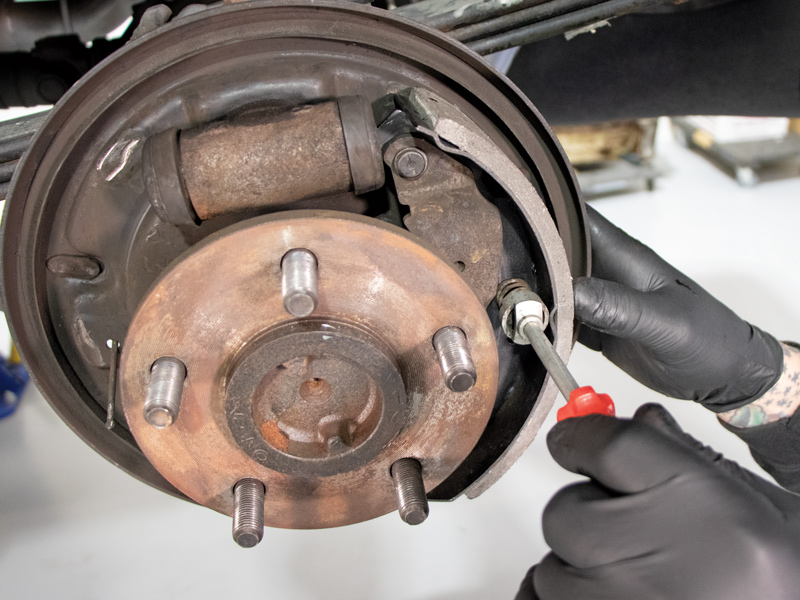
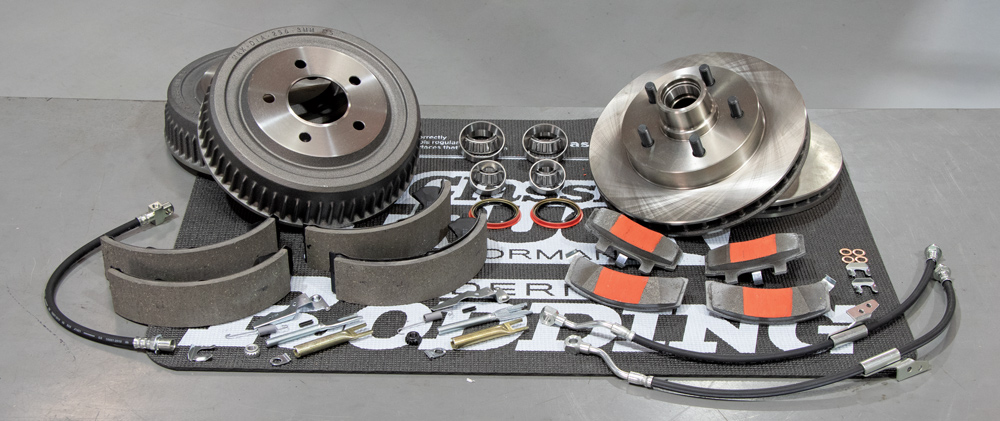
The brakes in our ’98 Tahoe have been in need of some maintenance and TLC for a while, but for our application, stepping up to a larger four-wheel disc system just wasn’t necessary. Instead, we planned to update the original disc/drum combination with new components from Duralast.
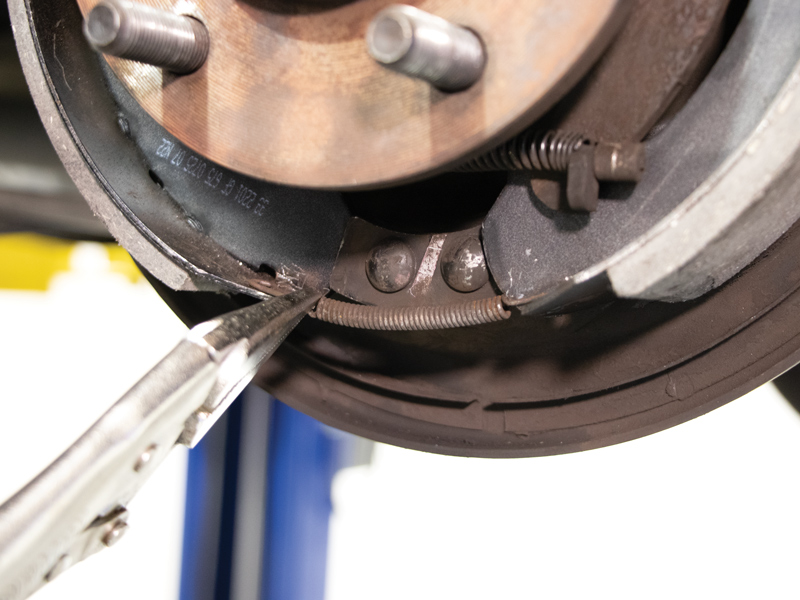
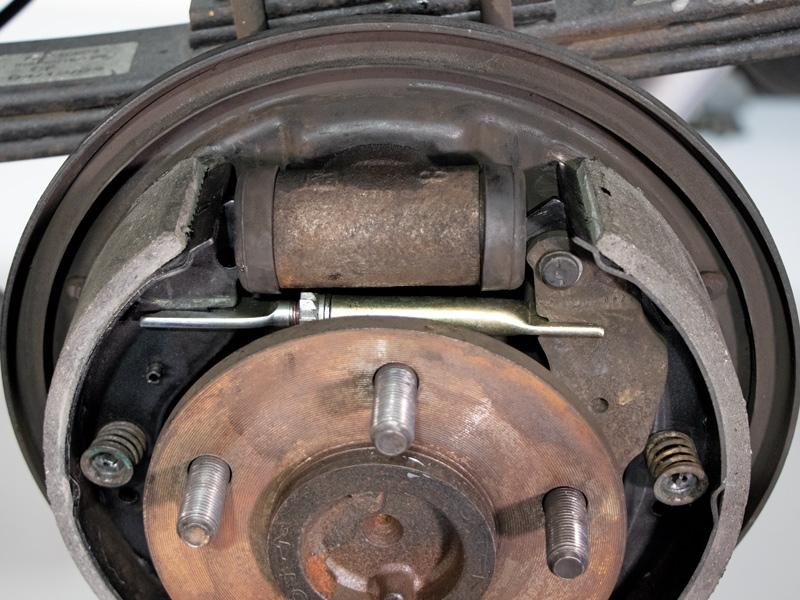
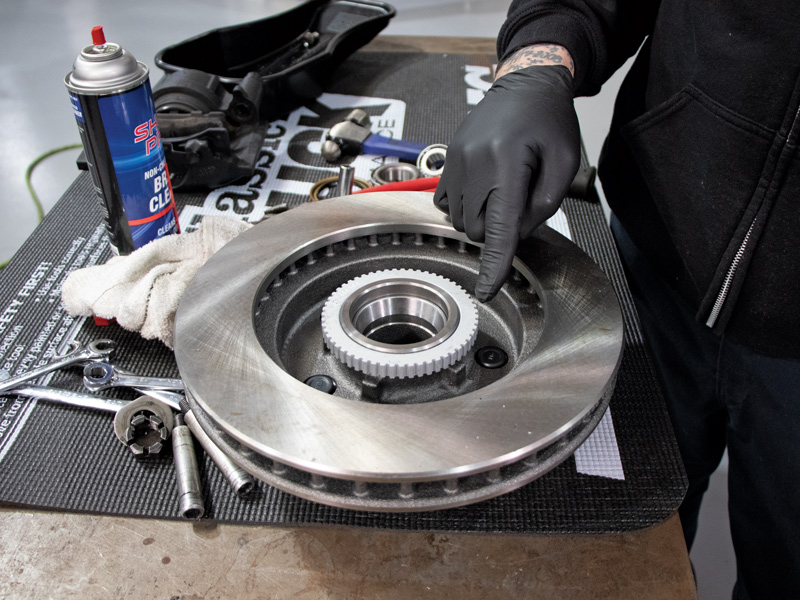
Duralast reverse engineers their parts from the original equipment, and they add upgrades where needed. We opted for their Severe Duty brake pads (PN D369SD) and rotors (PN 5595SD), which are engineered for improved thermal stability to resist brake fade in heavier vehicles. This consistent braking performance will be aided with new Duralast drums (PN 8972) and shoes (PN 8972).
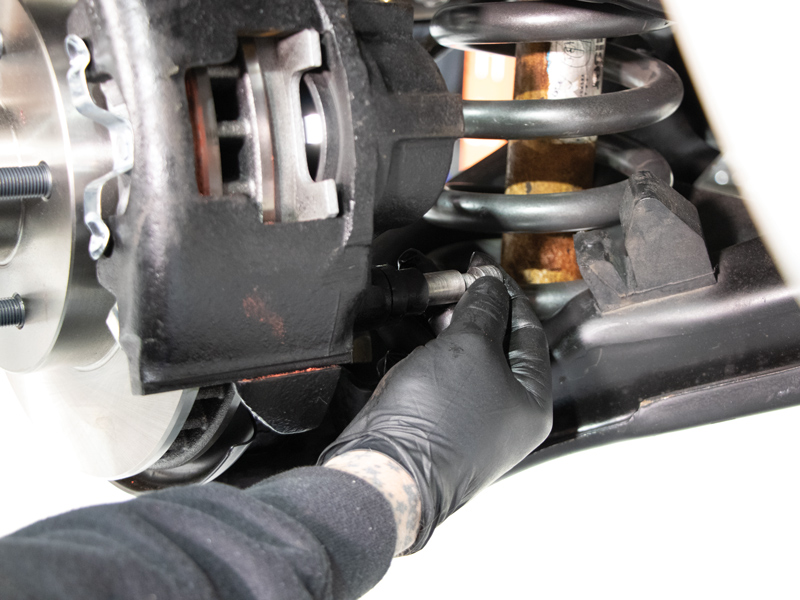
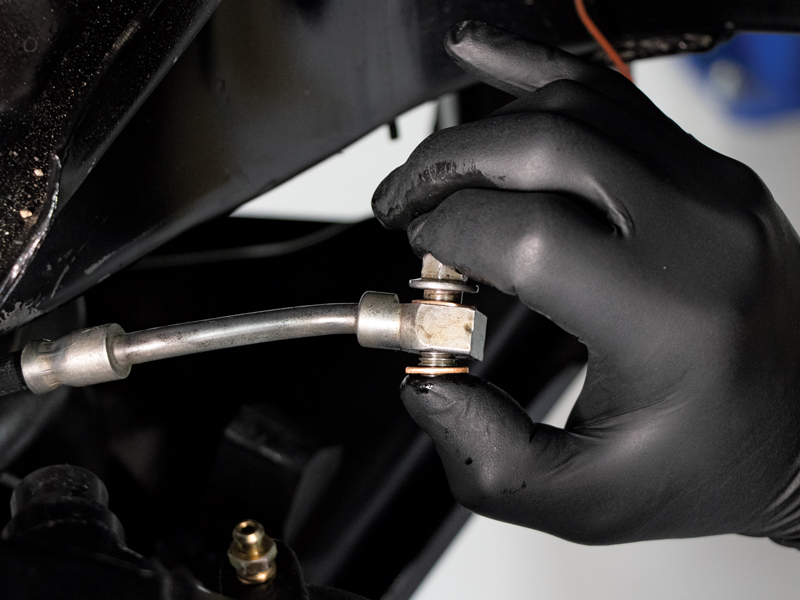
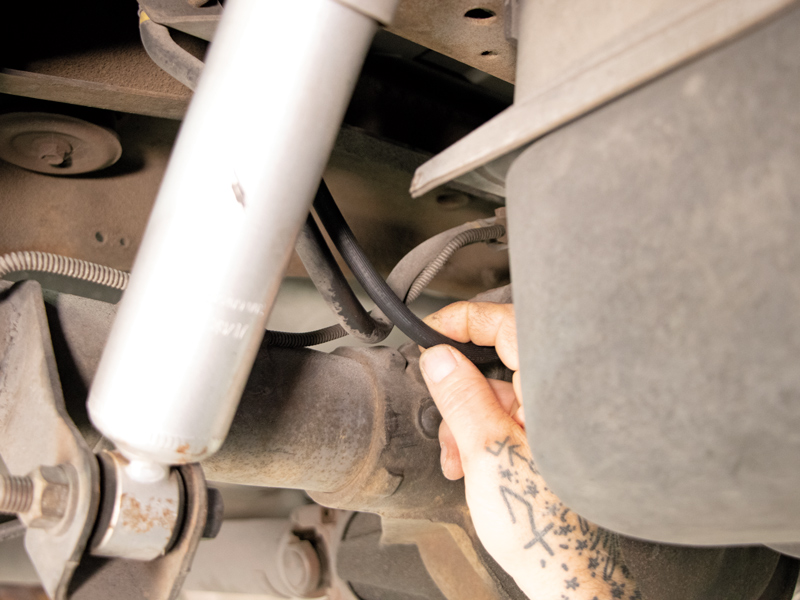
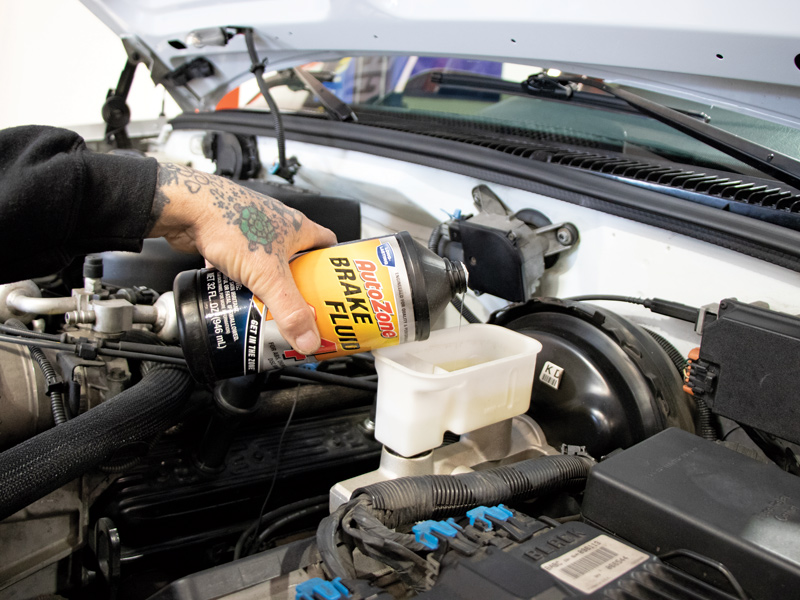
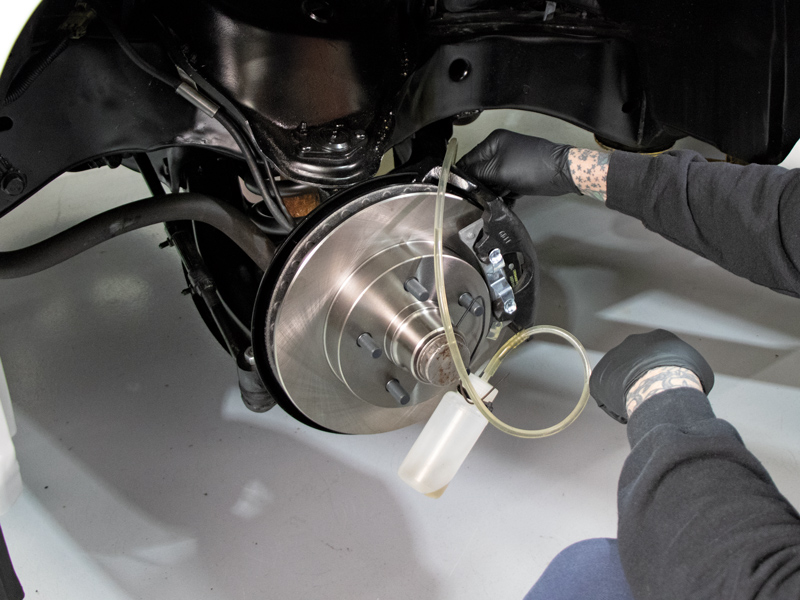
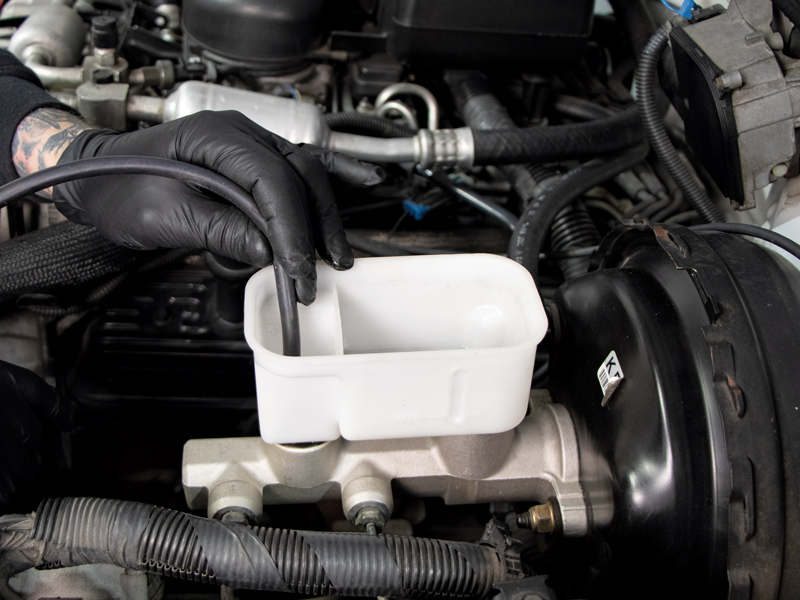
As for the installation, one extra step we highly recommend for these older trucks is to drain and flush out the old fluid. We honestly had no idea how long the fluid had been in our Tahoe so we siphoned the fluid from the master cylinder and when we replaced the Duralast flex lines we let the fluid drain from the hard lines. Once everything was reassembled, the brakes were bled and fresh fluid was pumping through the entire system.
Thanks to Duralast and their emphasis on OE fit, form, and function, our Tahoe is stopping safely and better than new. Follow along as we run through the process.
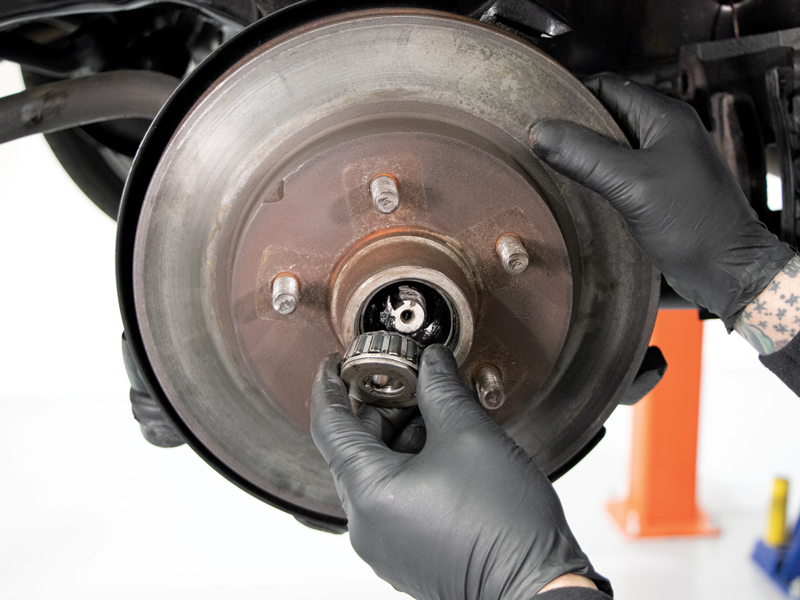
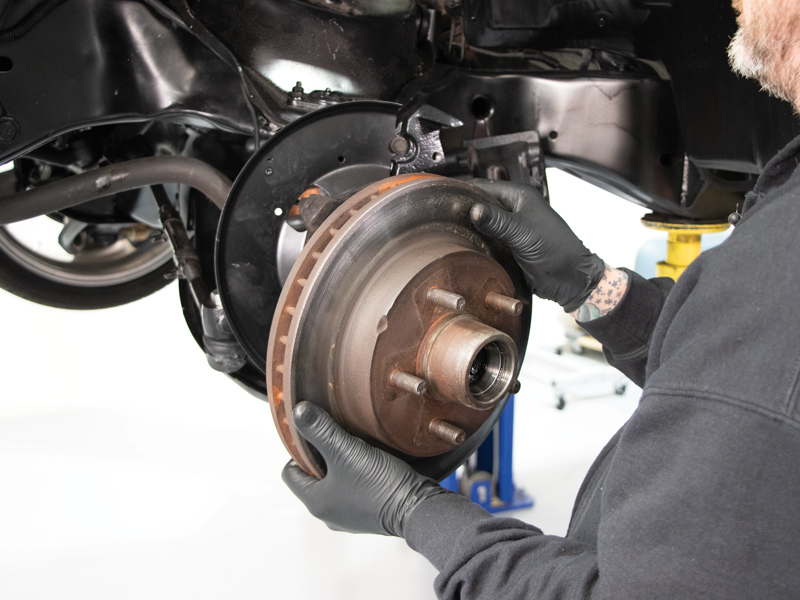
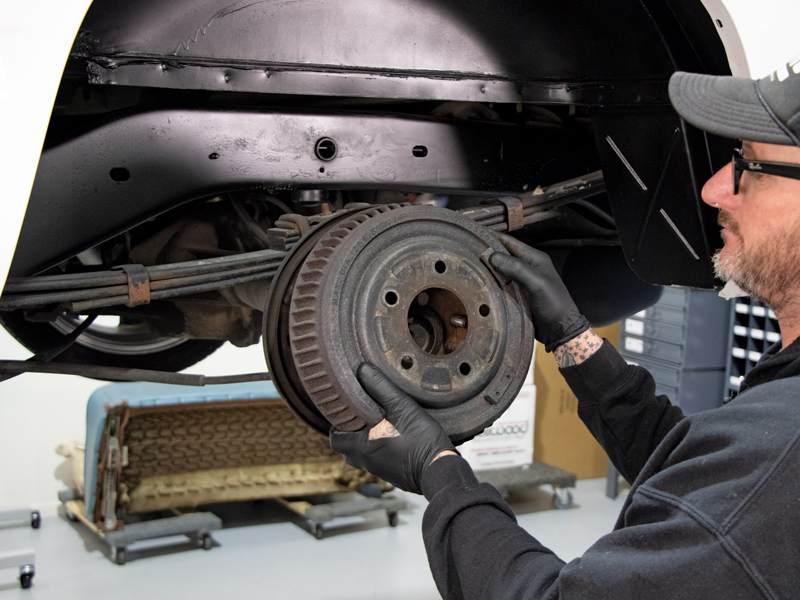
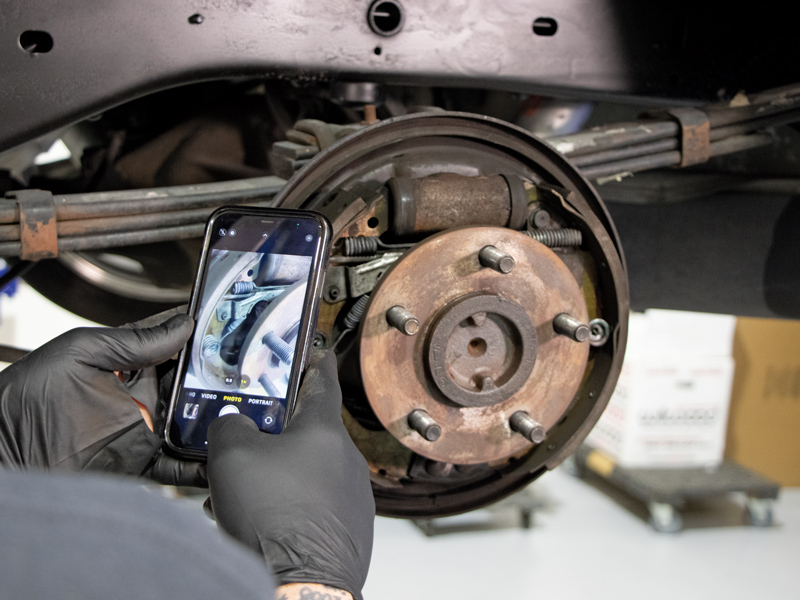
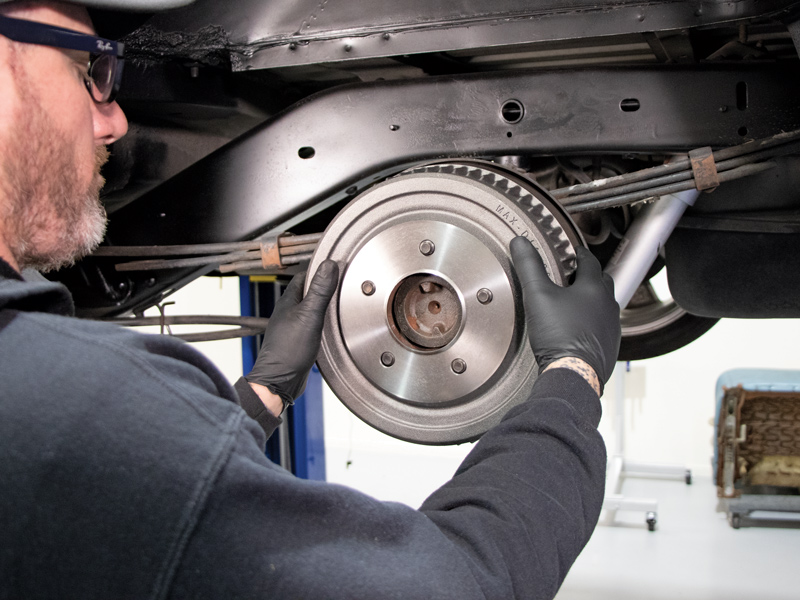
5-6. The well-worn rotor was removed by pulling the cotter pin, castle nut, and outer bearing. To our surprise, there wasn’t a lot of grease in the bearing but we planned to replace them anyway, along with new Duralast rotors.
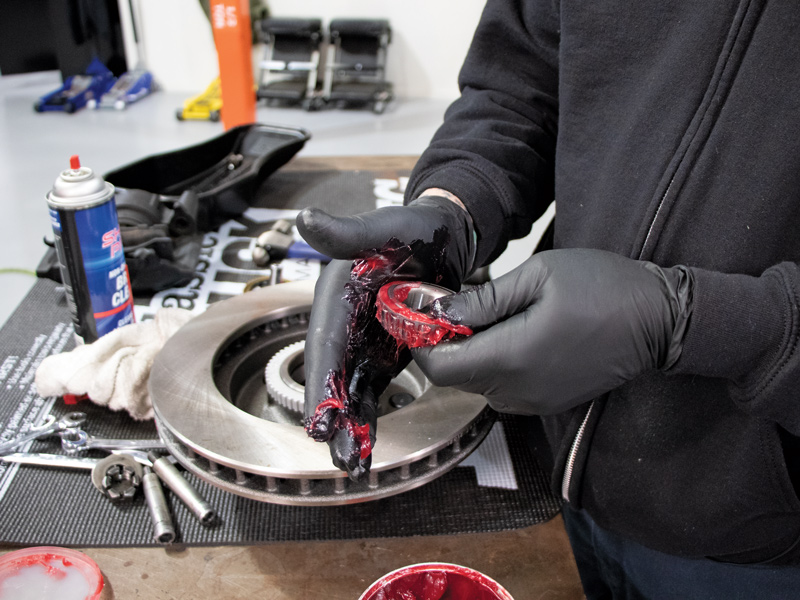
8-9. It’s always a good feeling to see that fresh high-temp grease squeezing into every crevice of a new bearing! Always replace the inner seal and be sure to seat it squarely into place.
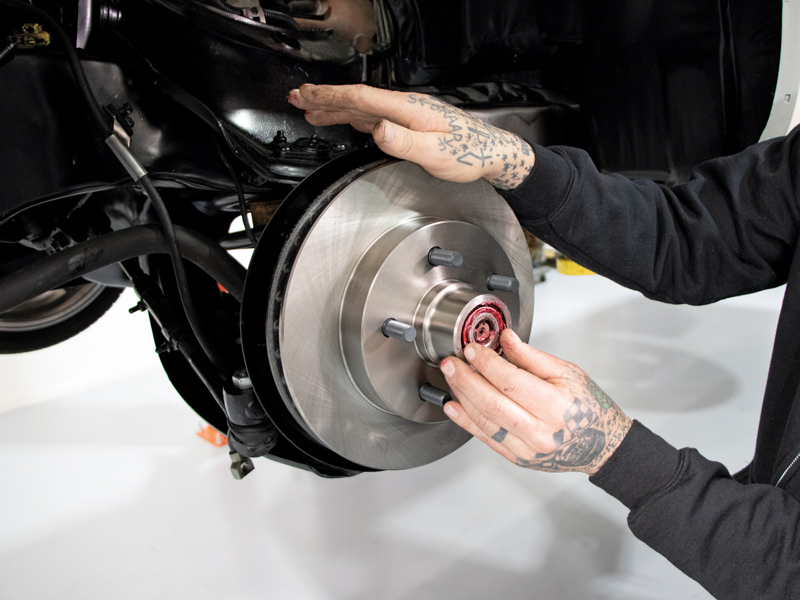
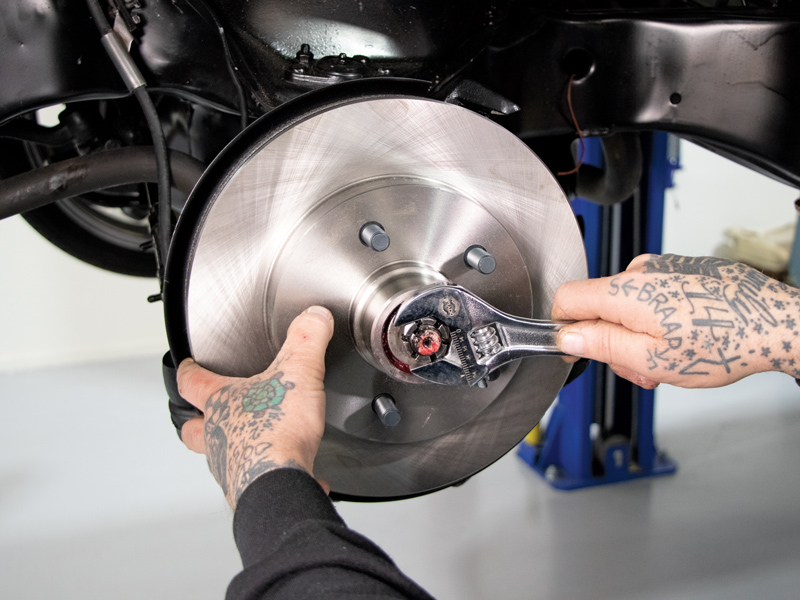
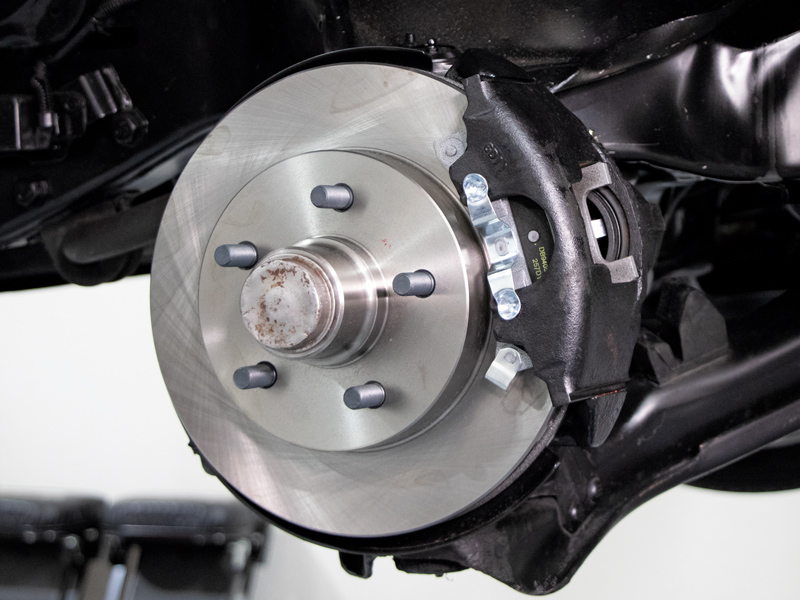
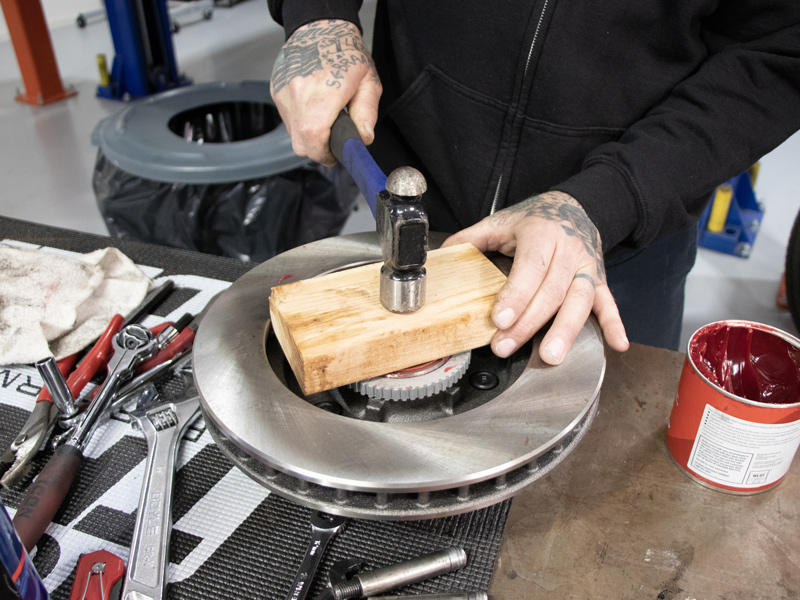
10-11. After applying a bit of grease to the cleaned spindle shaft, the new rotor and spindle was slid into place, followed by the washer and castle nut. As the nut tightens, rotate the rotor to get the new bearings to seat and settle before setting the preload and installing a new cotter pin.
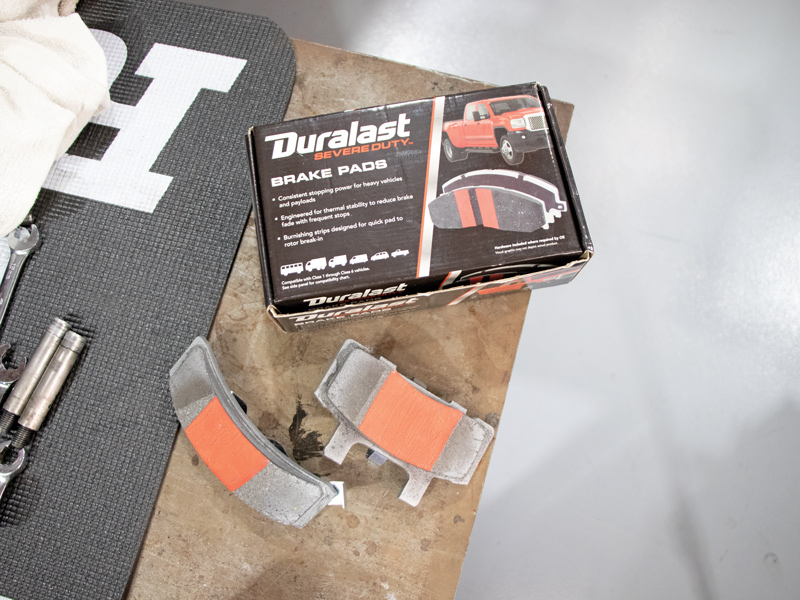
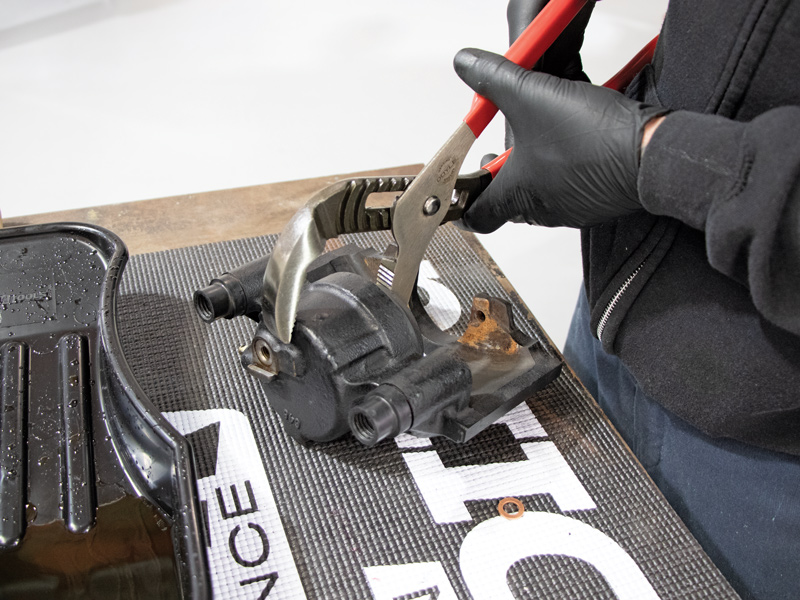
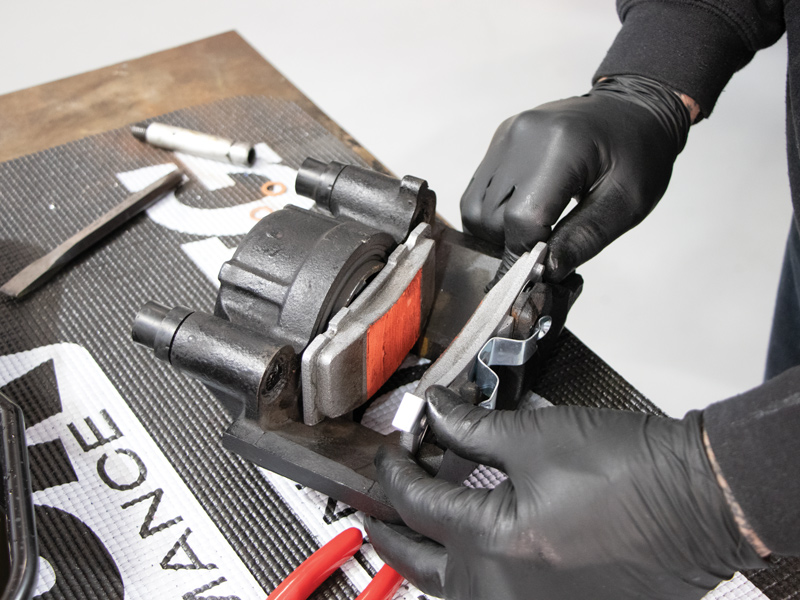
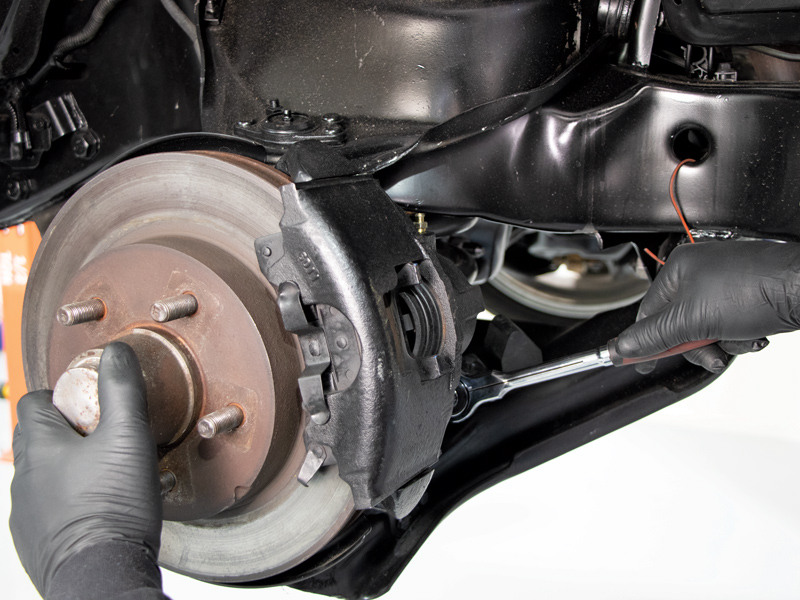
13-14. After draining the fluid and cleaning up the calipers, we installed the fresh brake pads. Each pad has a four-layer, professional-grade shim with 35 percent thicker steel and galvanized plating for corrosion resistance, more dampening, and quieter braking.