CTP logoFeature star Tech
InTheGarageMedia.com
BY CTP STAFFPhotography BY CTP STAFF
Crate Engine
Installation 101
How to Make it a Simple, One-Stop, Worry-Free Job
I

f you’ve ever owned a late-’60s and newer classic truck (Chevy or Ford and even Dodge), chances are you’ve done a crate engine install in your time. And if not, there’s always the likelihood you will sooner or later.

While the LS swap is still all the rage—and will continue to be for years to come—some of us are completely fine with the traditional small-block V-8 in its naturally aspirated form! So when we come upon that potential truck project with a non-running engine, the first thing to come to mind isn’t how much it’s going to cost to install even a salvaged LS engine and trans, rather, how easy it will be to get her back up and running with a new replacement crate engine! Above and beyond the direct-replacement aspect, it’s much more affordable to purchase a brand-new long-block V-8 along with all the install incidentals than it is to go the previously owned LS route.

There’s even another aspect that can make any small-block engine install as simple and pain-free as possible: Duralast original-equipment quality—and better—parts. Whether it’s a water pump or engine mounts, radiator or ignition coil, every possible component you can imagine needing to help facilitate your installation is available through their expansive website (for parts availability and applications visit duralastparts.com or for parts purchasing visit autozone.com or autozonepro.com).

The great thing about using Duralast parts and accessories is, unlike your garden variety over-the-counter auto parts store brands (even with their so-called “lifetime replacement warranties”), you get the peace of mind knowing you’re installing OE-quality components that fit as they’re intended—plus Duralast parts are also backed by warranties. That in and of itself is better assurance than any implied warranty that requires your time and labor to remove, exchange, and replace said competitor’s parts!

Prior to the original small-block in this 1979 Chevy C10 finally deciding to call it quits, in anticipation we’d acquired a long-block from Gandrud Chevrolet. When that day of retirement came, however, we were ill-prepared as far as all the installation incidentals were concerned … that is, until we logged onto the our autozonepro.com account and literally found—and purchased—each and every part needed to complete the job, leaving us without the hassle of running back and forth to the parts store so we could spend the day swapping out the old for the new and getting the old girl back on the road where she belongs!
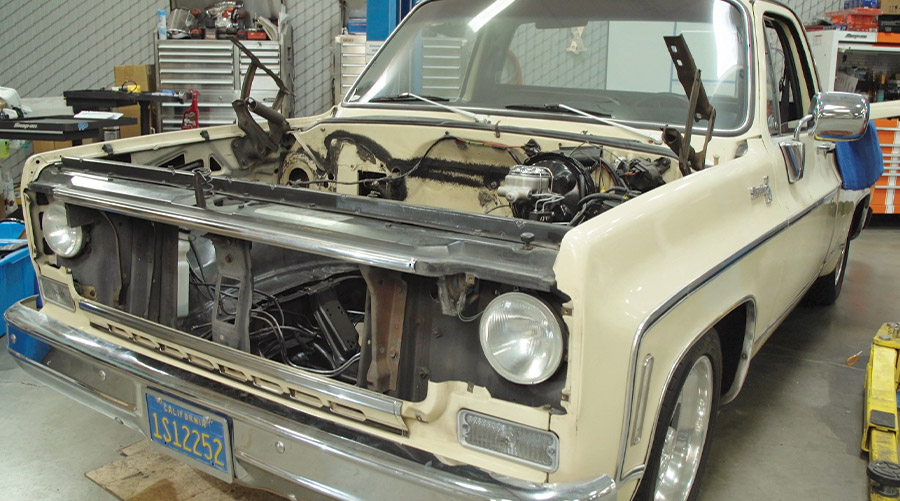
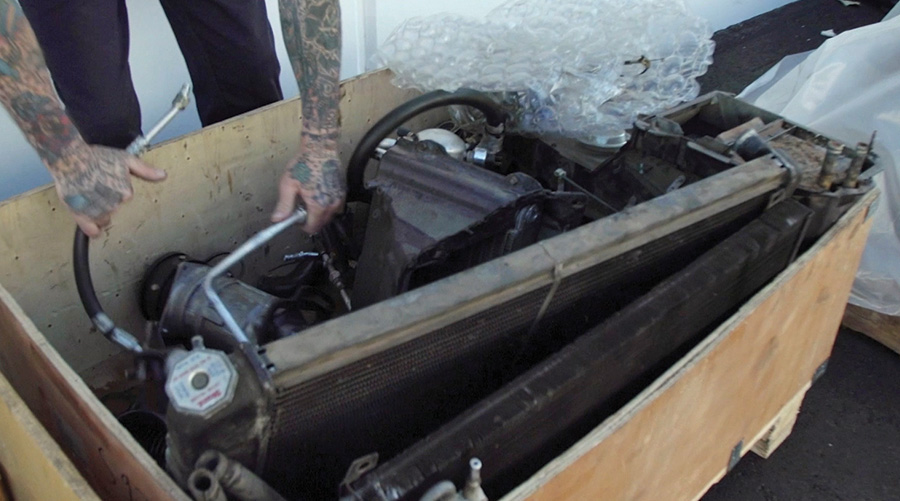
Hood/grille removed
1. Hood/grille removed … (re)tired engine pulled … exhausted old parts and accessories placed appropriately in the “scrap bin,” all in preparation of installing a fresh new crate 350 long-block in our 1979 Chevy C10.
350 long-block from Gandrud Chevrolet unboxing
350 long-block from Gandrud Chevrolet unboxed close-up
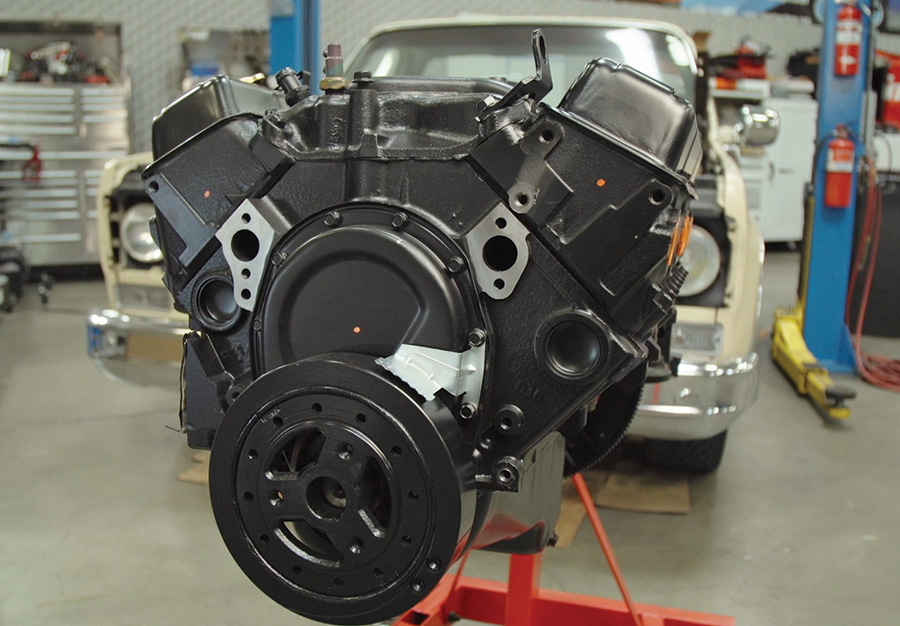
2-3. With the old V-8 out of the way and the engine bay cleaned and prepped, focus centered on the crate replacement: our new 350 long-block from Gandrud Chevrolet. Now, rather than drop it in as-is and work within the tight confines of said engine bay, we chose to assemble everything minus the carburetor beforehand; with the radiator removed and the hood off, the extra “girth” won’t pose a problem clearance-wise when dropping it back in and reuniting with the transmission.
Duralast Gold products
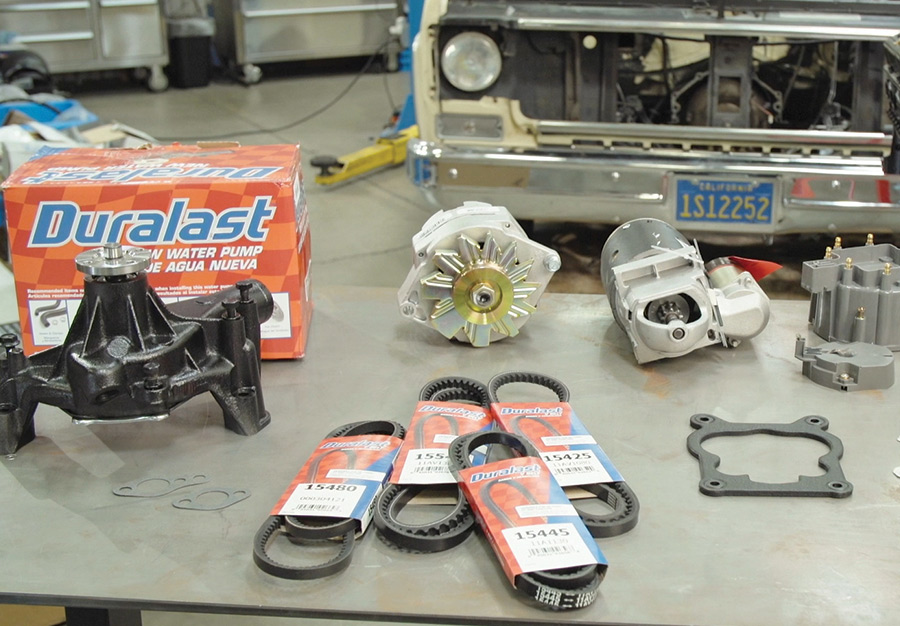
4. With the exception of a few items, such as radiator hose and whatnot, all the ancillary parts needed to install our crate engine are Duralast or Duralast Gold products—from the water pump to the HEI distributor, alternator, radiator, and starter … even the battery and plug wires!
350 long-block from Gandrud Chevrolet unboxing
350 long-block from Gandrud Chevrolet unboxed close-up
2-3. With the old V-8 out of the way and the engine bay cleaned and prepped, focus centered on the crate replacement: our new 350 long-block from Gandrud Chevrolet. Now, rather than drop it in as-is and work within the tight confines of said engine bay, we chose to assemble everything minus the carburetor beforehand; with the radiator removed and the hood off, the extra “girth” won’t pose a problem clearance-wise when dropping it back in and reuniting with the transmission.
we primed the oil pump
5. Before any parts were installed, however, we primed the oil pump and set the engine at top dead center (TDC).
thin coat of gasket adhesive
hold them in place
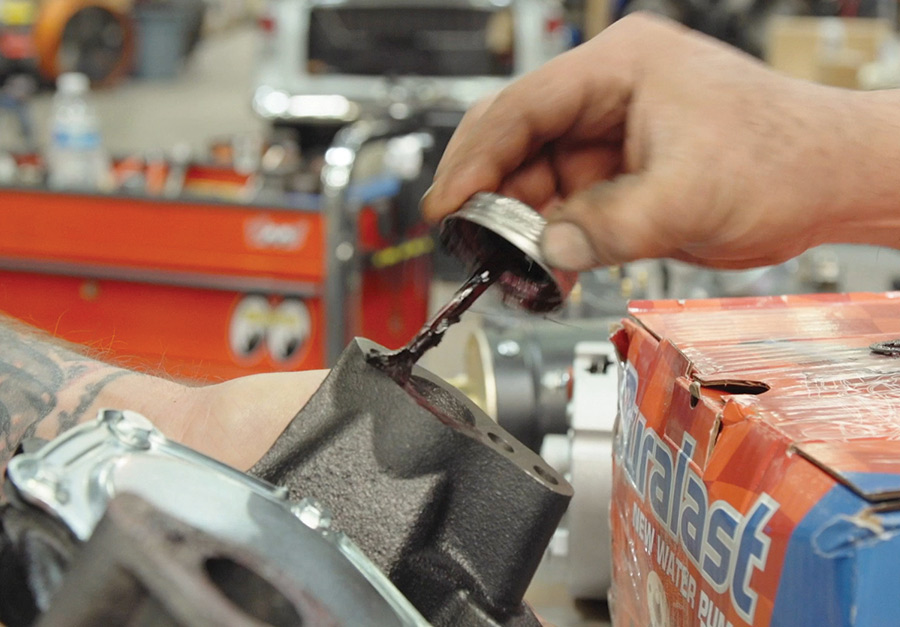
6-7. We’re not going to start a debate about how you should, or shouldn’t, seal new gaskets—however, when you’re mating two “brand new” surfaces, such as a water pump to the block, you really only need a thin coat of gasket adhesive to hold them in place, as the new gaskets themselves should be more than sufficient.
the exhaust manifold gaskets
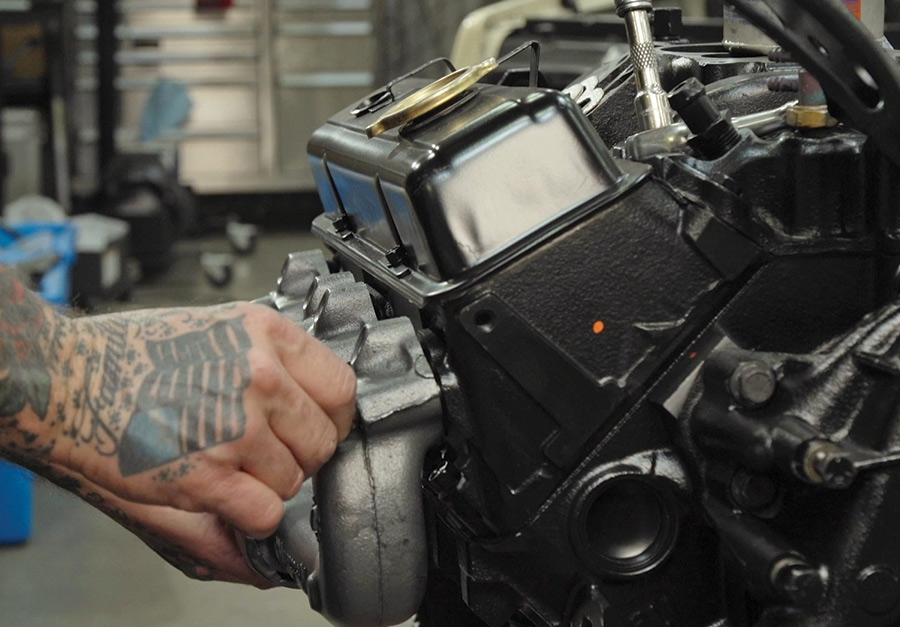
8. Same goes for the exhaust manifold gaskets. (If dealing with headers, that is a whole ’nuther debate in itself when it comes to properly sealing!)
the factory brackets were given a freshening up before reinstallation
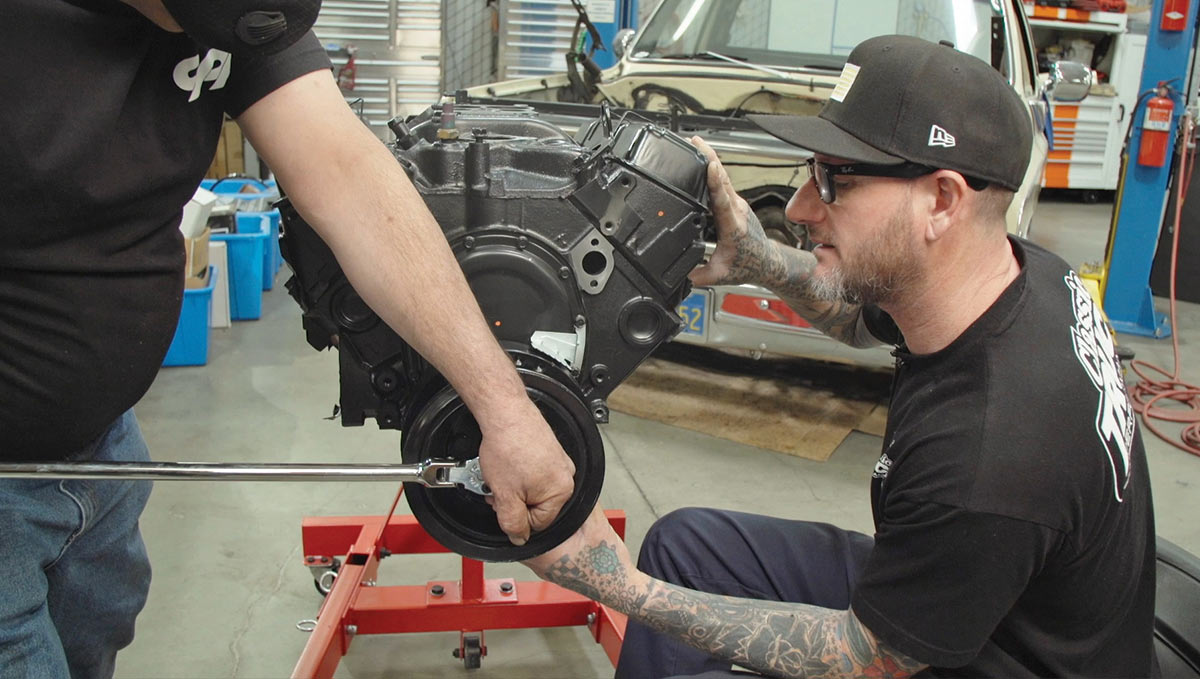
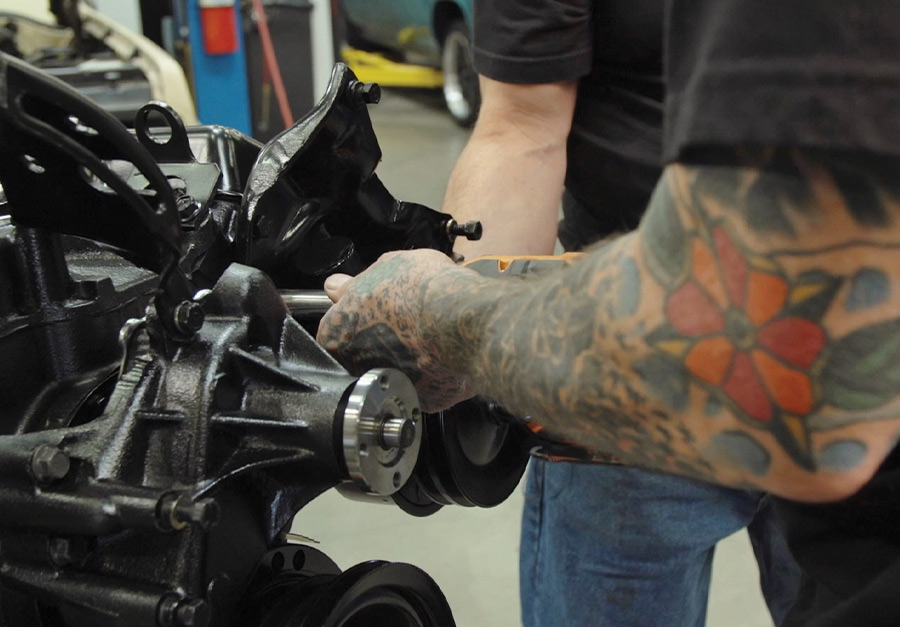
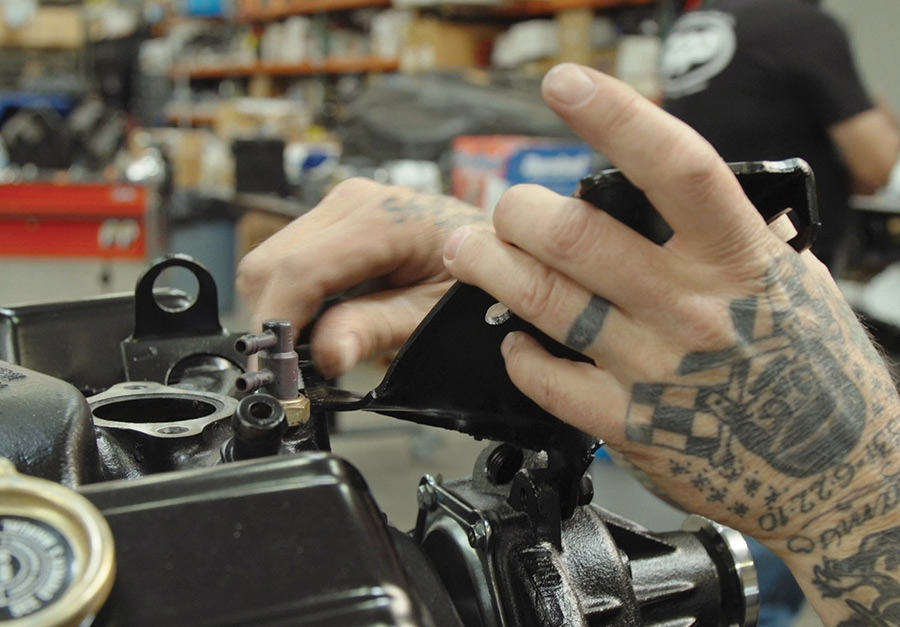
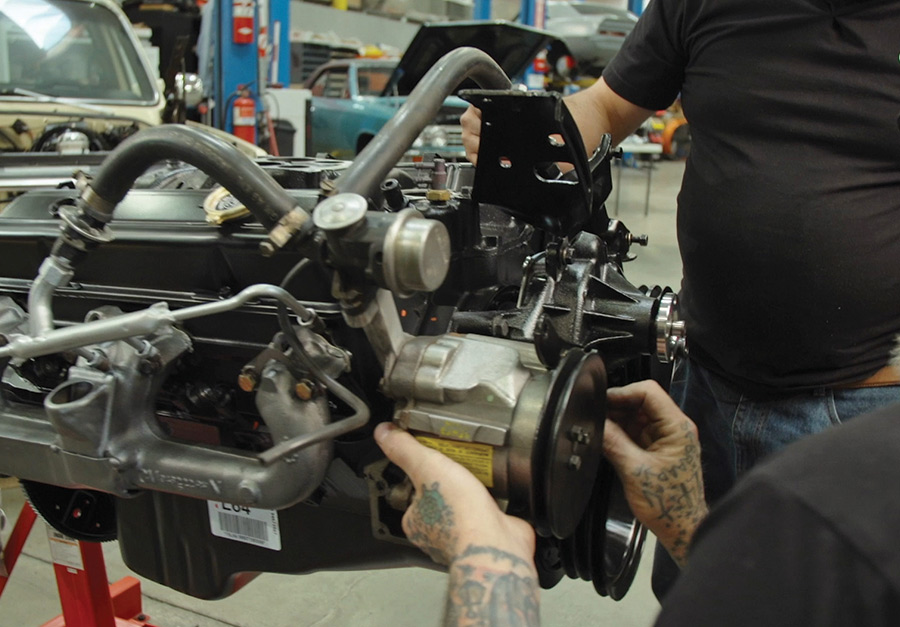
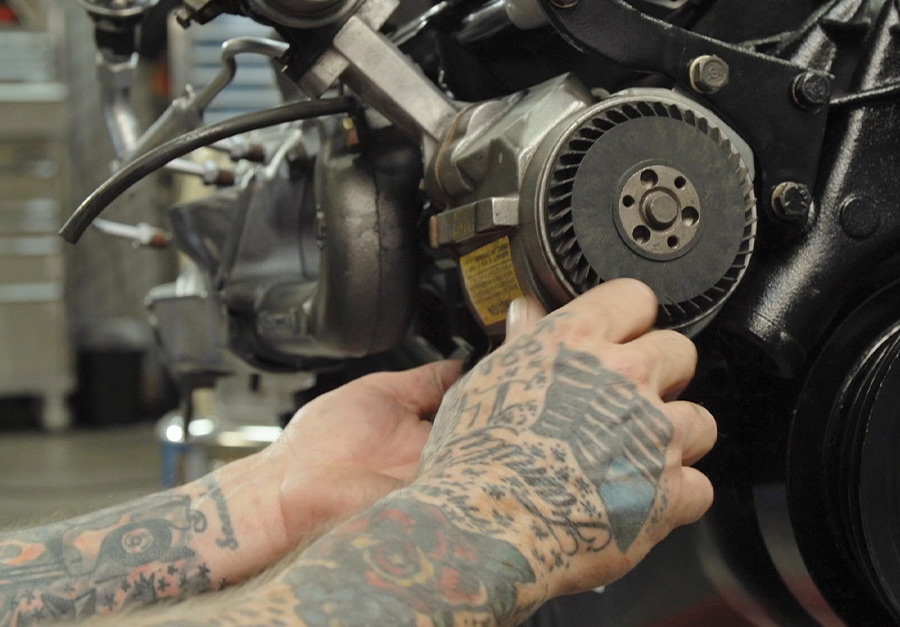
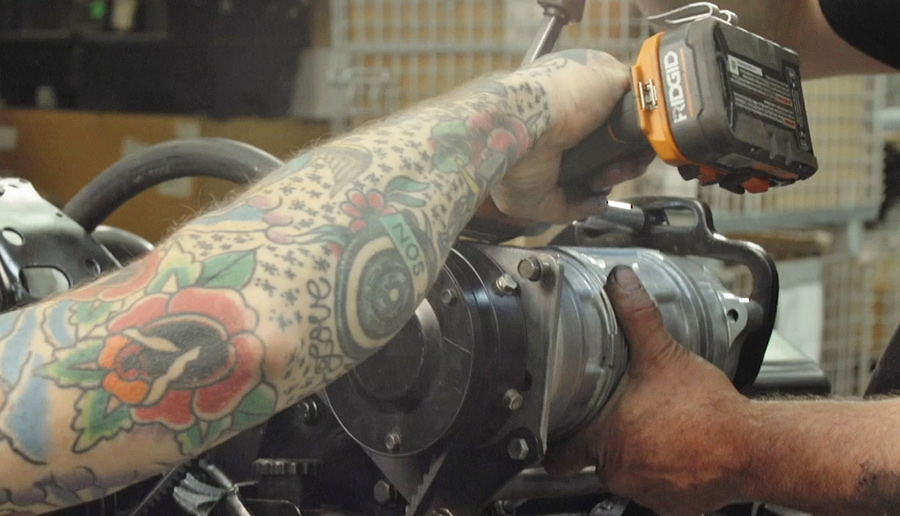
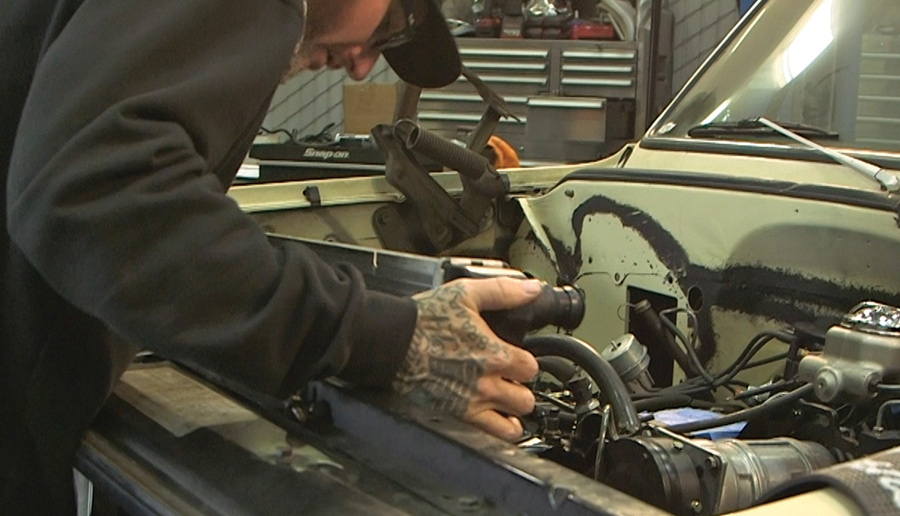
9. Prior to installing all the frontal accessory components (alternator, power steering pump, A/C compressor, smog pump, and so on), the factory brackets were given a freshening up before reinstallation. No point in going to all the trouble throwing on new parts with dingy-looking bracketry, right?
emissions-controlled equipment
perfect working order
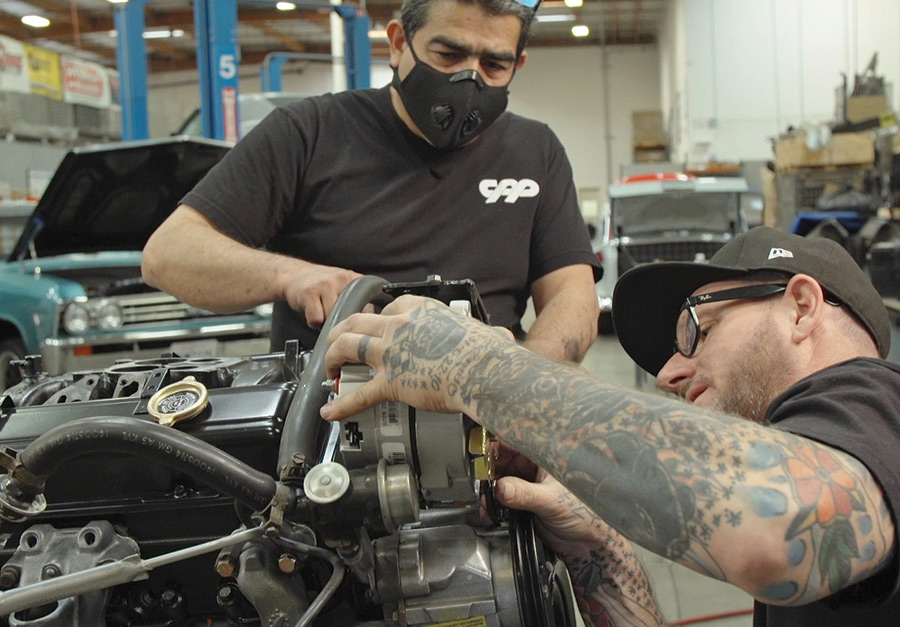
10-11. Since we’re in California and this is indeed an emissions-controlled vehicle, all the required smog equipment was installed in its rightful place. In the last few years, California has stepped up its emissions testing for older vehicles that still fit within the non-smog-exempt category, so we made sure everything was in perfect working order.
the internally regulated factory replacement alternator
alternator close-up
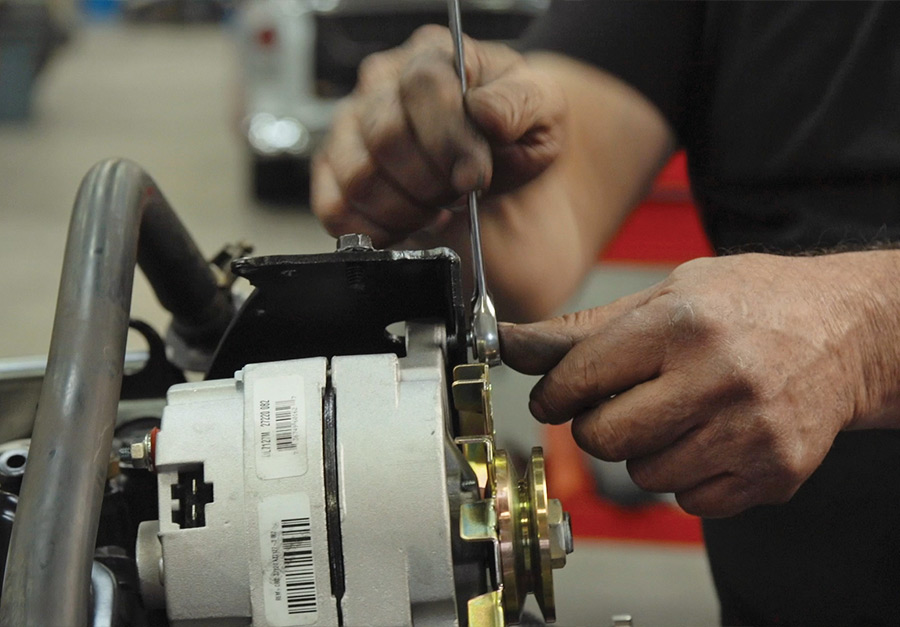
12-13. Next on the assembly list of parts: the internally regulated factory replacement alternator.
V-belts
14. Duralast also offers their own full line of V-belts, so seeing as this is a factory A/C truck, of course we included a new belt for it as well.
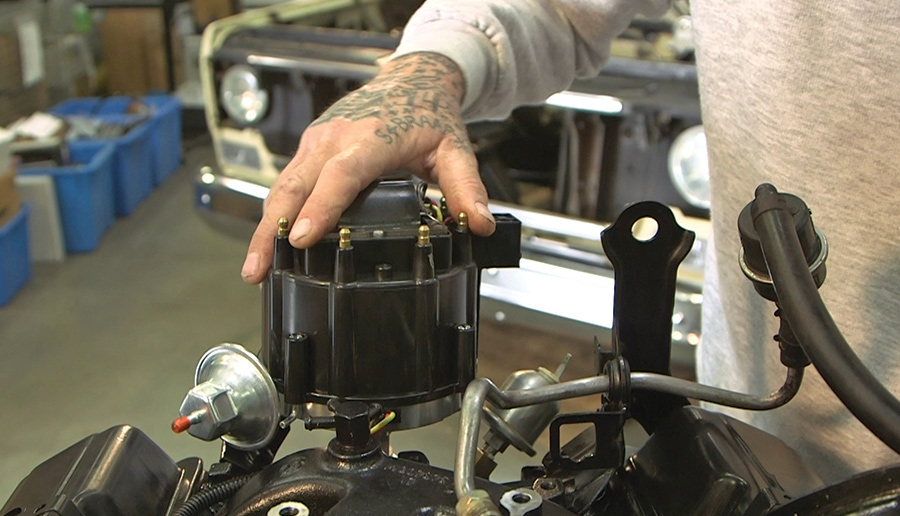
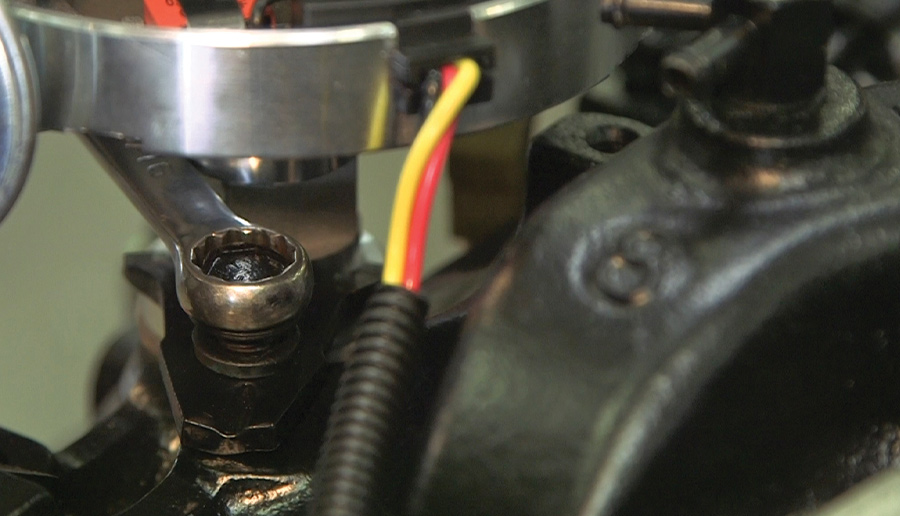
dropping the new Duralast Gold distributor in place
engine primed and set at TDC
15-16. With the engine primed and set at TDC, dds in place was simple—and easier to lock down not having to lean over into the engine bay in the process!
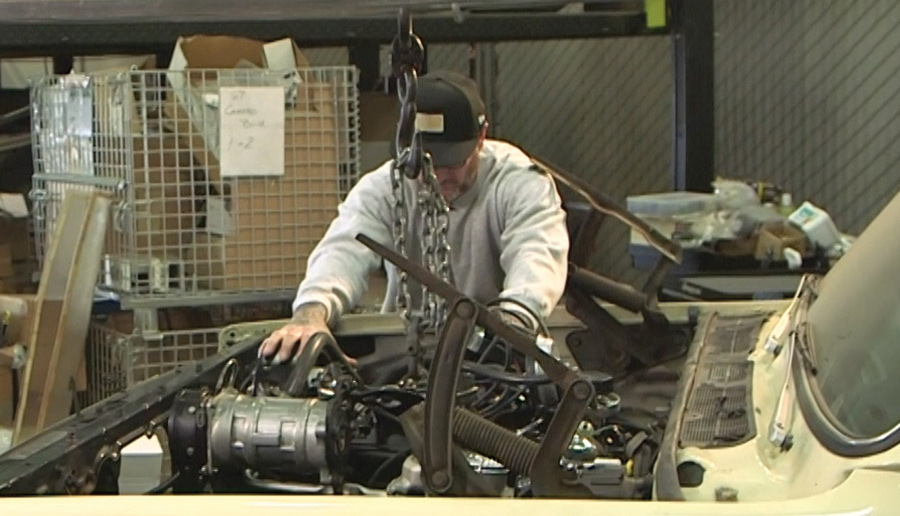
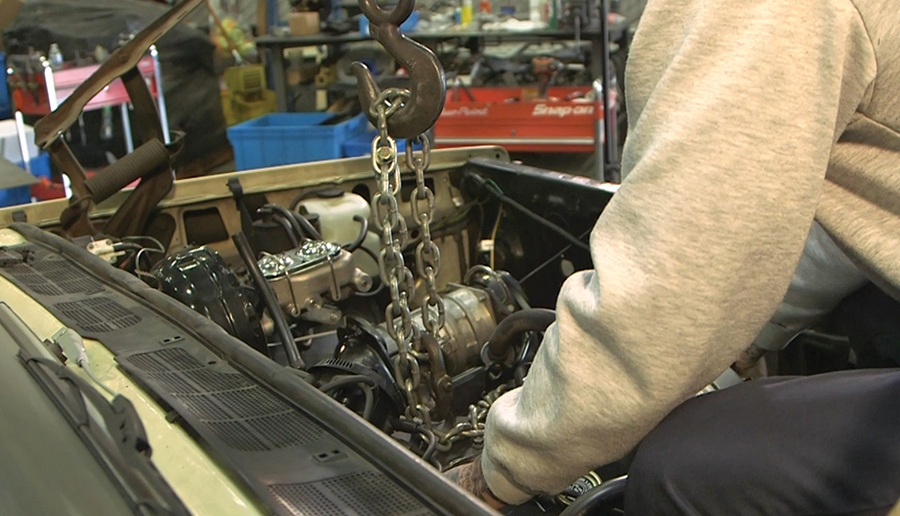
a forklift served as our cherry picker
our cherry picker in loading the new engine
17-18. With everything minus the carburetor and air cleaner bolt up, a forklift served as our cherry picker in loading the new engine into its perspective new home. As you can see, having the hood off definitely made the effort much less of an “ergonomical” strain!
a brand-new radiator
radiator close-up
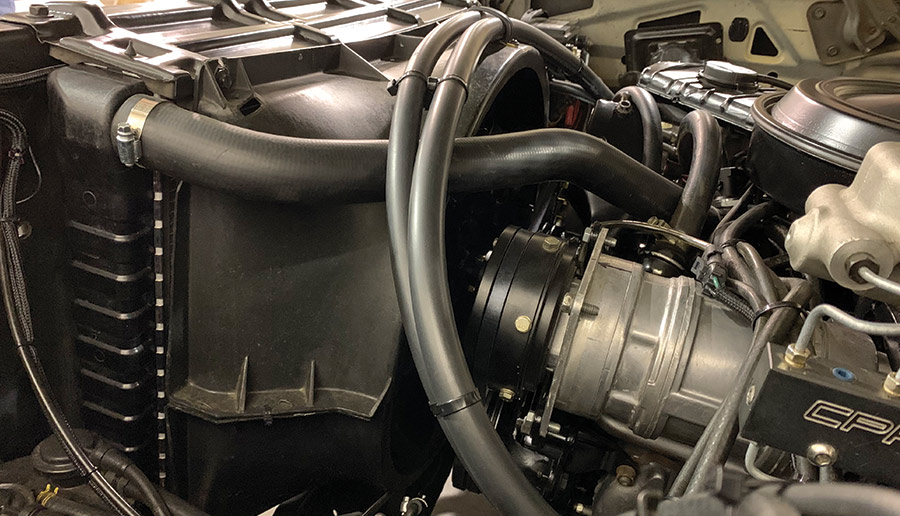
19-20. Included with our laundry list of Duralast replacement parts: a brand-new radiator, ensuring we don’t waste our money on the rest due to an overheating issue!
the induction components factory stock
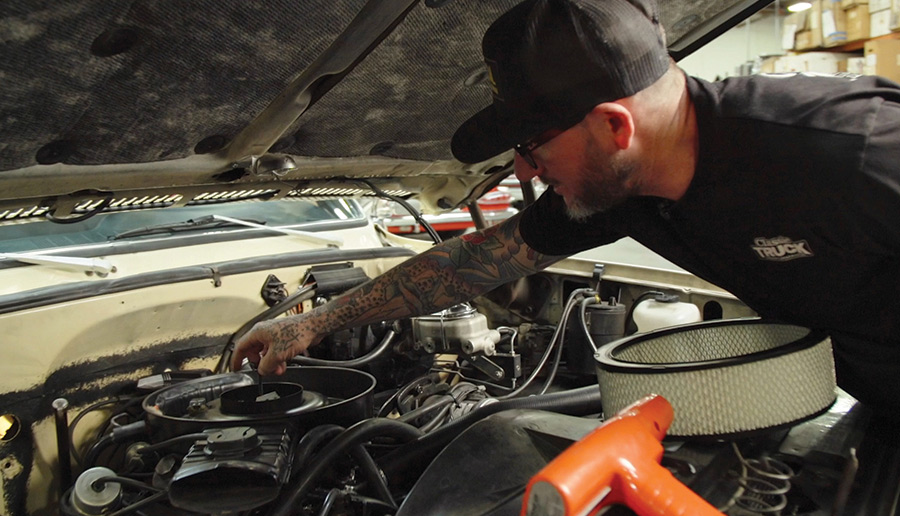
21. Again, to meet California’s emissions requirements, rather than installing a reusable air filter setup we kept the induction components factory stock and used a replaceable paper-element filter.
Duralast Group Size 75 630 cold cranking amp battery
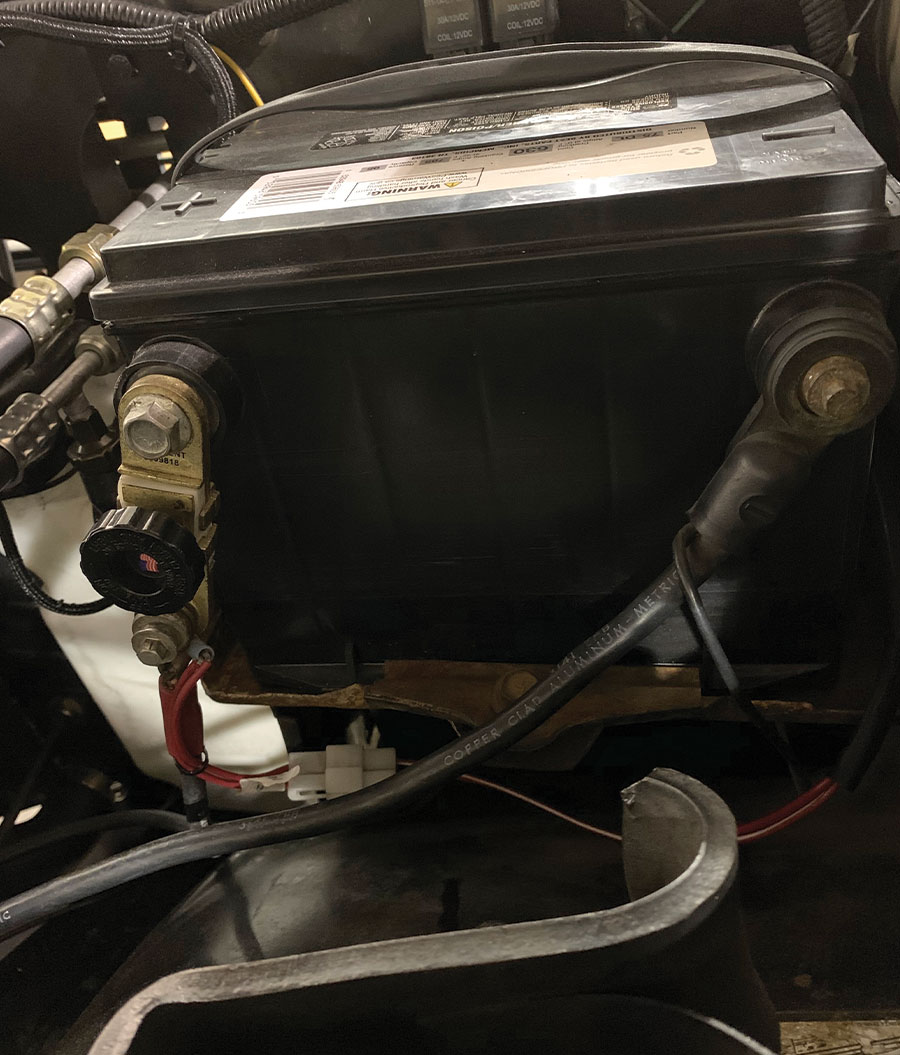
22. As mentioned, we also replaced the battery with a Duralast Group Size 75 630 cold cranking amp battery as well as their own replacement starter.
Peace of mind knowing you’ve used quality parts and components
23. Peace of mind knowing you’ve used quality parts and components when installing a new engine makes moments like this—first fire and initial ignition timing—as stress-free as possible!
hood up
24. Now, the only time we expect the hood to be up for any extended length of time is to readjust the hinges before we hit the road!

 SOURCE

Duralast
(800) 288-6966
duralastparts.com

Gandrud Performance Parts
(888) 284-7491
gmperformancemotor.com