CTP logoFeature star Tech
InTheGarageMedia.com
C10 Frontal Rehab installation
C10 Frontal Rehab
Part 2: Updating the 1967-1972 Chevy 1/2-Ton Frontend—Steered Straight!
BY Rob Fortier  Photography By THE AUTHOR
L

ast month we got our 1969 C10 project’s front suspension squared away—literally, with the correct geometry and absence of air spring adjustability—and back on all fours after months of being disabled, as it were. That just left us with properly addressing the steering components—or, in this case, the lack thereof.

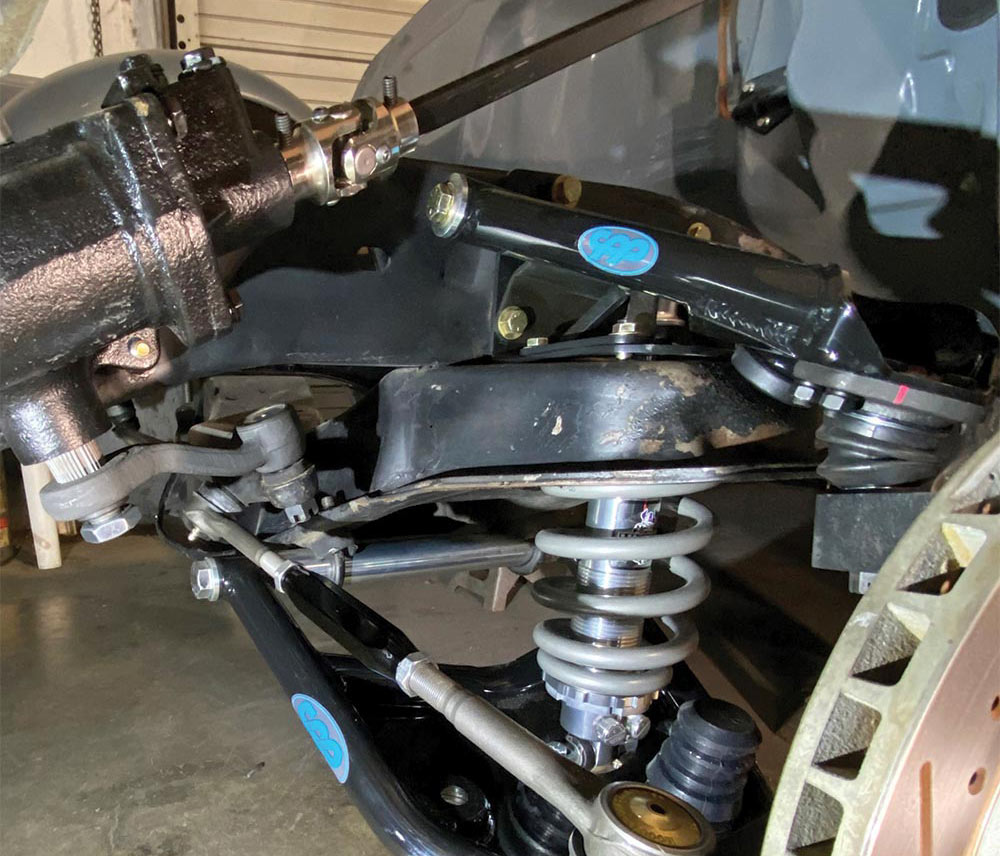
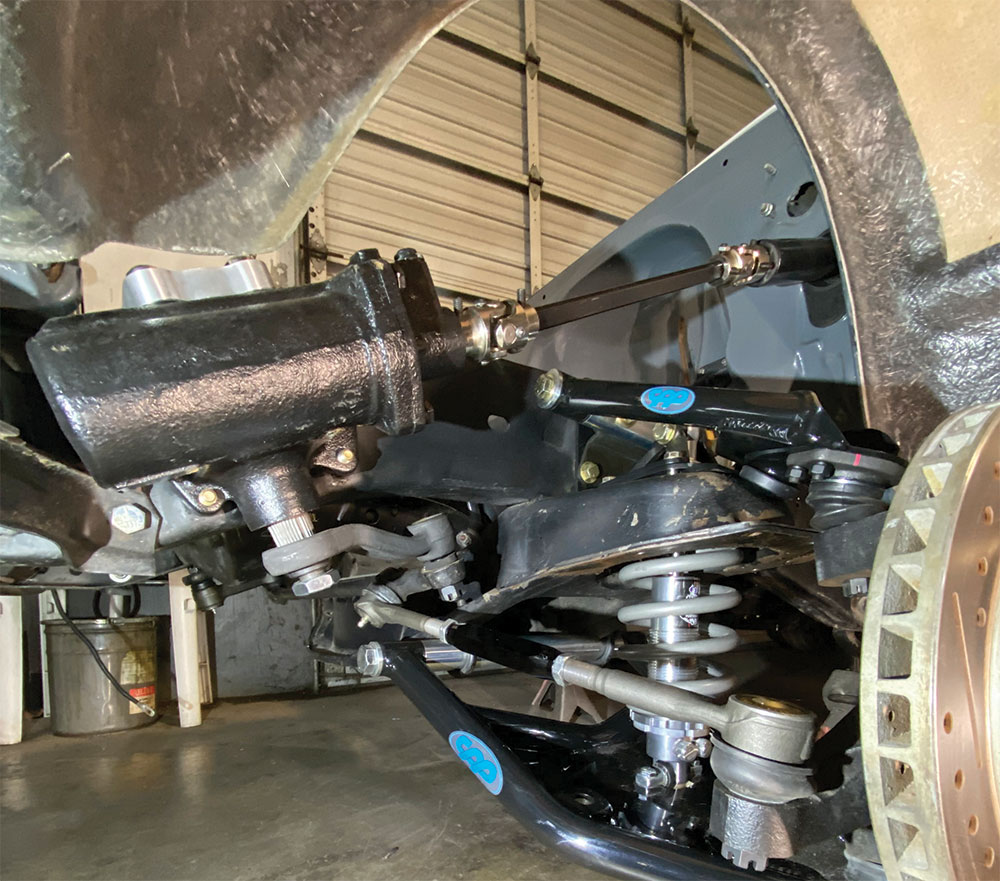
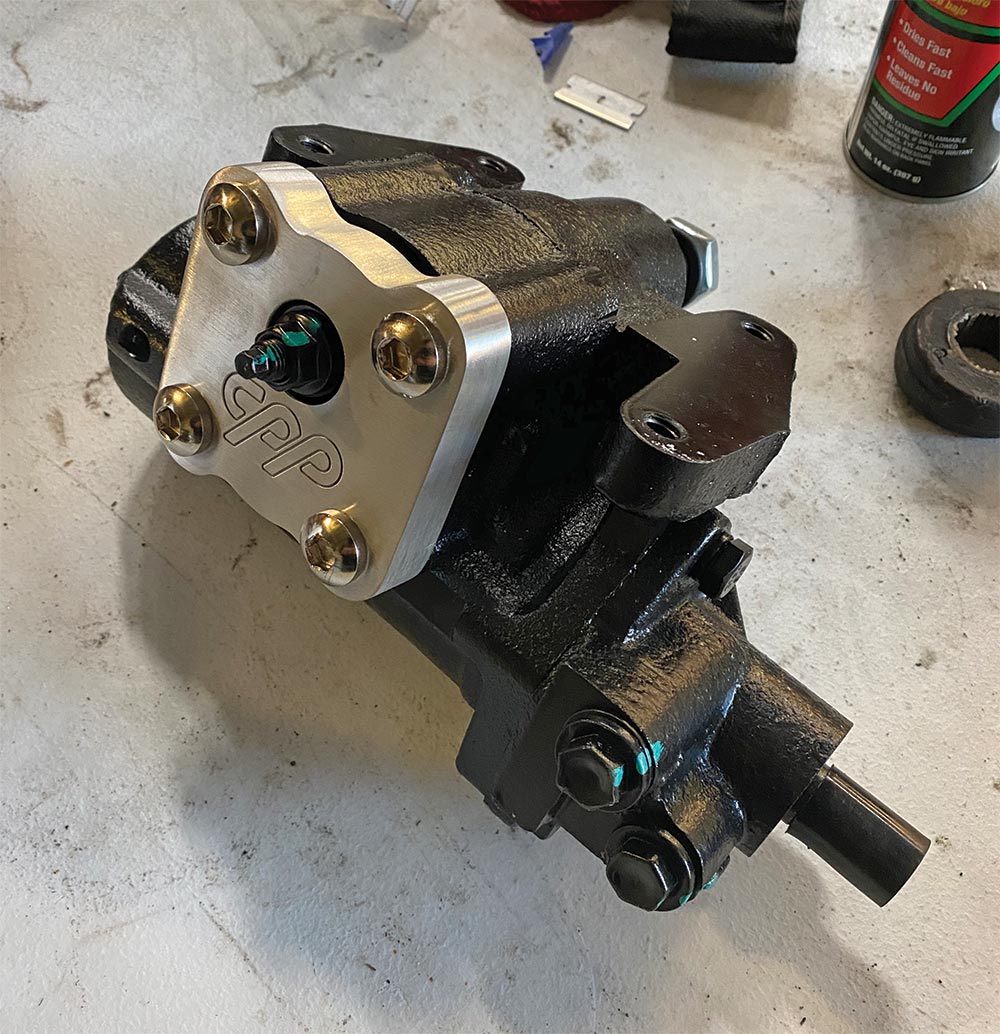
While we had the intention of replacing the worn-out, leaking power steering box from the onset of the re-transformation of our previously/poorly built truck, we hadn’t put much thought into the rest of the components controlling the soon-to-be-updated box. That is until those particular items grew legs and walked away—or, the truck’s owner left them outside and the scrap man inherited them! Either way, we had to decide what direction to go with the replacement parts: stock or upgraded aftermarket? With a number of options to choose from, our instinct told us right off the bat to go with Classic Performance Products’ (CPP) 500 Series power steering box: it’s a bolt-in replacement (or upgrade from manual), however the 500 Series boxes are brand new, not reman boxes, and feature the preferred 14:1 steering ratio as well as an improved recirculating ball gear mechanism and rotary valve for optimally responsive and smooth-as-silk performance behind the wheel. (Once the truck gets closer to completion, we’ll go back to CPP for the plumbing components to connect our new box with the Type 2 power steering pump Holley provided with their mid-mount serpentine we used on the big-block.)

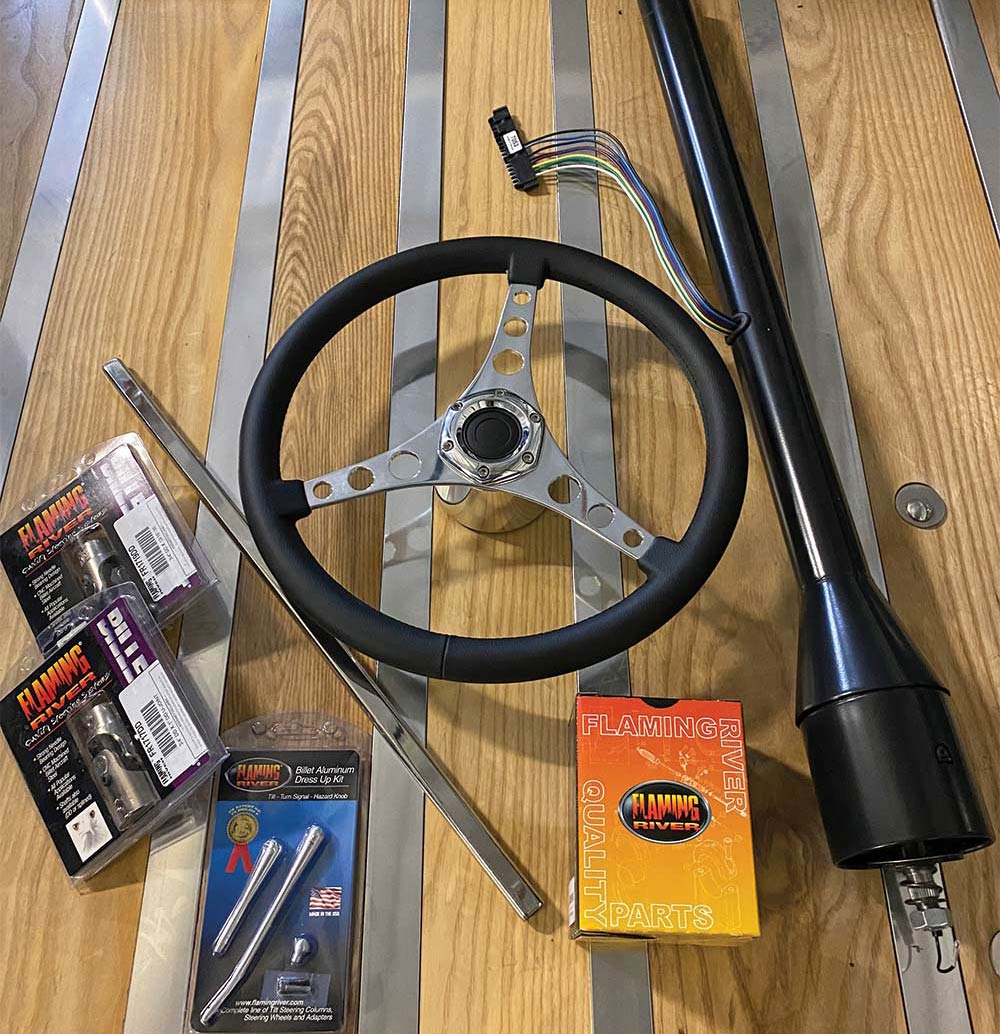
To complete our steering system, we looked into what Flaming River had to offer in the way of C10 columns and wound up ordering a powdercoated black floor shift retrofit tilt column. Just like our 500 Series box, Flaming River’s column is all “new” components, not a reman’d column. To add a bit more of a sporty look and feel, we also got our hands on—no pun intended—their no-dish (flat) Corvette-inspired three-spoke wheel—leather-wrapped, it’s only available in 15-inch diameter, which is the perfect fit for the C10. Furthermore, to fill in the gap between column and box, we obtained the necessary polished stainless 3/4DD x 3/4DD U-joint and intermediate shaft to connect with the CPP box’s 3/4-30 x 3/4DD joint. Luckily, we managed to locate the stock upper steering column mount, however, in lieu of the floor mount disappearing with the rest of the stock parts, we obtained Flaming River’s 1967-1972 C10 swivel floor mount, which is a direct bolt-in for non-modified firewalls (ours was molded in before it was painted, so we’ll have to “carefully” open the floor plate mounting holes back up!).

As the project progresses, we’re slowly moving away from the original name it was given—the Polished Turd—as literally every single piece that fits that description has been removed and subsequently replaced with a polished jewel, so to speak! And given that scenario, we’ll forgo renaming the old truck and simply get her back up and running, as best we possibly can!
Classic Performance Products (CPP) 500 Series box contents
 500 Series install closeup
1-2. For our final installment of our C10 Frontal Rehab with Jimenez Bros. Air Ride & Rod Shop, we’re going to replace the worn-out, leaking power steering box with an all-new (non reman) Classic Performance Products (CPP) 500 Series box and fill in the gap to the cab with an all-new (non reman) Flaming River floor shift tilt column, Vette-style three-spoke wheel, and all the miscellaneous parts to steer our C10 back in the right direction!
CPP closeup
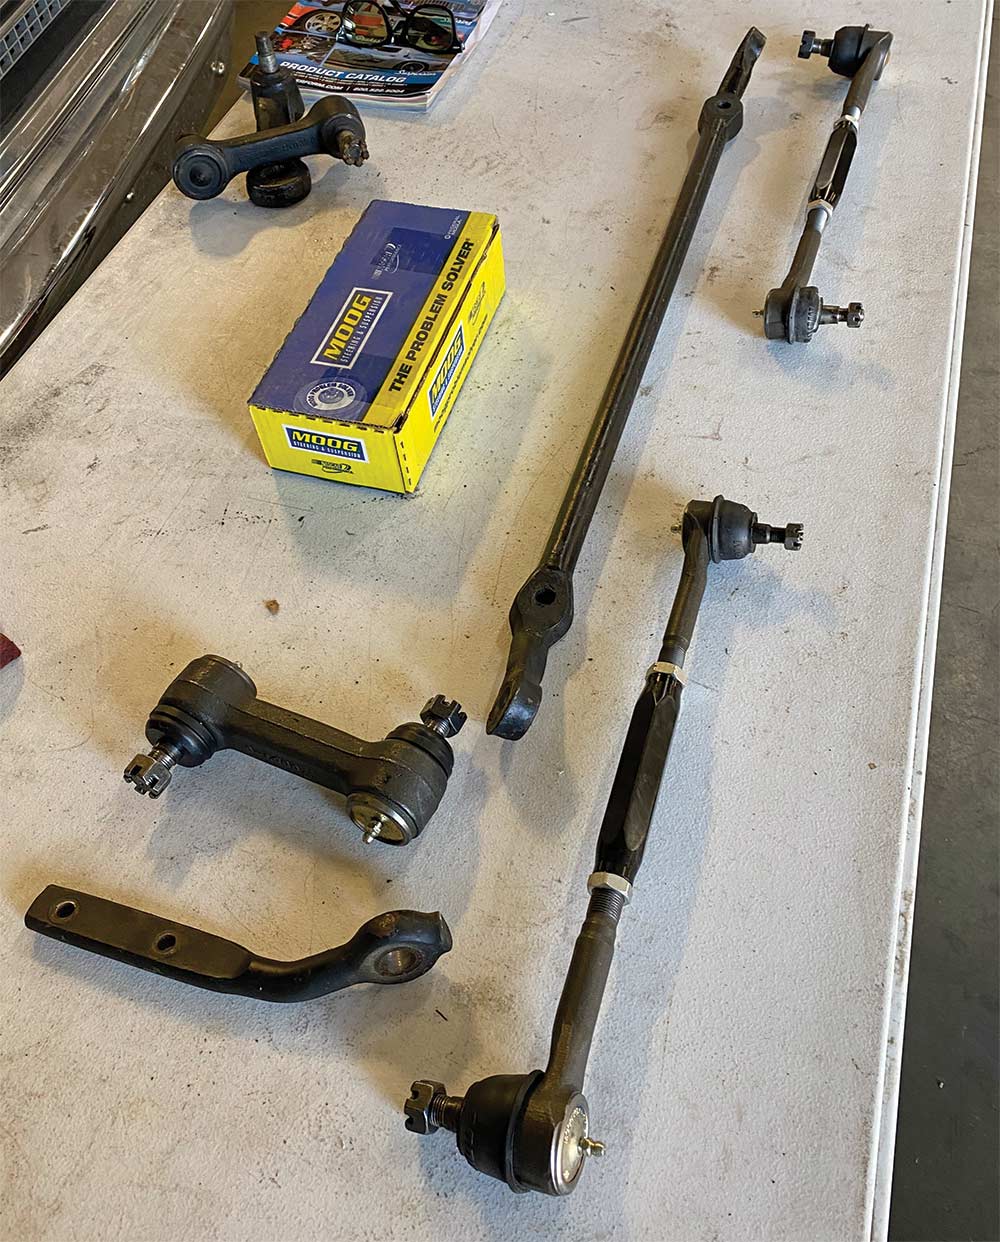
3. Despite having “misplaced” the C10’s original (aftermarket) column and wheel, we were able to locate the steering linkage, which was kind of crucial, as finding replacement center links (there are more than one for the 1967-1972 C10s) and idler arm brackets is not an easy task. That said, CPP offers a complete linkage upgrade kit minus the aforementioned parts, which we’ll be using along with the 500 Series install.
Beginning to replace the parts under the car
Progression so far
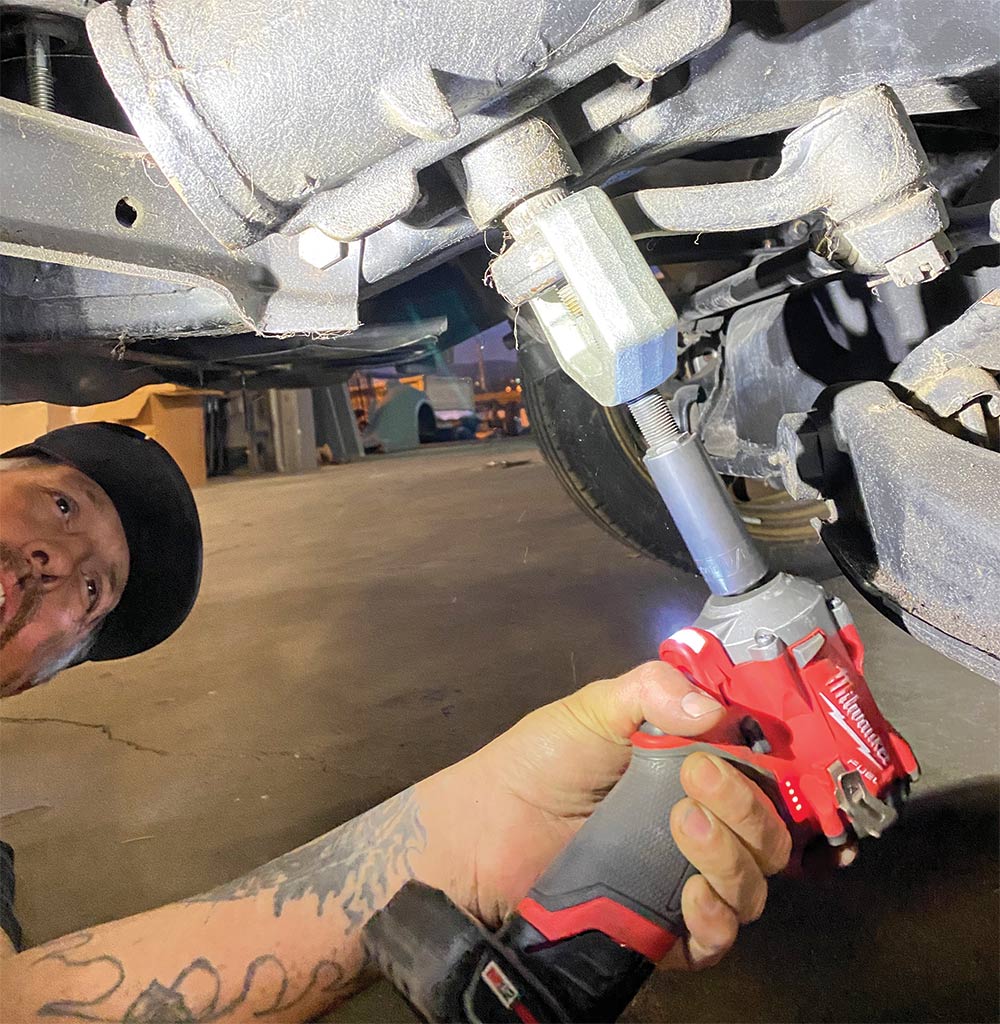
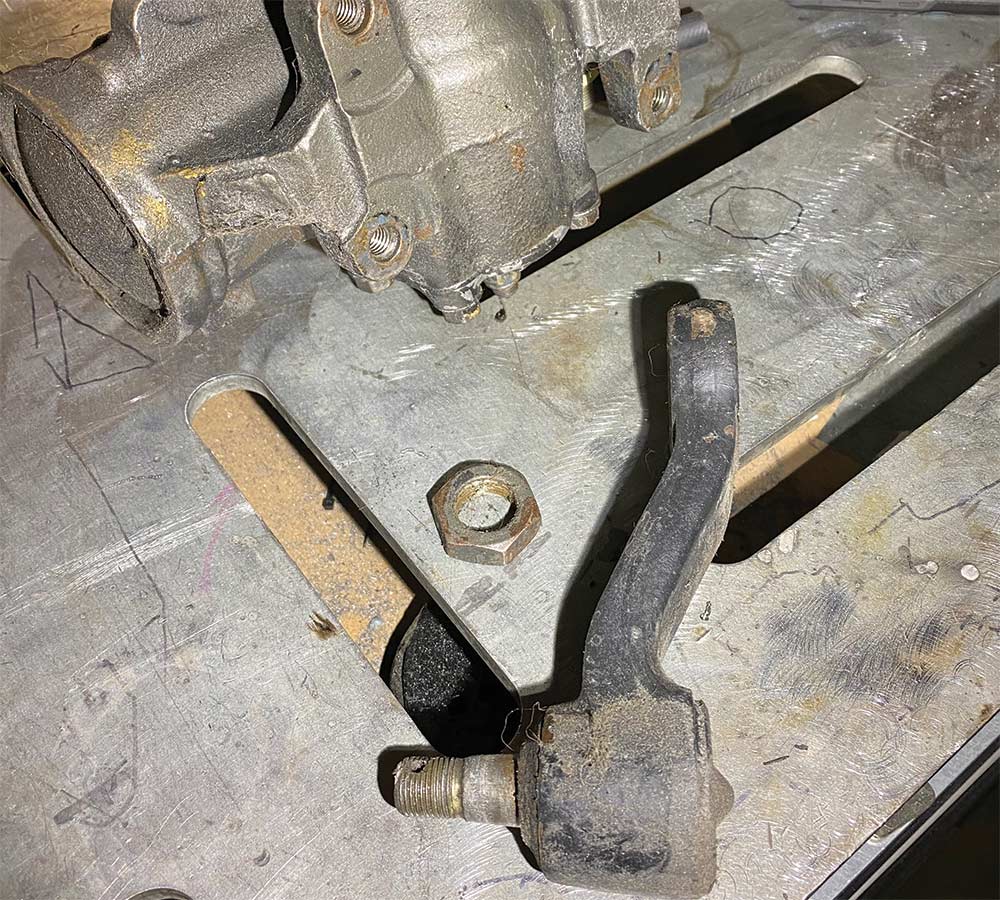
4-5. Out with the old—which we left out behind the shop, just in case the scrap man who inherited the old column/wheel, and so on, happens to be building a C10 and needs these parts too—to make room for …
Installment 500 Series power box
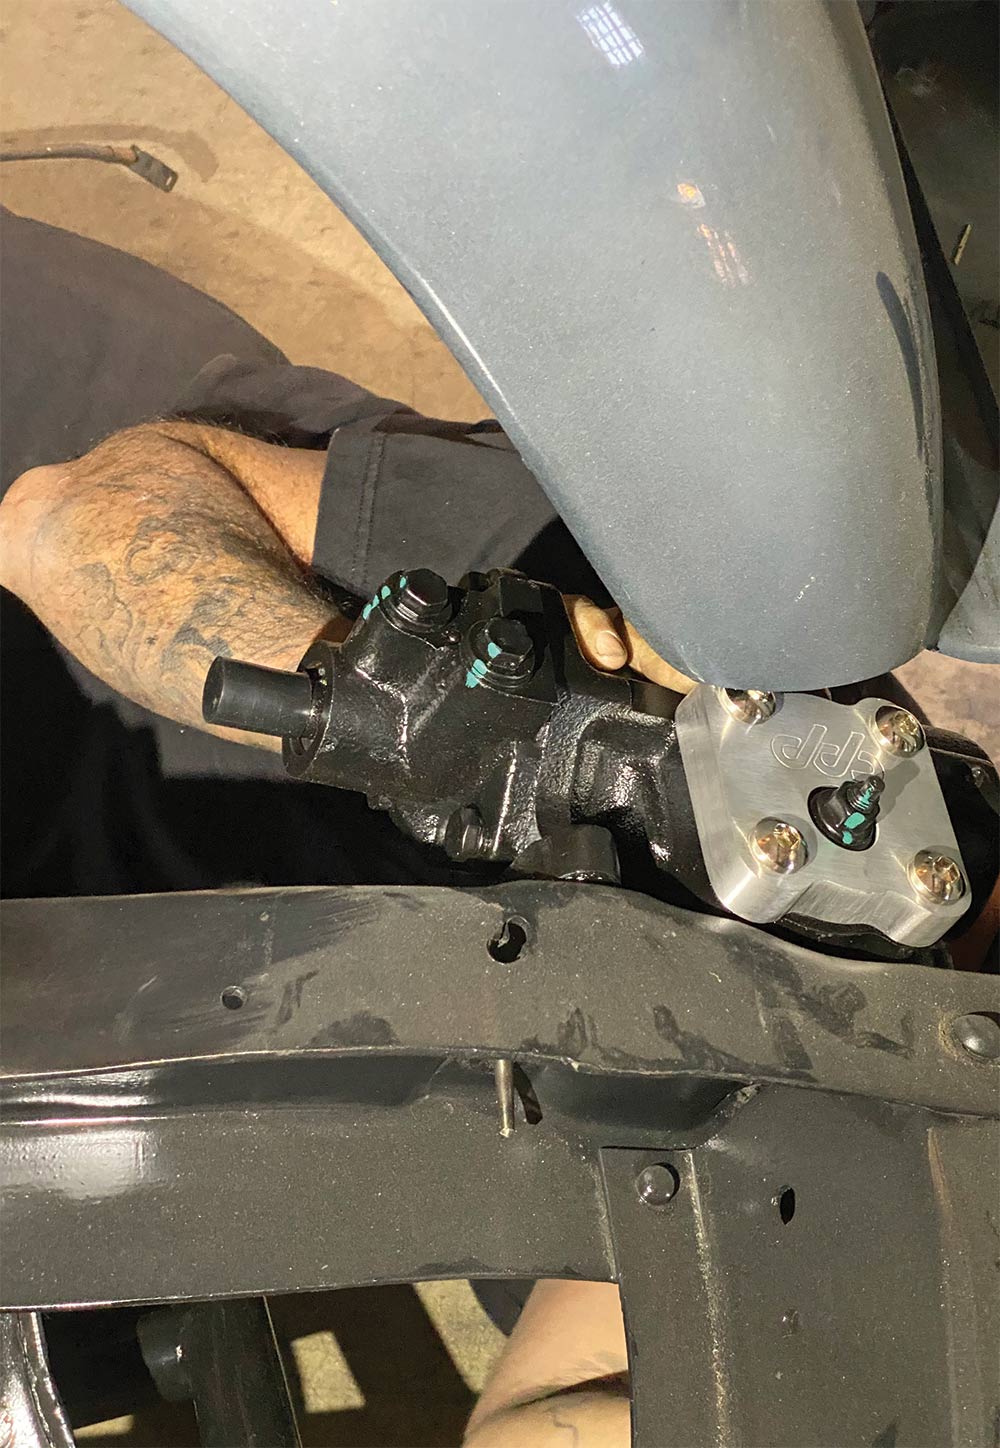
6. … the all-new 14:1 ratio 500 Series power box from CPP. Included with each C10 power steering box is a billet aluminum dress-up cap, however, it’s the improved performance characteristics we’re more excited about having!
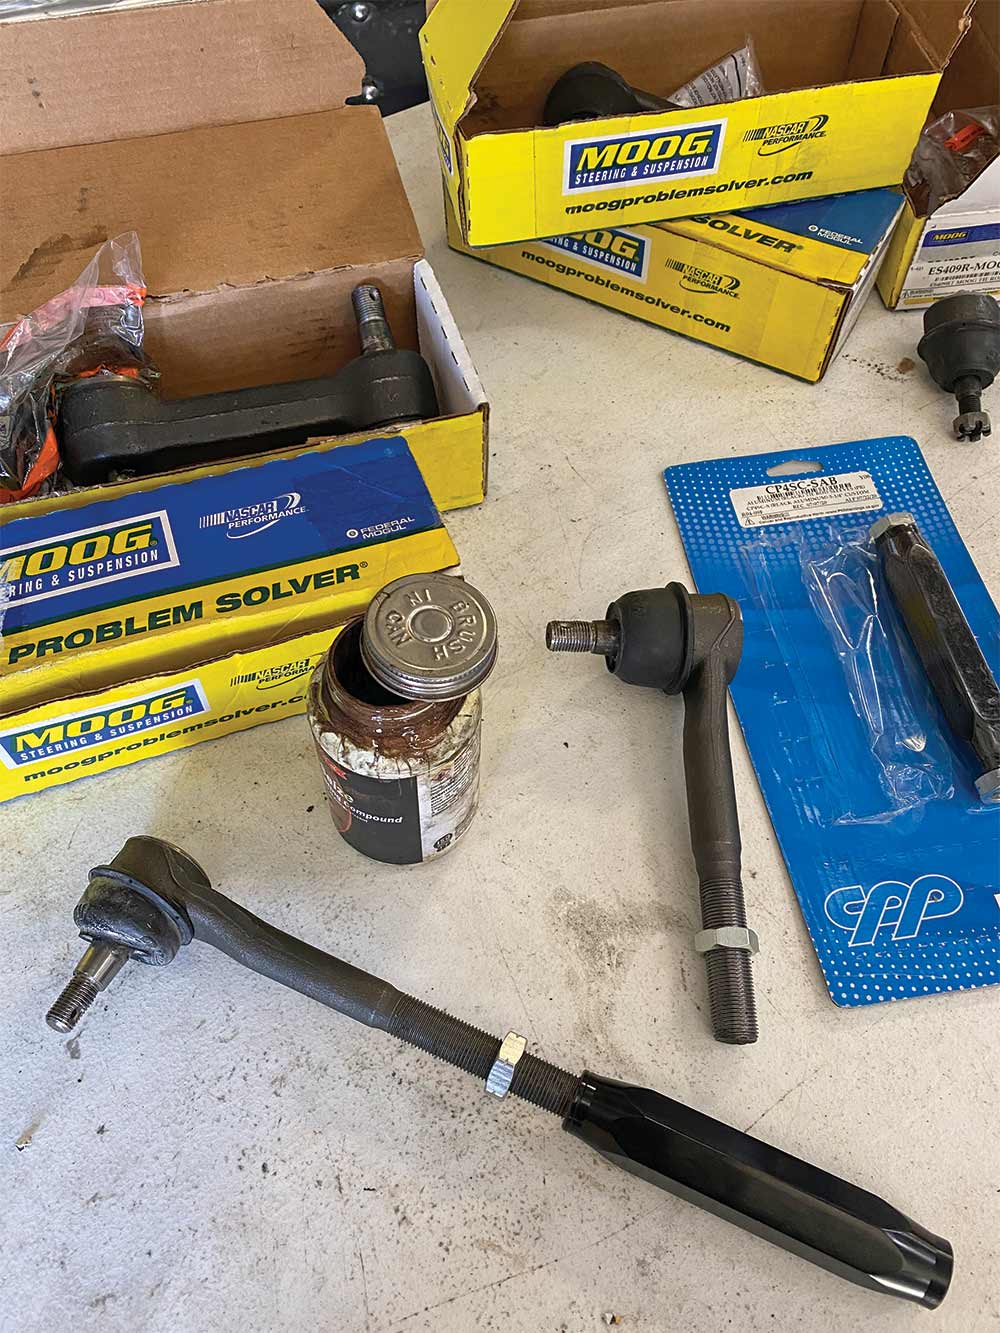
Billet aluminum tie-rod adjuster sleeves box
7. CPP’s upgraded billet aluminum tie-rod adjuster sleeves not only are a visual improvement over the stock pinch-sleeve type, they’re much, much easier to adjust!
Steering linkage assembly progress
New CPP Pitman and idler arms installed
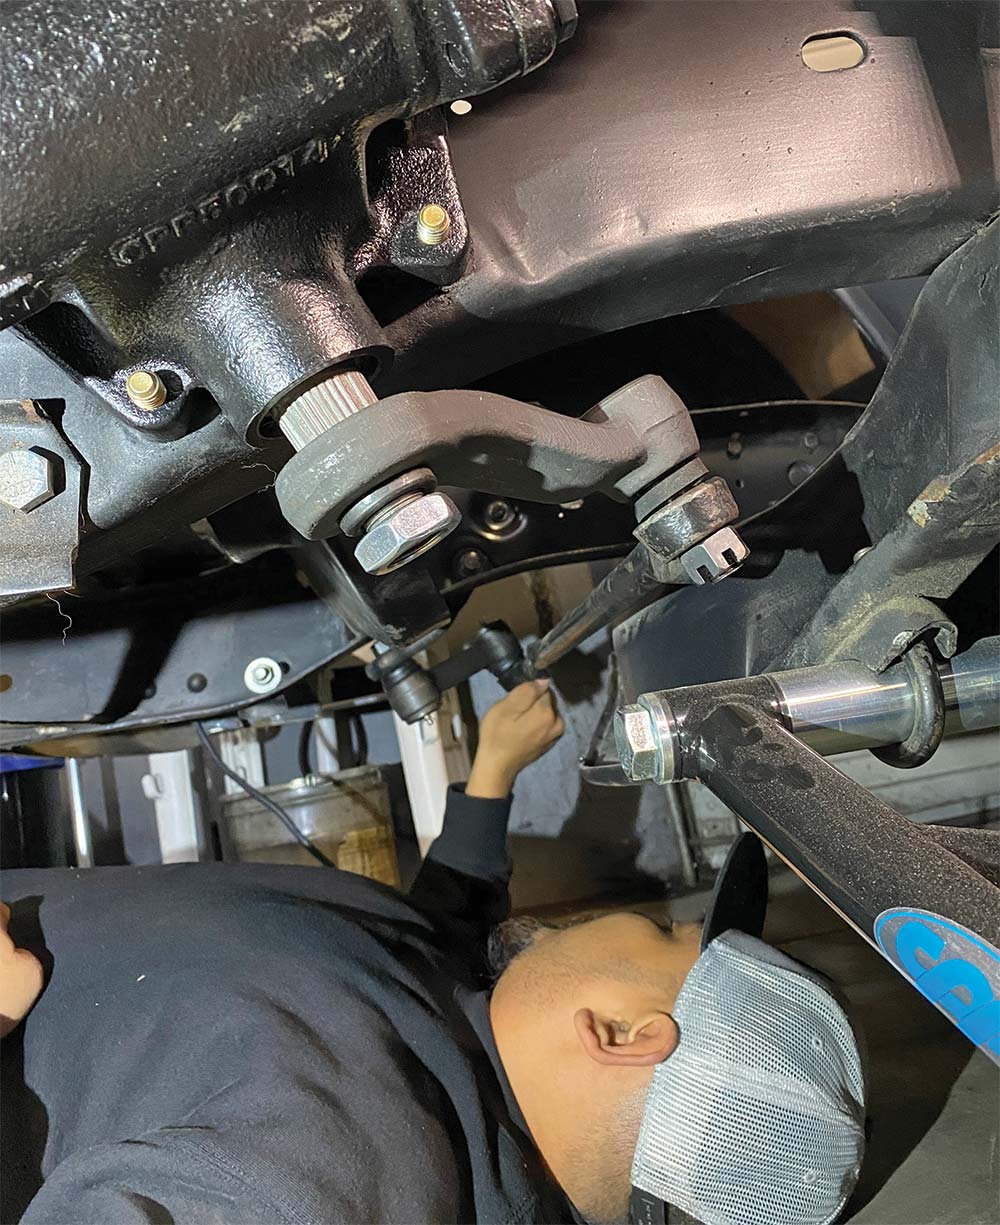
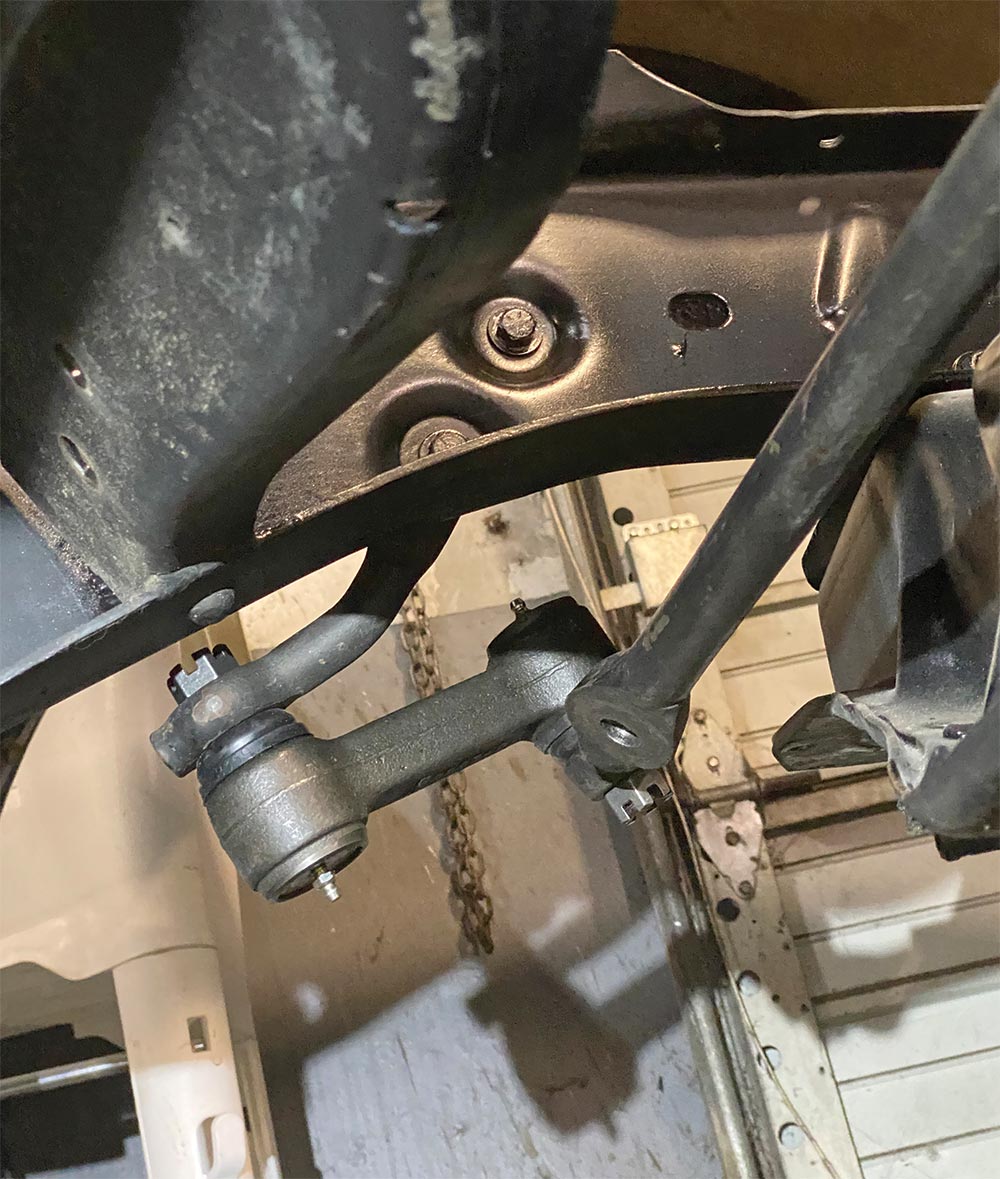
8-9. With the truck on the ground, as opposed to being “unweighted” on jackstands (which affects the geometry between R/L spindles, obviously), we began our steering linkage assembly with the new CPP Pitman and idler arms.
Outer tie-rod assemblies closeup
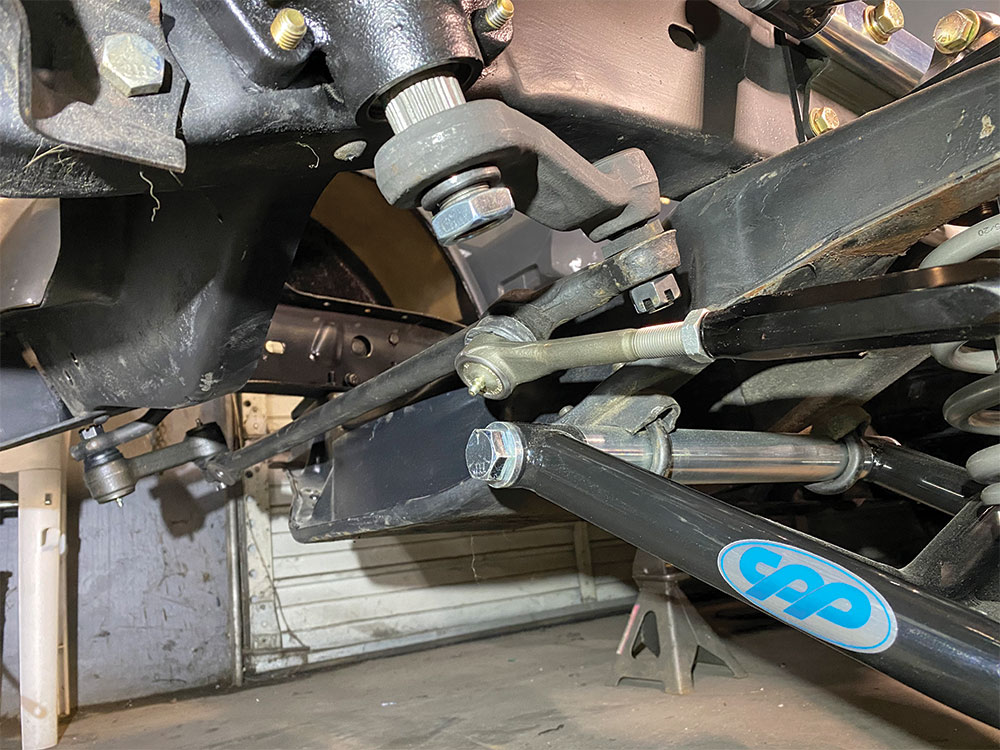
10. Next, we eyeballed the length of the outer tie-rod assemblies before installing and initially setting our toe-in. Once the drivetrain, radiator, and any/all substantially weighted components are back in place, then we can revisit the toe-in adjustment before taking the truck to get professionally aligned.
Replacement-style rag joint kit
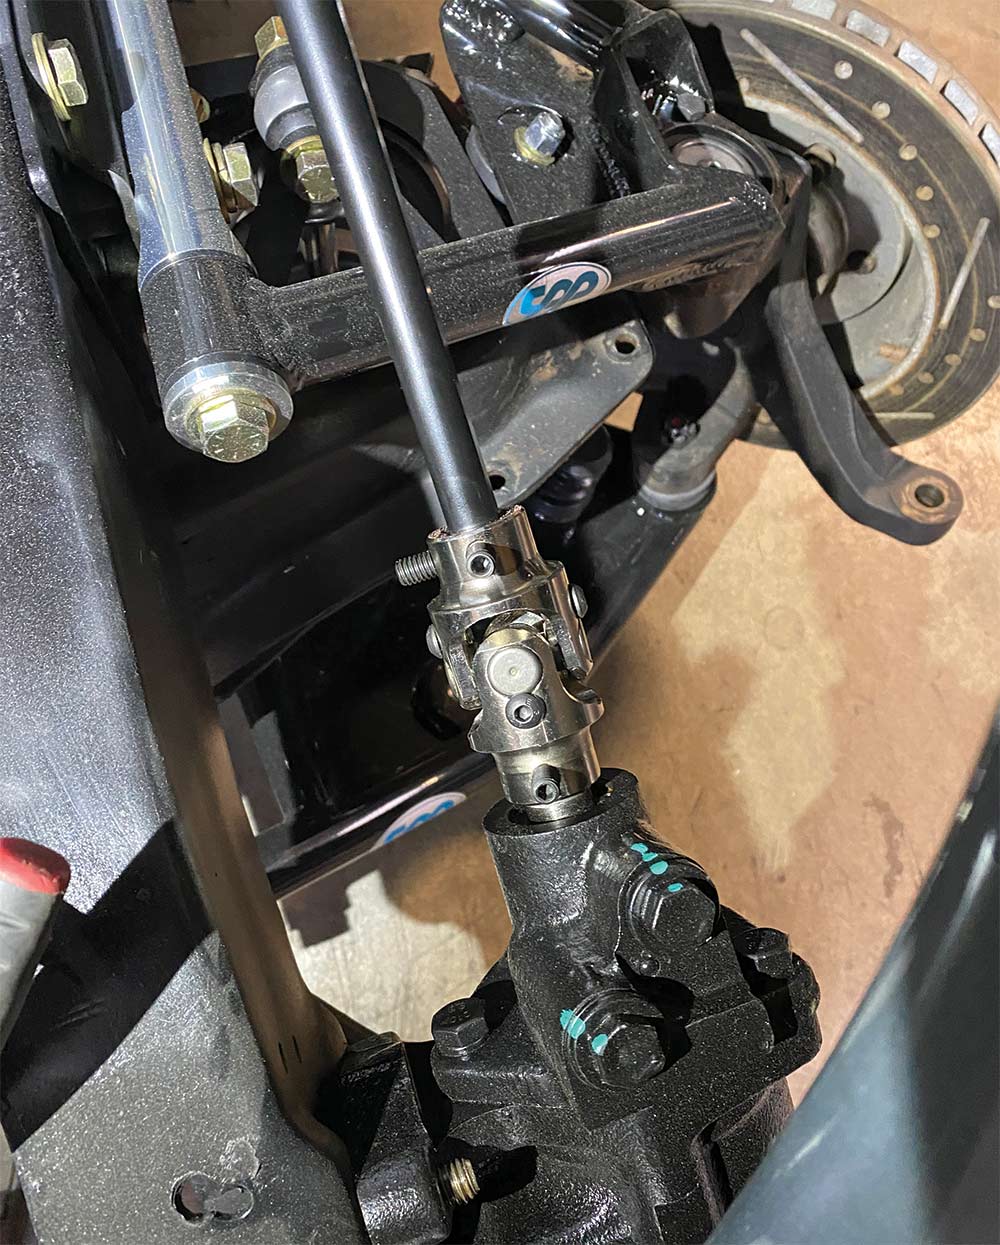
11. The input shaft on the 500 Series box is 3/4-30 spline, which CPP offers a replacement-style rag joint kit for. However, we opted to use their stainless U-joint along with their black powdercoated 3/4DD shaft.
Temporarily mocked up new column in place to get a rough measurement
New column in place with measurement
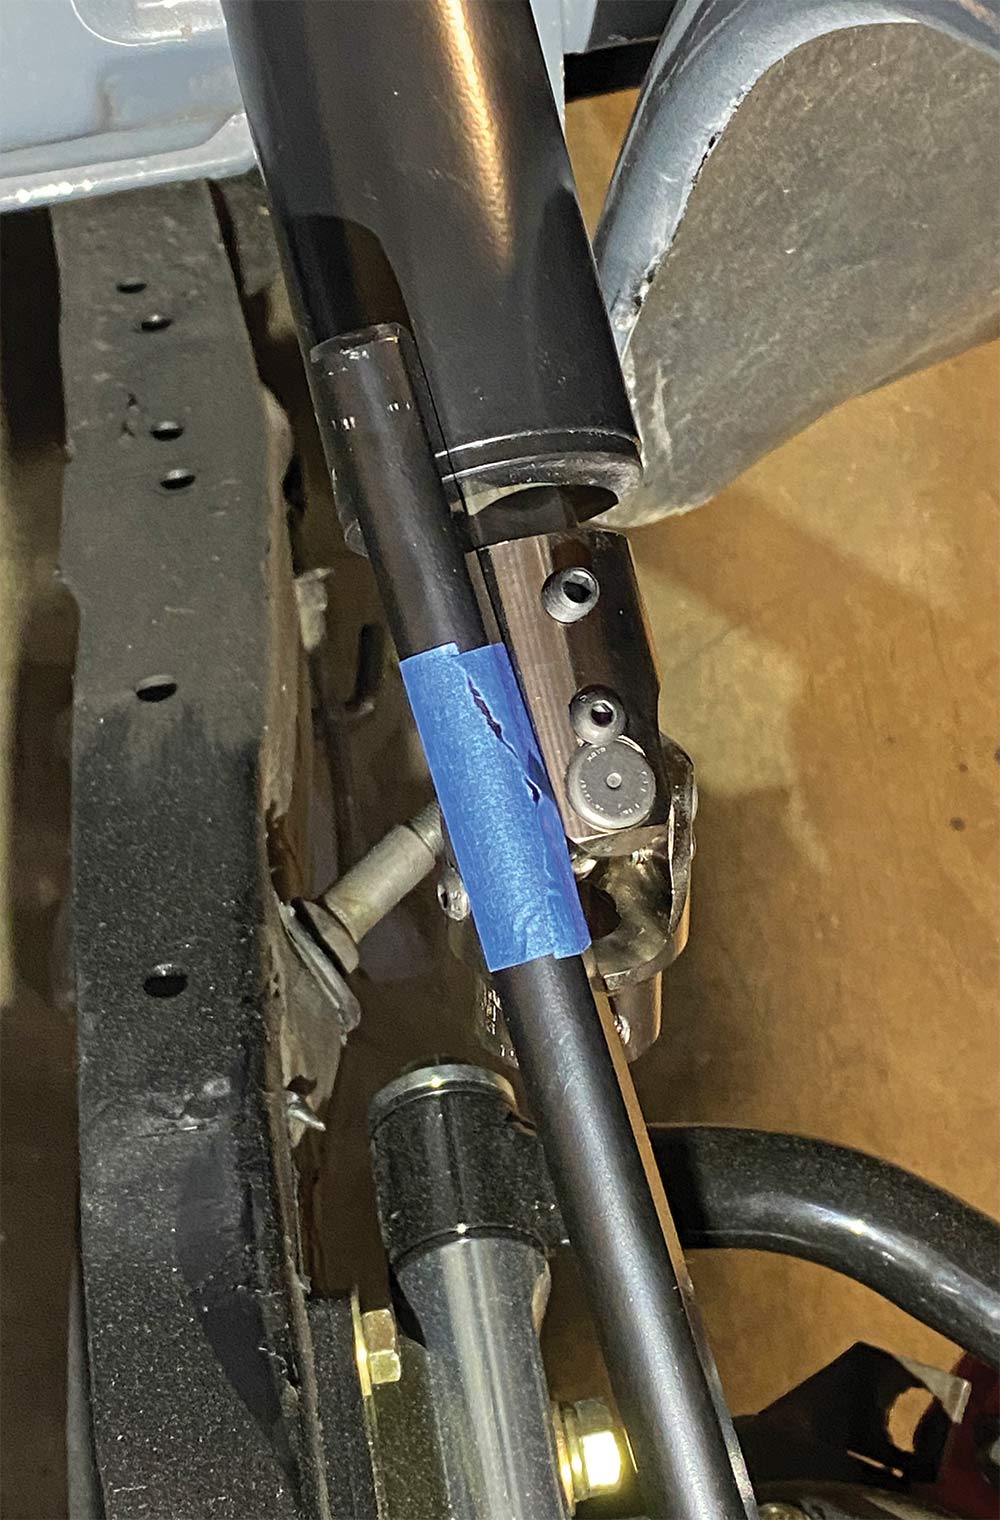
12-13. In order to cut the intermediate shaft to length, we temporarily mocked up our new column in place to get a rough measurement, allowing a little extra elbow room rather than cutting ourselves short. Using painter’s tape to avoid scratching the column, we marked the tape for placement sake when reinstalled.
Cut shaft closeup
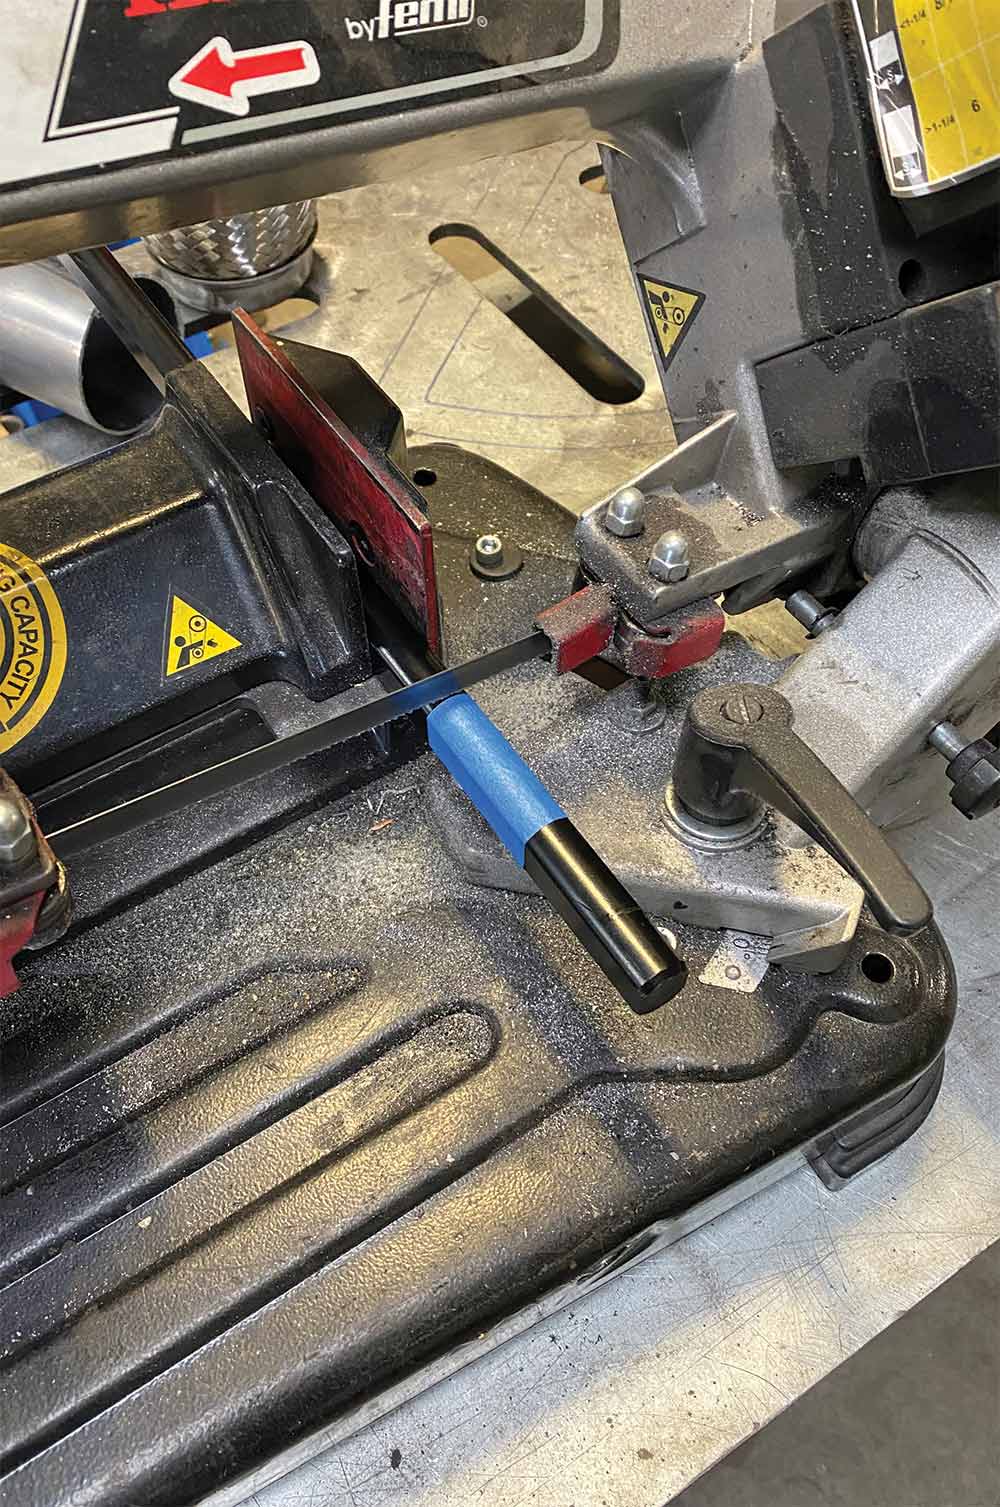
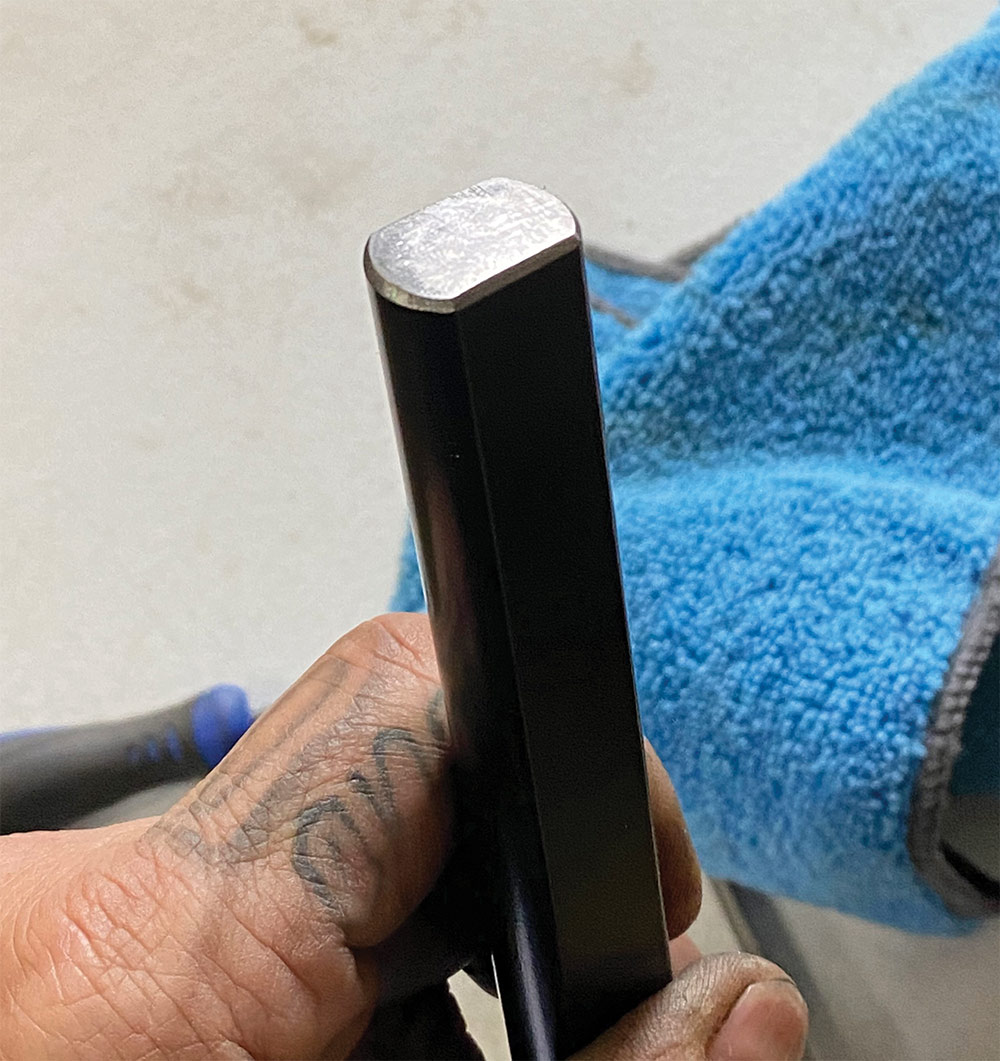
14. Once the shaft is cut (whether by bandsaw or cutoff wheel, whichever affords you the straightest cut), make sure to chamfer the perimeter edges slightly, as shown.
Stock steering column mounting hardware
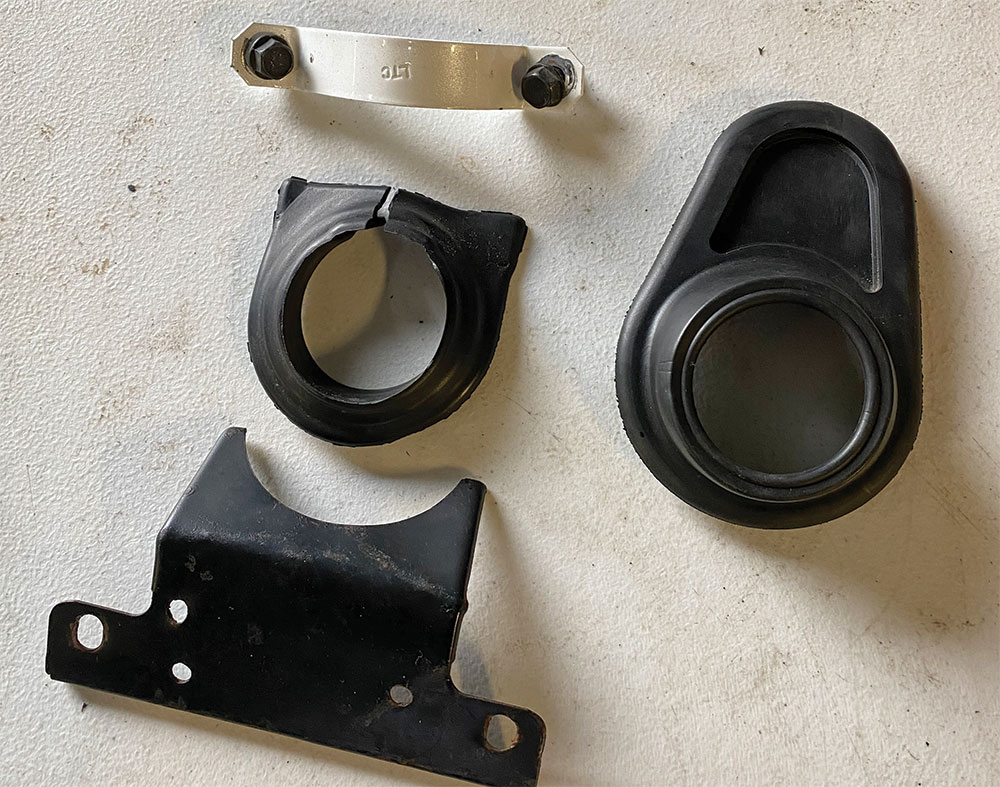
15. As far as the stock steering column mounting hardware and related parts went, we had everything but the lower floor mount bracket. The new replacement rubber firewall boot is from CPP.
new Flaming River tilt column
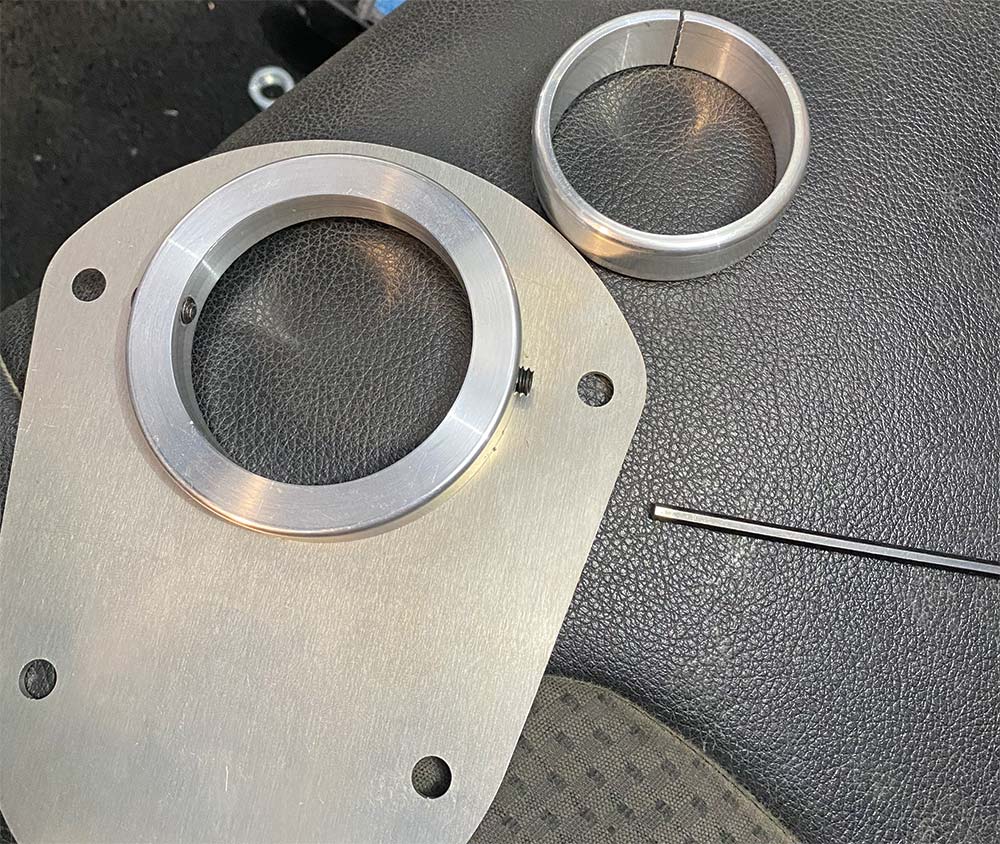
16. To accommodate our lack of means to secure the new Flaming River tilt column, we ordered their stainless swivel floor plate, which is a bolt-in for 1967-1972 C10 trucks.
Split swivel ring slid over the bottom of the column tube
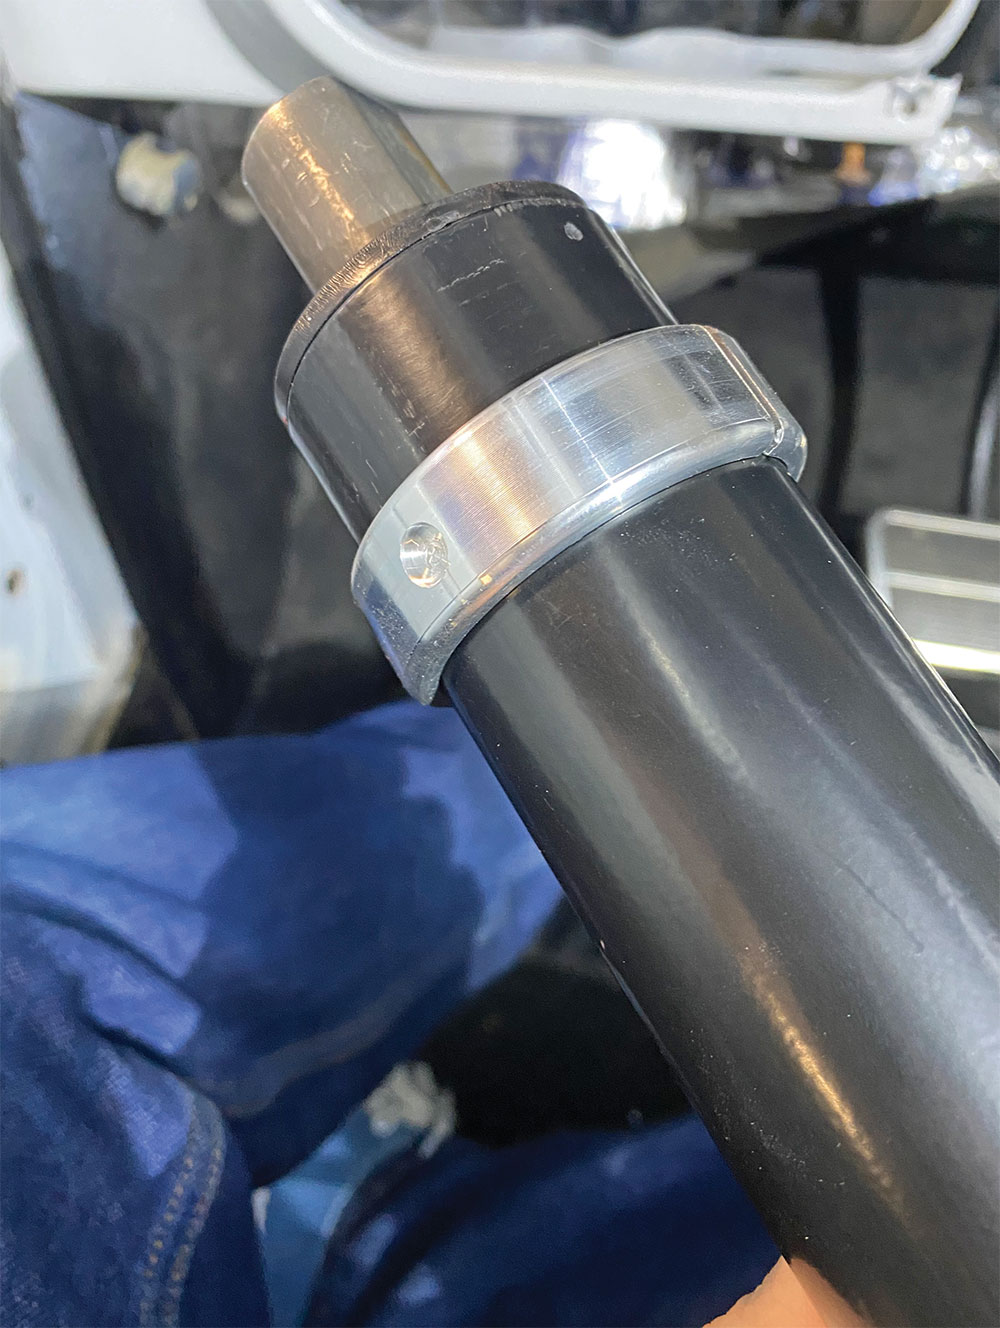
17. With the column removed from its mock-up position, the split swivel ring slid over the bottom of the column tube and set above the point where the column will enter the firewall into the engine compartment.
The swivel floor plate closeup
18. The swivel floor plate is then slipped back over the ring and the Allen setscrews hand tightened to allow as much movement as possible for repositioning the column in place.
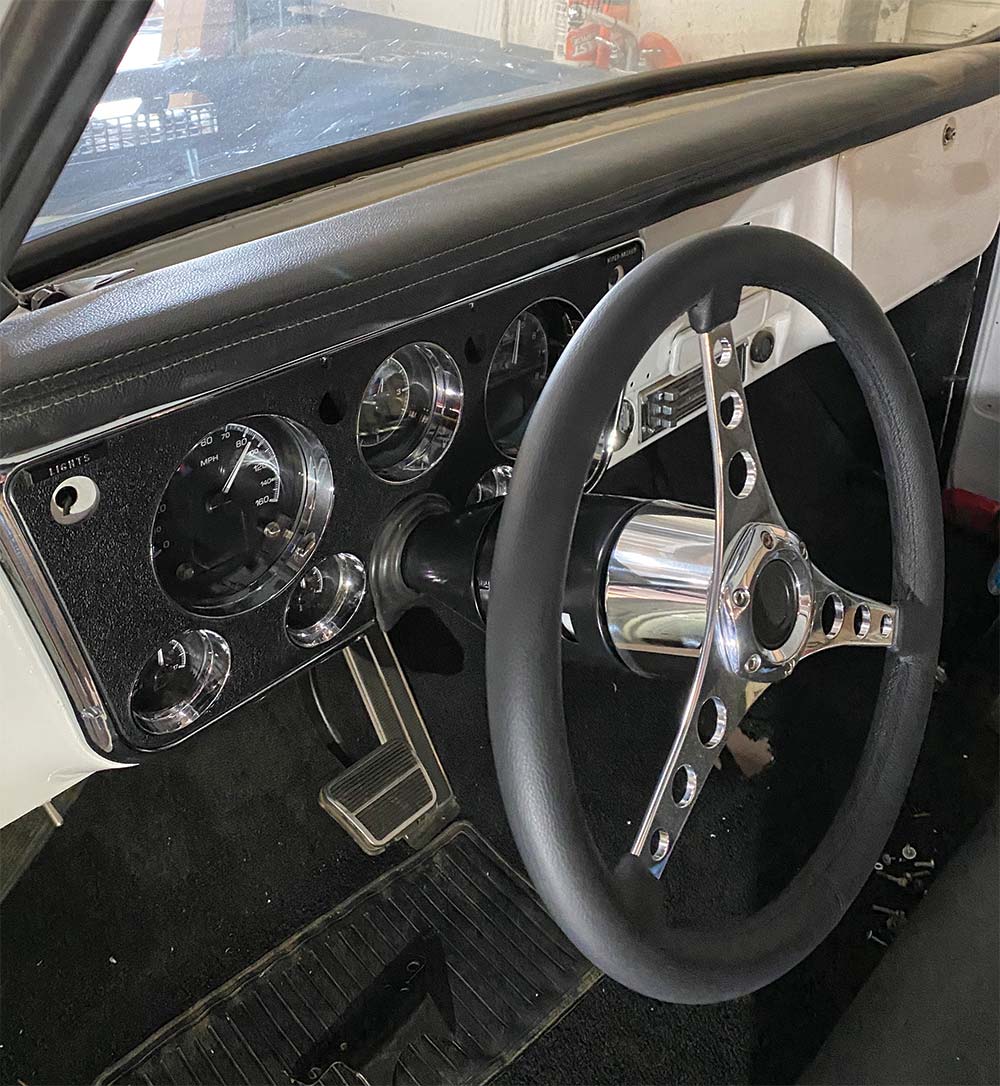
Steering wheel and dash
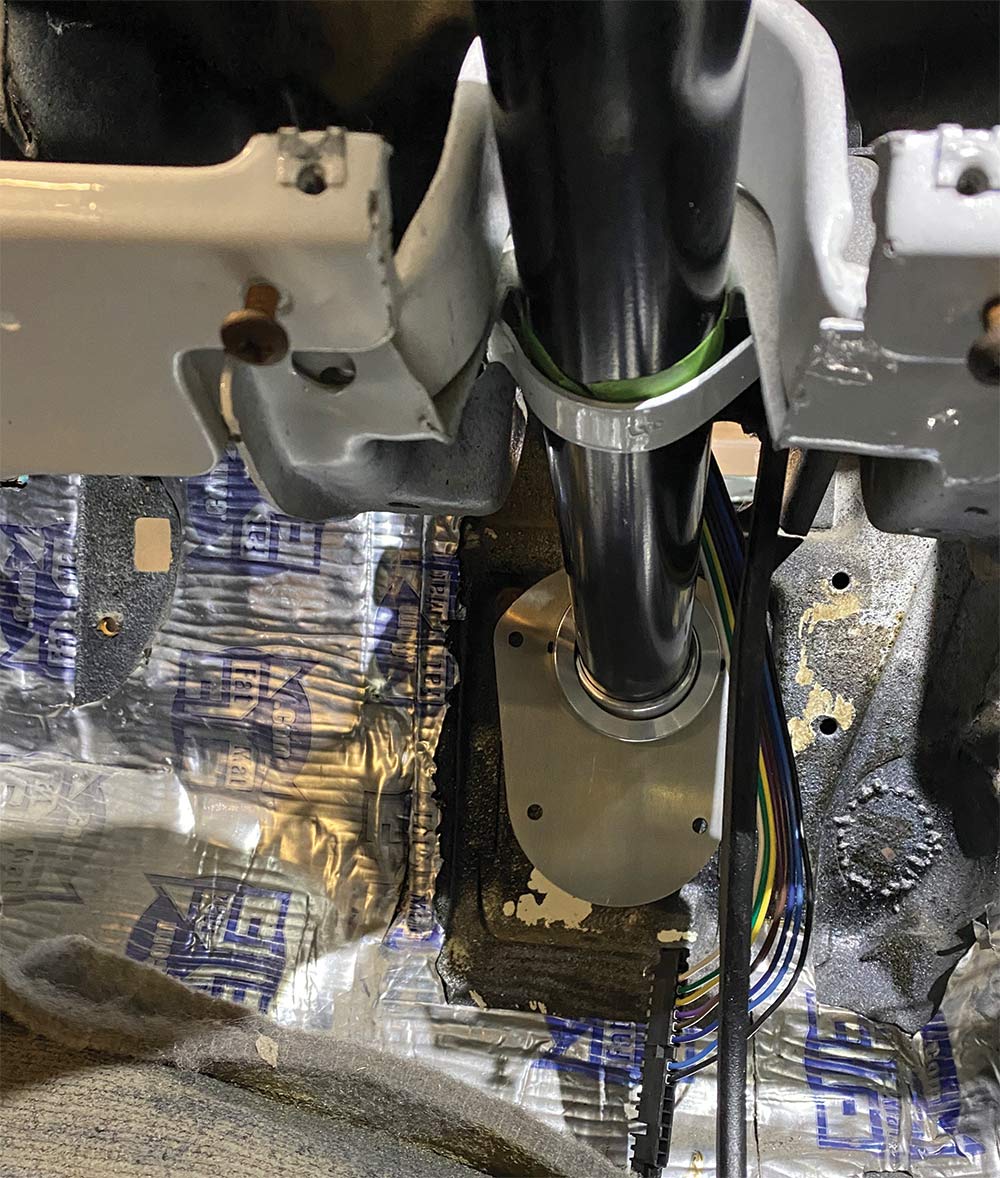
Interior side of the firewall closeup
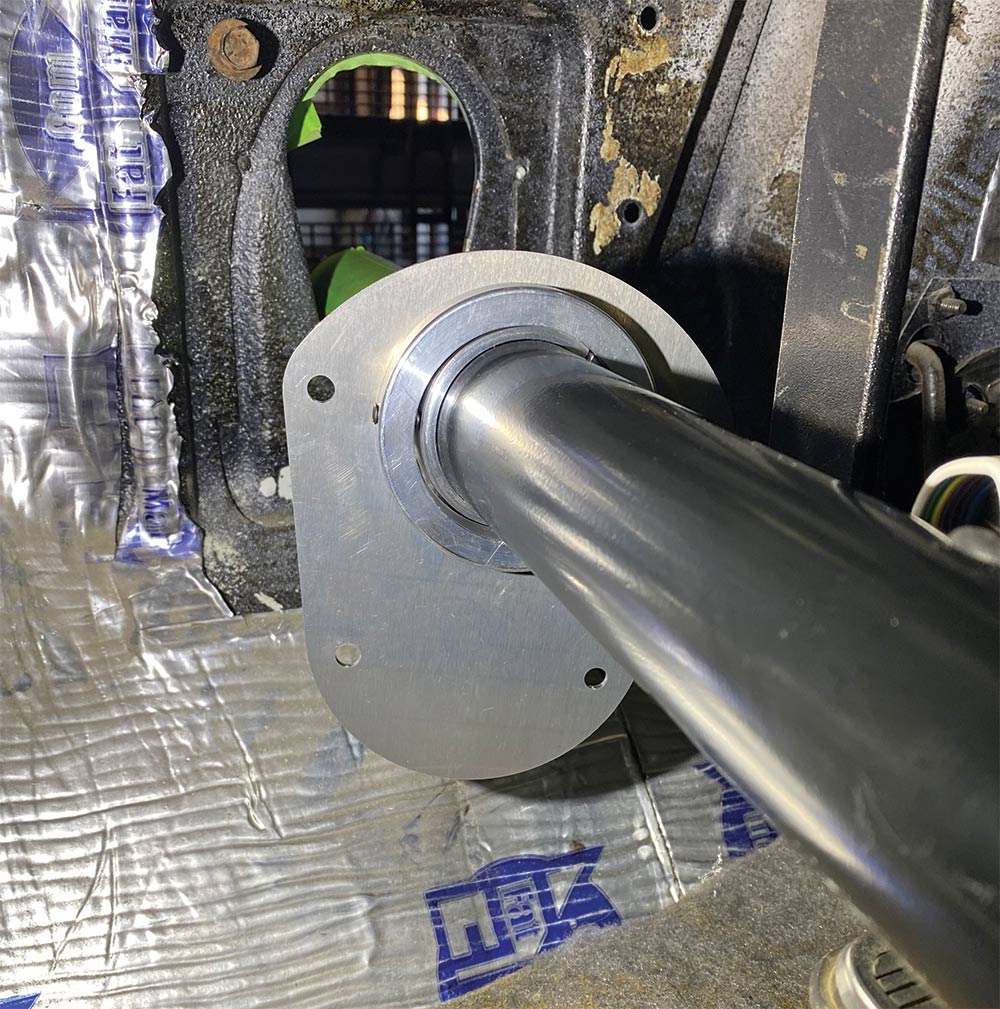
19-20. Using our reference marks from the mock-up, the column was positioned accordingly (with the gauge cluster reinstalled), with the firewall boot reversed (an audible call) to allow the Flaming River floor plate to sit flush against the interior side of the firewall (we may eliminate that eventually).
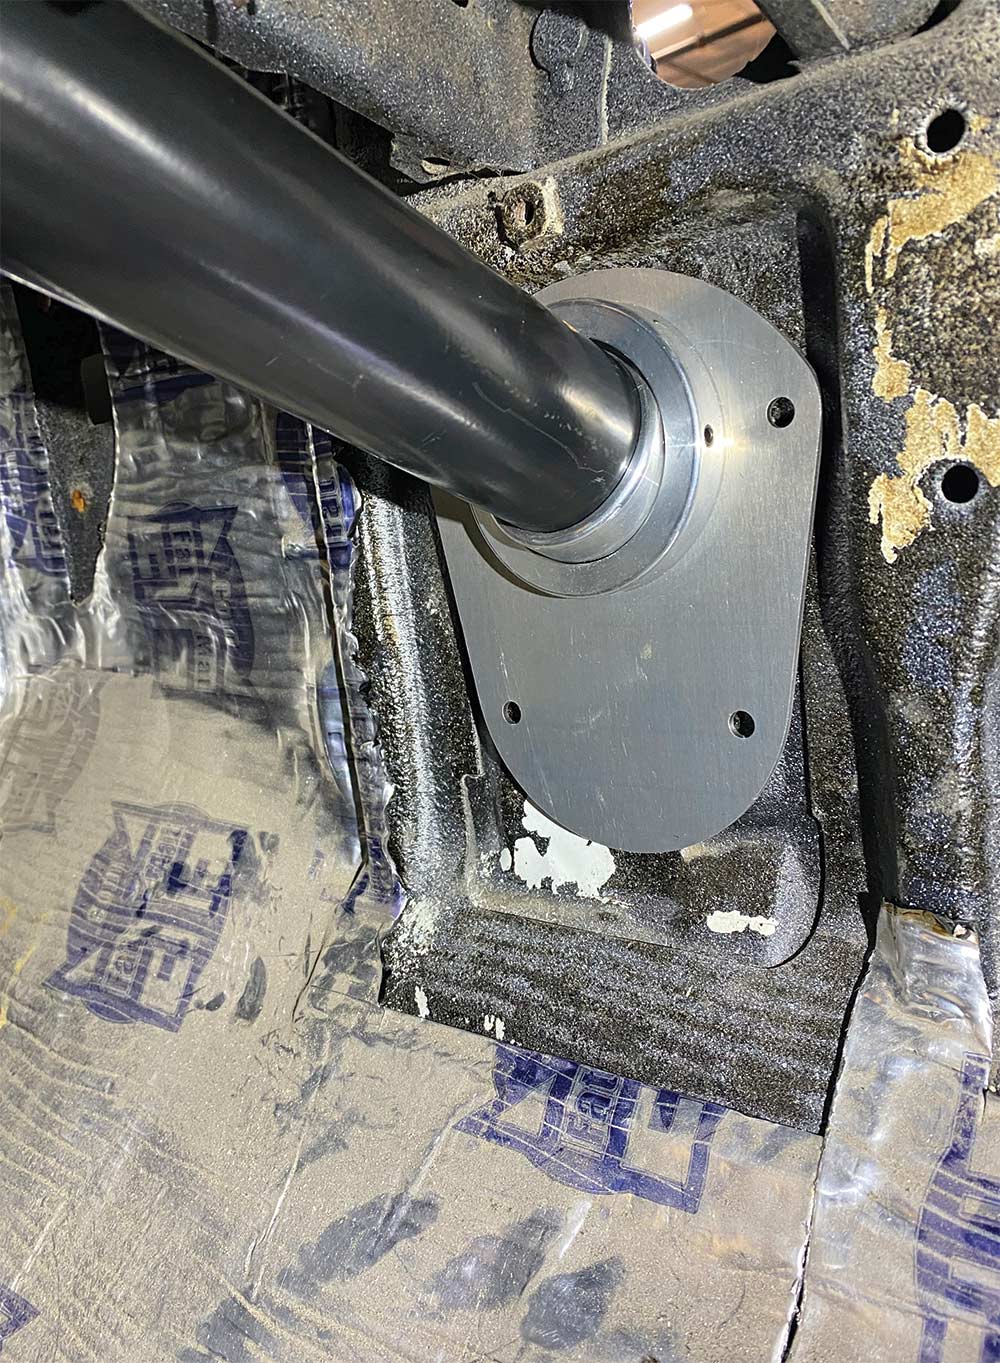
Floor plate installed closeup
21. Normally you’d see daylight (or shop light!) shining through the upper two holes in the floor plate—but since the truck’s previous owner decided to smooth the entire firewall (including the hood hinge mounting holes and factory wiring harness plug hole!), we’ll have to carefully make mounting access without causing (too much) damage to the exterior side … at a later date!
Closeup of the floor plate installed in the car
22. With the swivel floor plate adjusted and locked in place, the stock upper column mount was also locked down to secure the column. Note that the upper mount uses a small protrusion to engage the column, and as such, we used a drill to slightly relieve (notch) the column where that nub engages to further secure it in place.
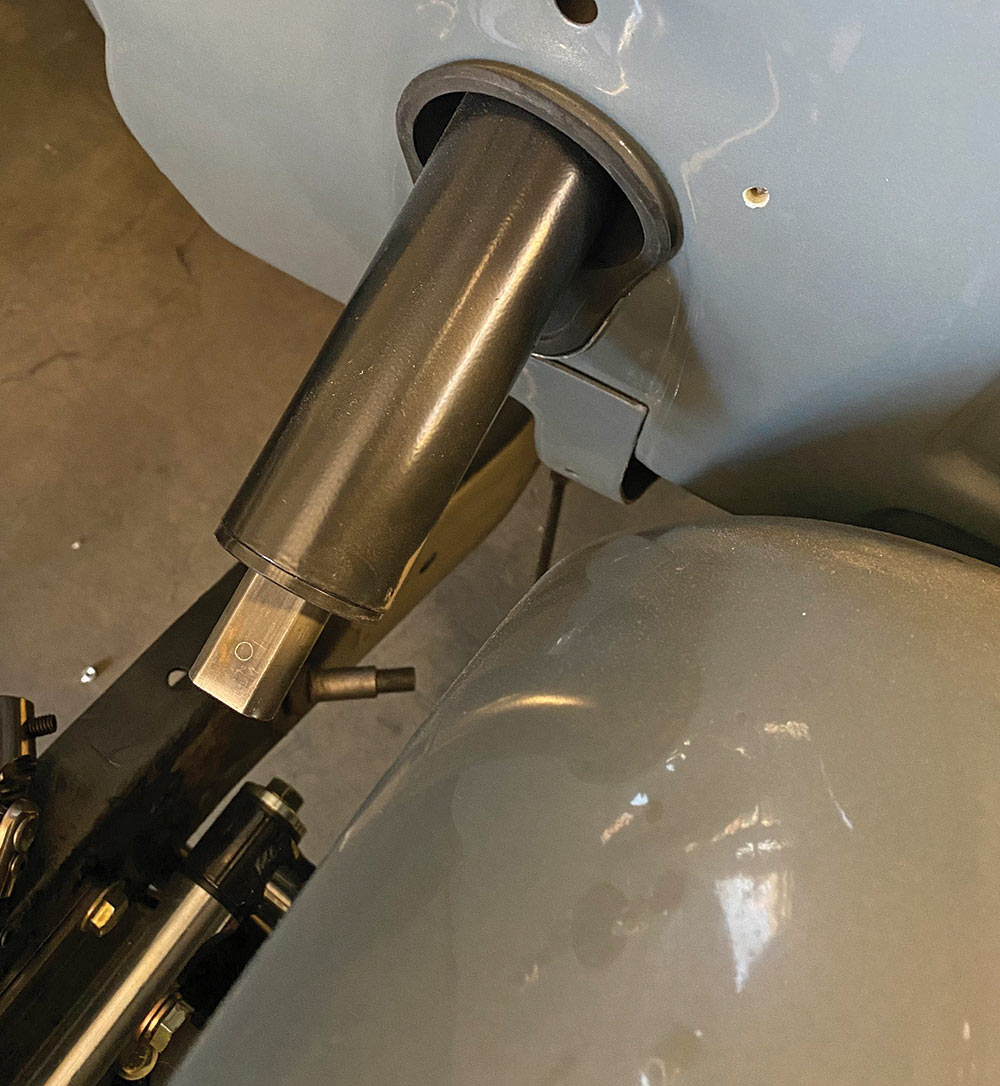
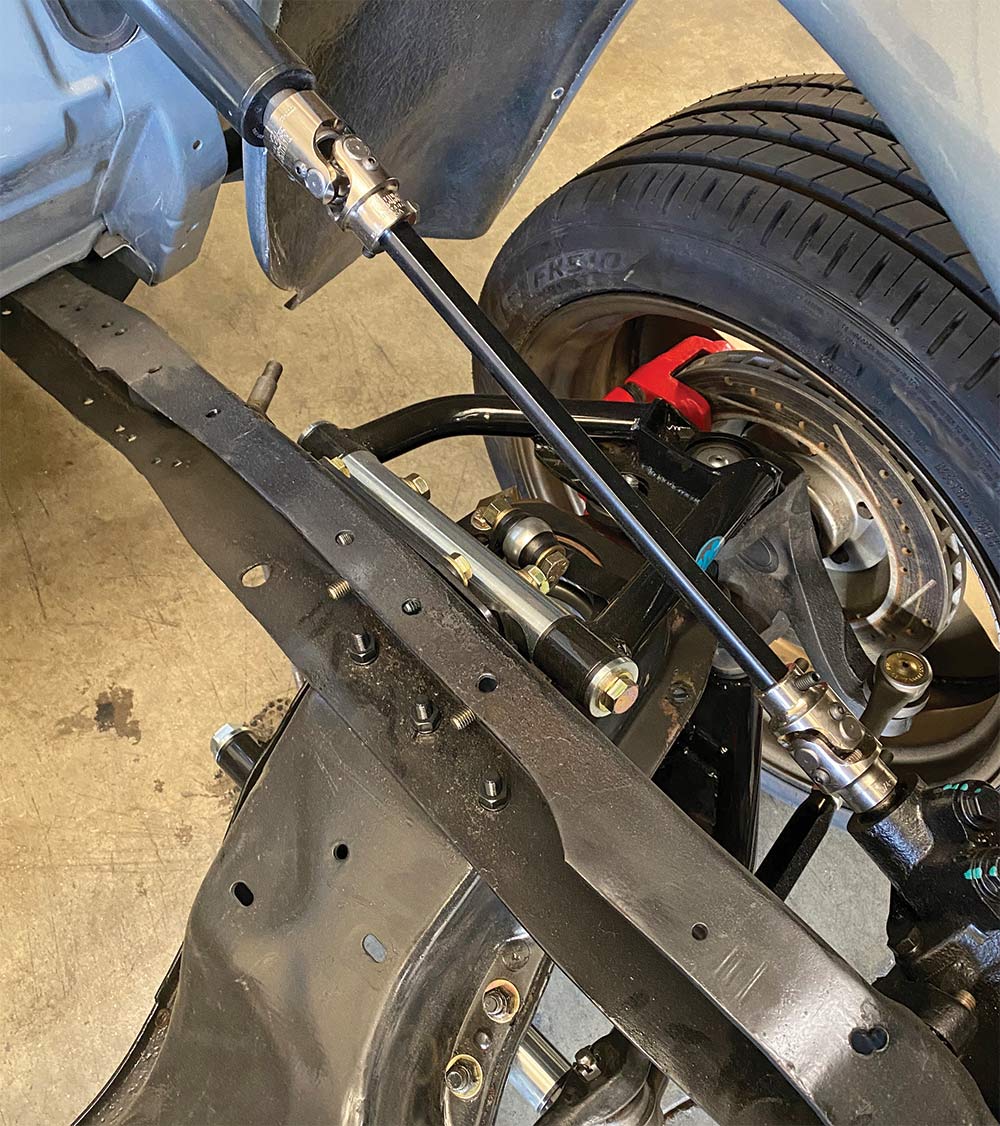
Iintermediate shaft and U-joints installed
23. Now that the column was all set in its rightful place, the intermediate shaft and U-joints could be installed. When setting the couplers, always make sure that after bolting everything together, remove the shaft and where the Allen setscrews left their marks, drill the shaft enough to allow the setscrews to fully engage and thus lock in place sufficiently.
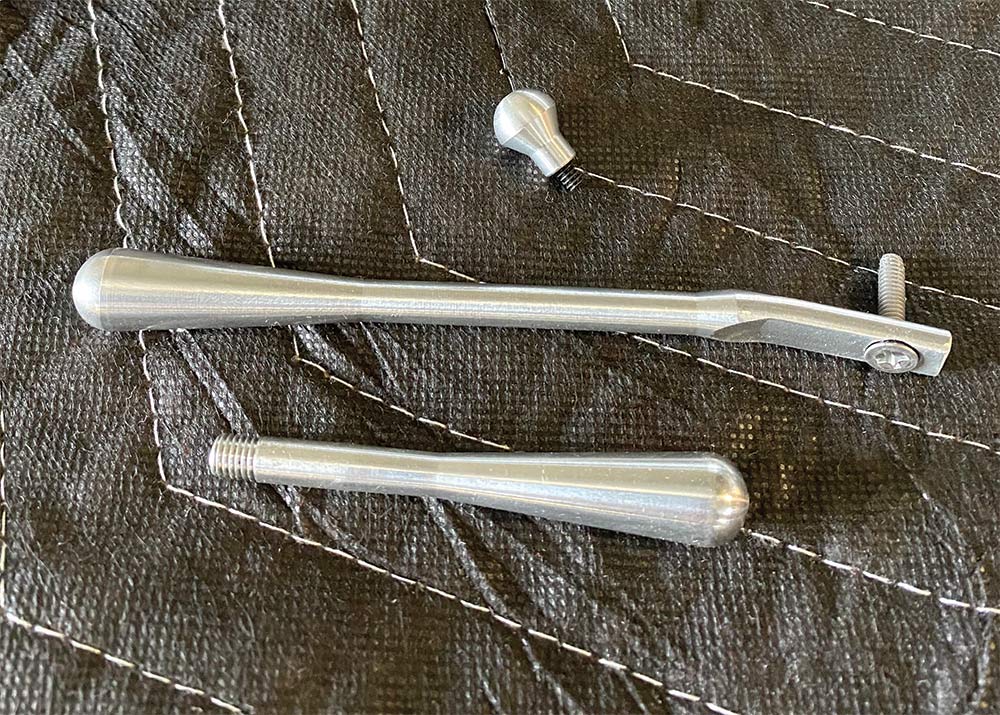
Billet accessory “dress-up” kit contents
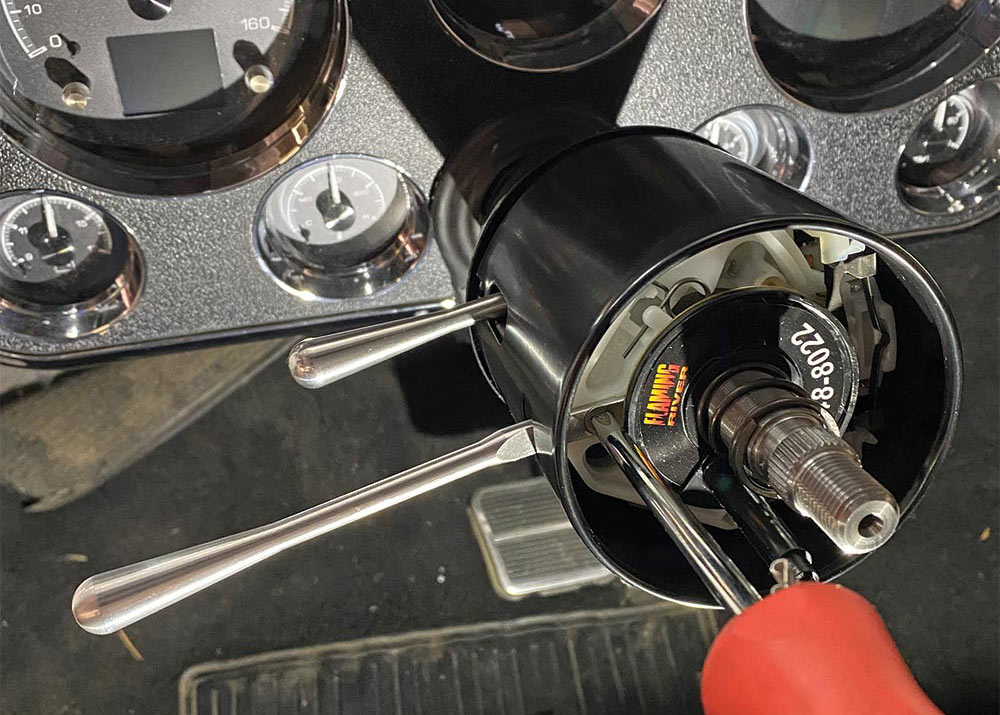
C10 tilt columns installed
24-25. Flaming River supplies a billet accessory “dress-up” kit—aka, tilt, turn signal, and hazard levers—with their C10 tilt columns. They’re an easy install … just don’t forget to do it “before” bolting your new steering wheel on!
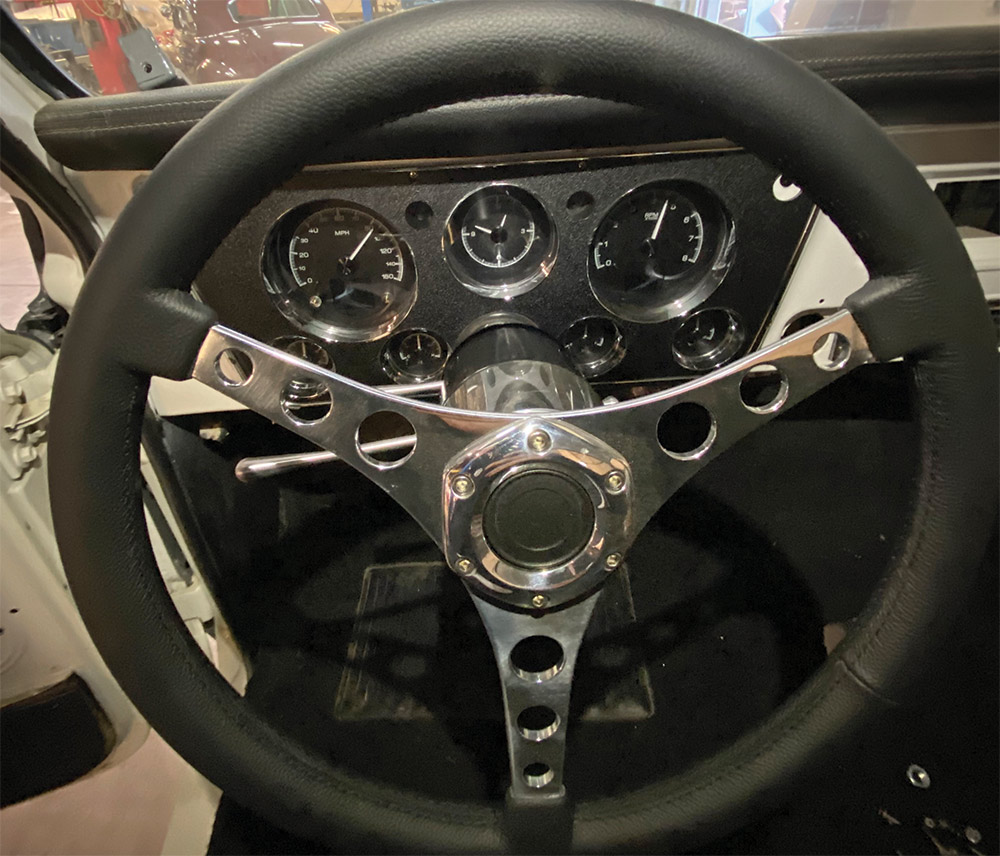
Installed steering wheel
Final installation of the product
26-27. And with that, our C10 Frontal Rehab procedure is complete. The Flaming River Vette-style three-spoke wheel allows the perfect sight window for the Dakota Digital HDX Series gauges, while the CPP 500 Series power steering upgrade will make driving the C10 much more enjoyable … once we get her back on the road, that is!

 SOURCEs

Classic Performance Products (CPP)
(800) 522-5004
classicperform.com
Flaming River
(800) 719-1826
flamingriver.com
Jimenez Bros. Air Ride & Rod Shop
(951) 343-5948
jimenezbrosairrideandrodshop.com